
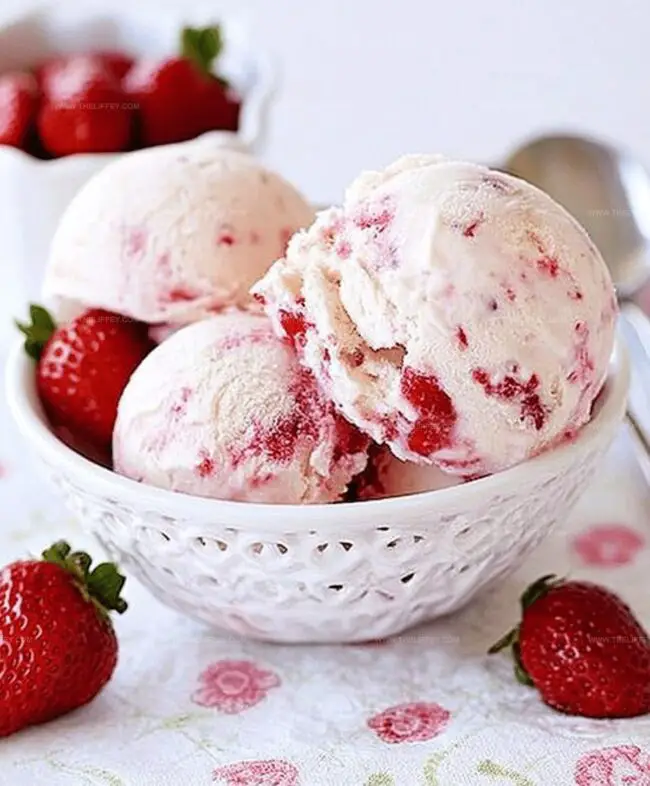
Dreamy Homemade Strawberry Vanilla Bean Ice Cream Recipe
Sweet memories swirl through this delectable homemade strawberry vanilla bean ice cream, promising pure indulgence.
Ripe summer berries dance with delicate Madagascar vanilla, creating a symphony of flavor.
Creamy textures melt softly across your palate, revealing natural ingredients’ true magic.
Luscious strawberries burst with vibrant color and intense sweetness.
Delicate vanilla bean specks add elegant complexity to each luxurious spoonful.
Crafting this dessert connects you with traditional culinary artistry and seasonal joy.
You’ll love how simple ingredients transform into something extraordinary.
Prepare to savor every decadent moment of this irresistible frozen delight.
Strawberry Vanilla Ice Cream Recap
Ingredients for Strawberry Vanilla Ice Cream
Main Ingredients:Sweeteners:Flavor Enhancers:Instructions for Homemade Ice Cream

Step 1: Macerate Strawberries
Slice fresh strawberries and sprinkle with sugar.
Let the berries rest and release their natural juices, creating a vibrant and sweet syrup.
After 15 minutes, transform the macerated strawberries into a silky smooth puree using a blender.
Step 2: Infuse Creamy Base
Combine:Warm the mixture over medium heat, allowing the vanilla bean to release its rich, aromatic essence.
Heat until the liquid is steaming but not boiling.
Step 3: Prepare Egg Custard
Whisk egg yolks with remaining sugar until the mixture becomes pale and creamy.
This creates a luxurious foundation for the ice cream.
Step 4: Temper Egg Mixture
Slowly stream the warm milk mixture into the egg yolks, whisking continuously to prevent scrambling.
This technique ensures a smooth, velvety custard.
Step 5: Cook Custard
Return the combined mixture to the saucepan.
Cook on low heat, stirring constantly, until the custard thickens and coats the back of a spoon.
This should take approximately 5 minutes.
Step 6: Strain and Blend
Strain the custard through a fine-mesh sieve to remove any potential lumps.
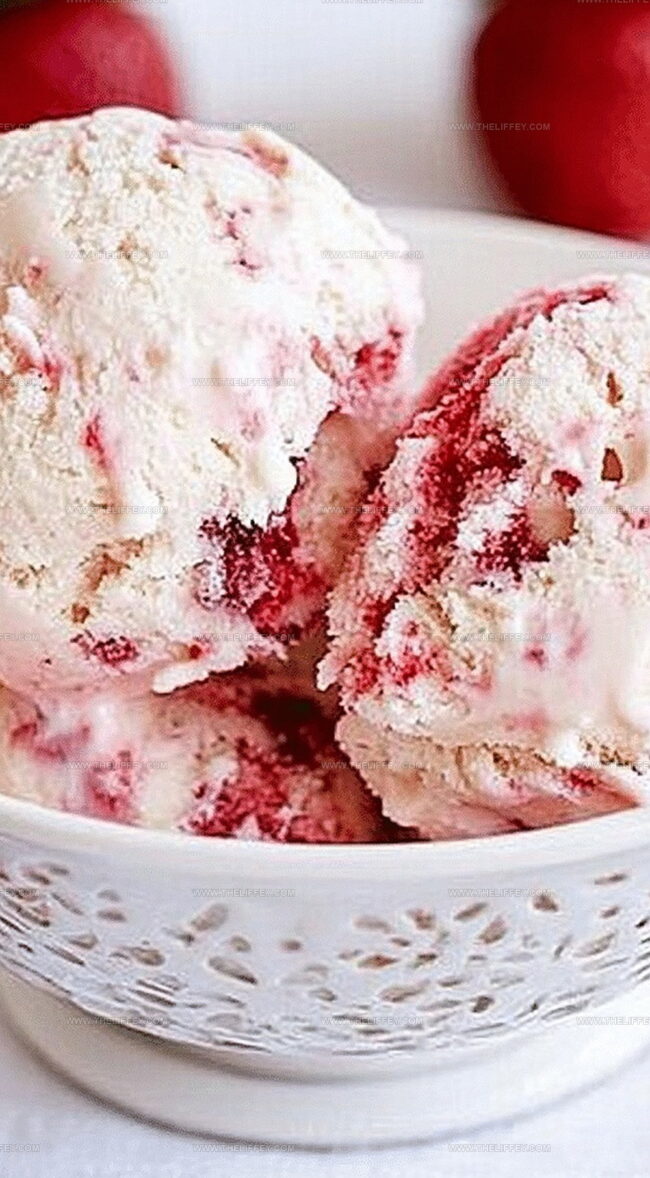
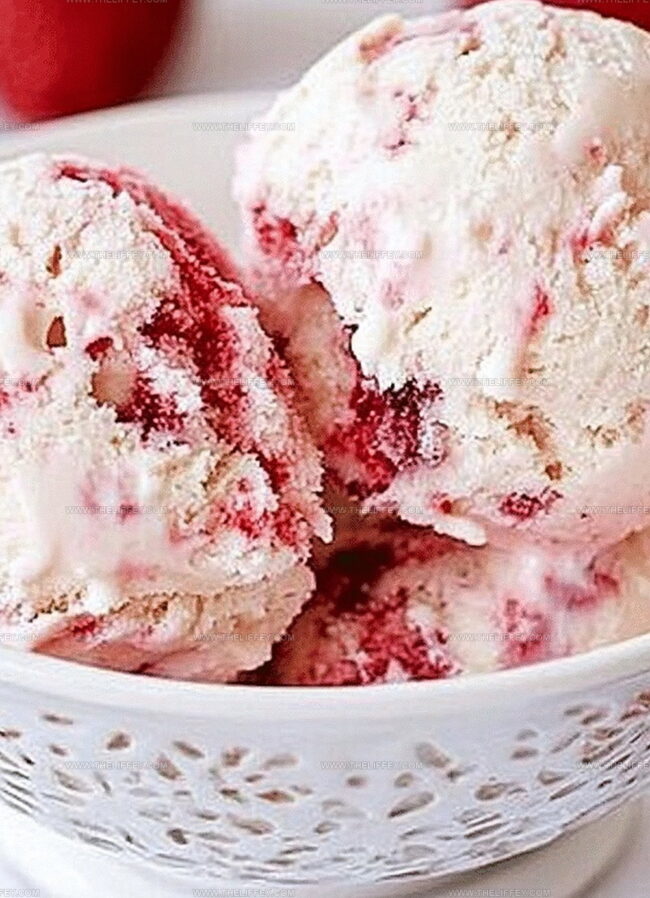
Fold in the vibrant strawberry puree, creating a marbled effect of creamy vanilla and fruity strawberry.
Step 7: Chill Thoroughly
Refrigerate the mixture for at least 4 hours or overnight.
This allows the flavors to meld and the base to become completely cold.
Step 8: Churn to Perfection
Pour the chilled mixture into an ice cream maker.
Churn according to the manufacturer’s instructions until the texture becomes thick and creamy.
Step 9: Freeze and Enjoy
Transfer the freshly churned ice cream to a freezer-safe container.
Freeze until firm, typically 2-3 hours.
Scoop and savor the homemade frozen treat.
Advice for Great Strawberry Vanilla Ice Cream
Twist Options for Vanilla Bean Ice Cream
Side Picks for Strawberry Vanilla Ice Cream
Ice Cream Storage That Works
FAQs
The sugar helps release the strawberries’ natural juices and enhances their sweetness, creating a more intense and flavorful puree for the ice cream.
Tempering prevents the eggs from scrambling by gradually raising their temperature, ensuring a smooth and creamy custard base for the ice cream.
The custard is ready when it coats the back of a spoon and you can draw a line with your finger that holds its shape without running.
Print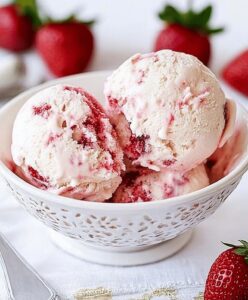
Homemade Strawberry Vanilla Bean Ice Cream Recipe
- Total Time: 30 minutes
- Yield: 6 1x
Description
Smooth homemade strawberry vanilla bean ice cream blends fresh berries with rich cream. Creamy Italian-style dessert promises pure summer indulgence with natural ingredients and delicate flavor notes.
Ingredients
Dairy and Base Ingredients:
- 2 cups heavy cream
- 1 cup whole milk
- 4 large egg yolks
Fruits and Sweeteners:
- 2 cups fresh strawberries, hulled and chopped
- 3/4 cup granulated sugar
Flavoring Ingredients:
- 1 vanilla bean (or 2 teaspoons pure vanilla extract)
Instructions
- Macerate fresh strawberries with sugar, allowing juices to release for 15 minutes, then transform into a silky smooth puree using a blender.
- Gently warm milk, heavy cream, and split vanilla bean in a saucepan over medium heat until steaming, infusing the liquid with rich vanilla essence.
- Whip egg yolks with remaining sugar until the mixture becomes pale and creamy, creating a smooth base for the custard.
- Gradually stream the warm cream mixture into the egg yolks, whisking continuously to prevent curdling and ensure a velvety texture.
- Return the combined liquid to the saucepan, cooking on low heat and stirring constantly until the custard thickens and coats the back of a spoon, approximately 5 minutes.
- Strain the custard through a fine-mesh sieve to eliminate any potential lumps, then fold in the vibrant strawberry puree until fully incorporated.
- Refrigerate the mixture for a minimum of 4 hours, allowing flavors to meld and the base to thoroughly chill.
- Churn the cold mixture in an ice cream maker according to manufacturer’s guidelines, transforming the liquid into a light, aerated dessert.
- Transfer the freshly churned ice cream to a freezer-safe container and freeze until it reaches a firm, scoopable consistency.
Notes
- Macerate strawberries ahead of time to intensify their natural sweetness and create a more concentrated fruit flavor.
- Temper egg yolks carefully by slowly adding hot milk to prevent scrambling, ensuring a smooth and creamy custard base.
- Use fresh, ripe strawberries for the most vibrant color and intense natural sweetness in your homemade ice cream.
- For a dairy-free version, substitute coconut milk and coconut cream to maintain the rich, creamy texture while creating a vegan-friendly dessert.
- Prep Time: 25 minutes
- Cook Time: 5 minutes
- Category: Desserts
- Method: Simmering
- Cuisine: American
Nutrition
- Serving Size: 6
- Calories: 316 kcal
- Sugar: 24 g
- Sodium: 45 mg
- Fat: 26 g
- Saturated Fat: 16 g
- Unsaturated Fat: 8 g
- Trans Fat: 0.5 g
- Carbohydrates: 18 g
- Fiber: 1 g
- Protein: 4 g
- Cholesterol: 210 mg
Amanda Bennett
Recipe Curator & Culinary Educator
Expertise
Baking and Pastry Arts, Recipe Testing and Development, Culinary Instruction, Food Styling and Photography
Education
Asheville-Buncombe Technical Community College, Asheville, NC
Diploma in Culinary Arts
Emphasized practical cooking skills, nutrition, and kitchen management.
Cambridge School of Culinary Arts, Cambridge, MA
Certificate in Professional Pastry Arts
Specialized in baking techniques, dessert presentation, and flavor profiling
Amanda’s roots run deep in the Southern hills, where every meal started fresh from the garden and every dessert came with a story. She trained at Asheville-Buncombe Technical Community College and sharpened her pastry skills at the Cambridge School of Culinary Arts, blending classic technique with everyday charm.
At The Liffey, Amanda’s passion is making baking and home cooking feel natural and joyful. She’s all about single recipes that are simple enough for a busy afternoon, but special enough to make someone’s day a little sweeter.