Spooky Halloween Graveyard Chocolate Poke Cake Recipe
Dark shadows and eerie whispers creep through this Halloween graveyard chocolate poke cake, promising a deliciously spooky treat that’ll make your taste buds shiver.
Mysterious chocolate layers promise a ghoulish delight waiting to be devoured.
Haunting ganache seeps into hidden cake tunnels, creating unexpected pockets of rich decadence.
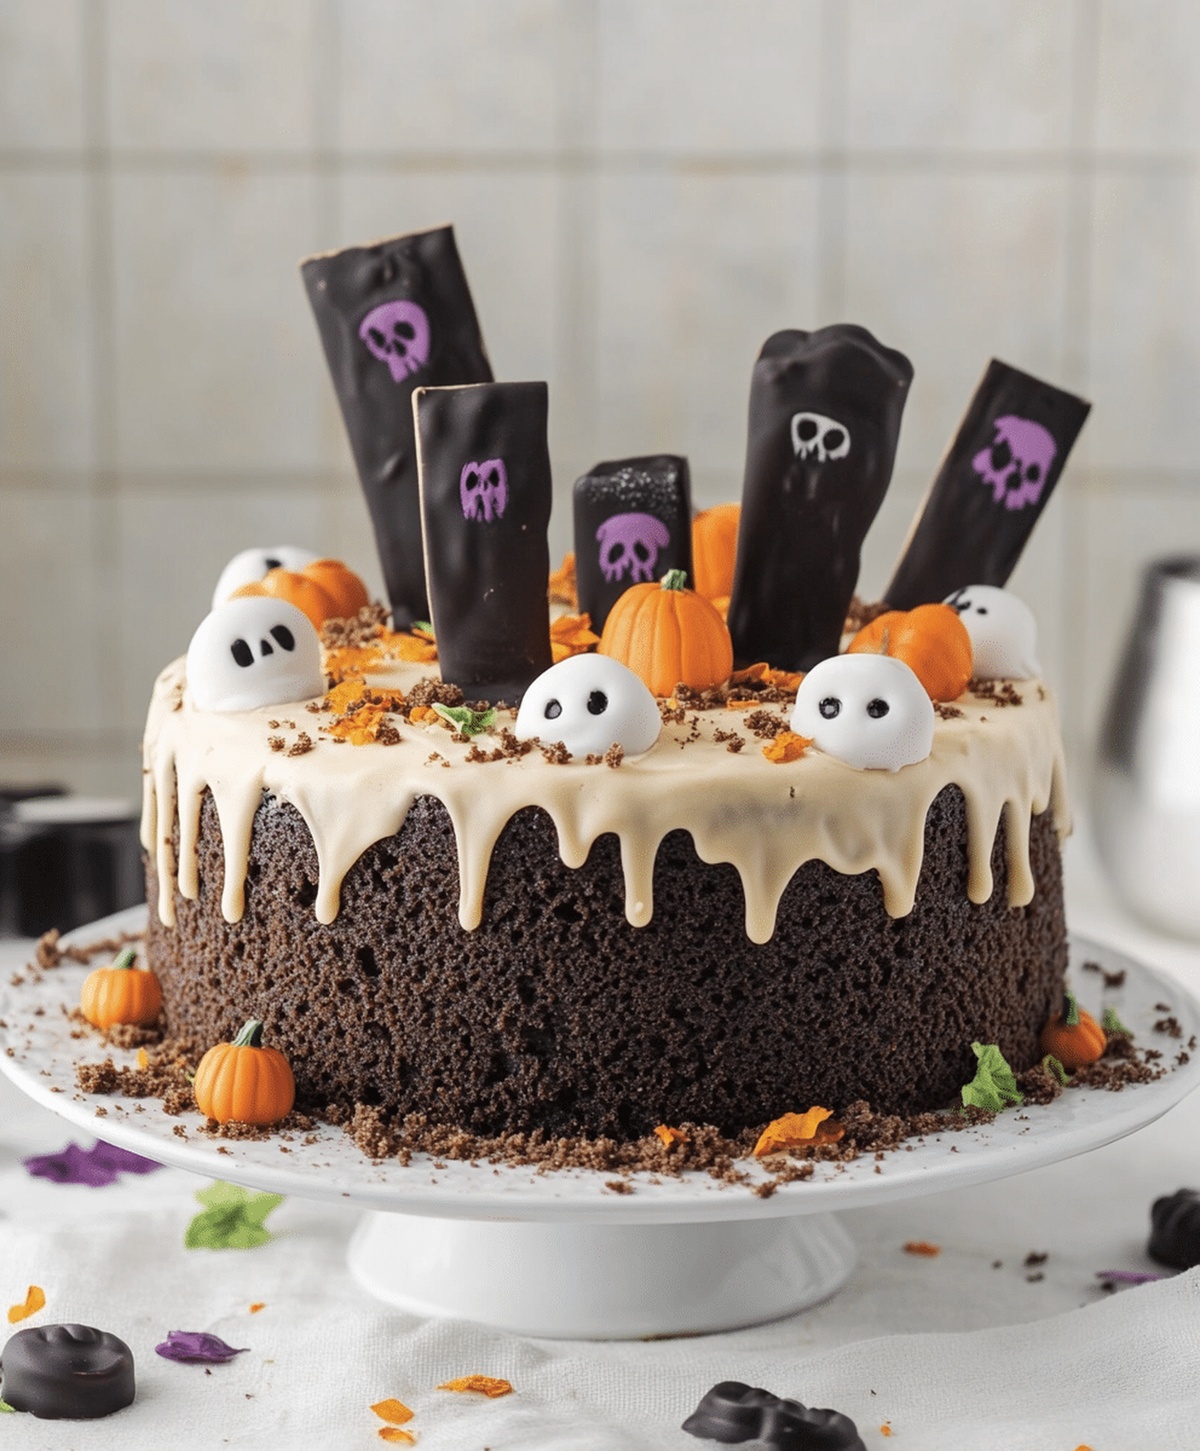
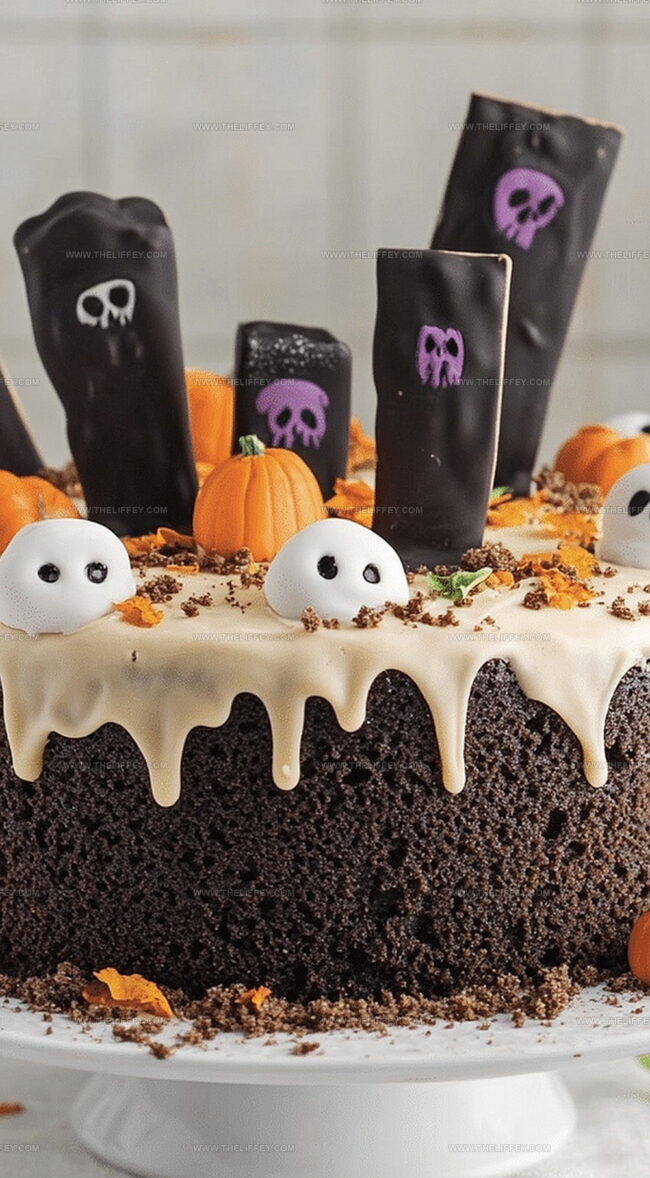
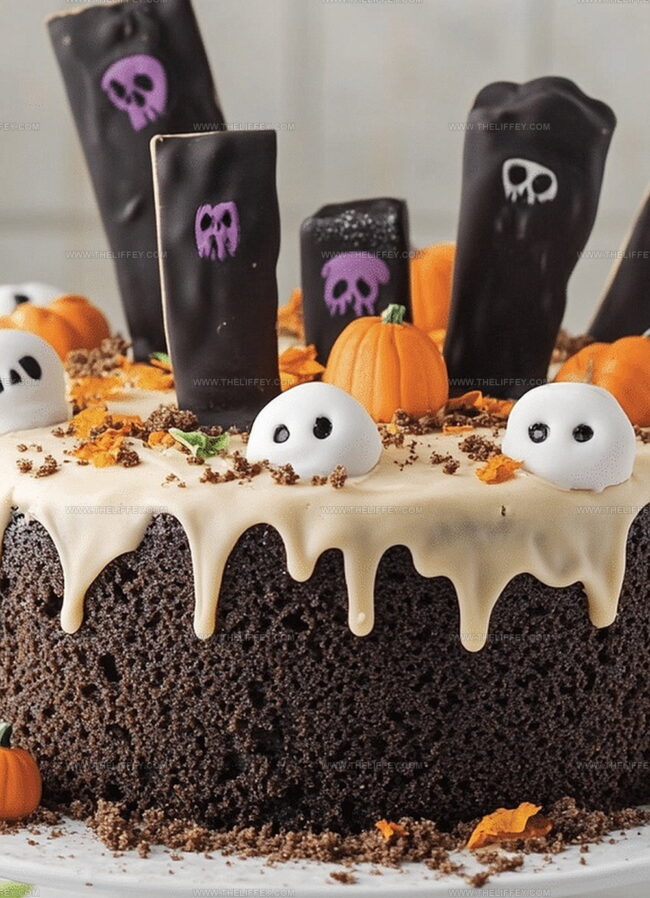
Marshmallow ghosts and chocolate crumble dirt add playful cemetery vibes to this wickedly good dessert.
Cracked cookie tombstones stand guard over a landscape of moist, deep chocolate terrain.
Each slice reveals a frightfully delectable scene that blends sweet creativity with Halloween spirit.
You’ll want to summon this ghastly confection for your next monster bash.
Halloween Graveyard Chocolate Poke Cake: A Spooky Delight
Ingredients Needed for Halloween Graveyard Chocolate Poke Cake
Cake Base:Pudding and Cream Layer:Decorative Elements:How to Prepare Halloween Graveyard Chocolate Poke Cake
Step 1: Craft Chocolatey Base
Whip up a rich chocolate cake following the package directions.
Select a rectangular baking pan to create the perfect spooky landscape for your graveyard scene.
Step 2: Create Mysterious Holes
Take the handle end of a wooden spoon and gently poke multiple holes throughout the cake’s surface.
Make sure the holes are evenly distributed to allow maximum pudding absorption.
Step 3: Drench with Creamy Filling
Prepare chocolate instant pudding mix and carefully pour it over the cake, ensuring the liquid seeps into every hole.
The pudding will create a moist, decadent texture that adds depth to your dessert.
Step 4: Sprinkle Graveyard Ground
Cover the entire cake surface with these ingredients:Spread the whipped cream evenly, then generously scatter the crushed Oreos to mimic dark, crumbly earth.
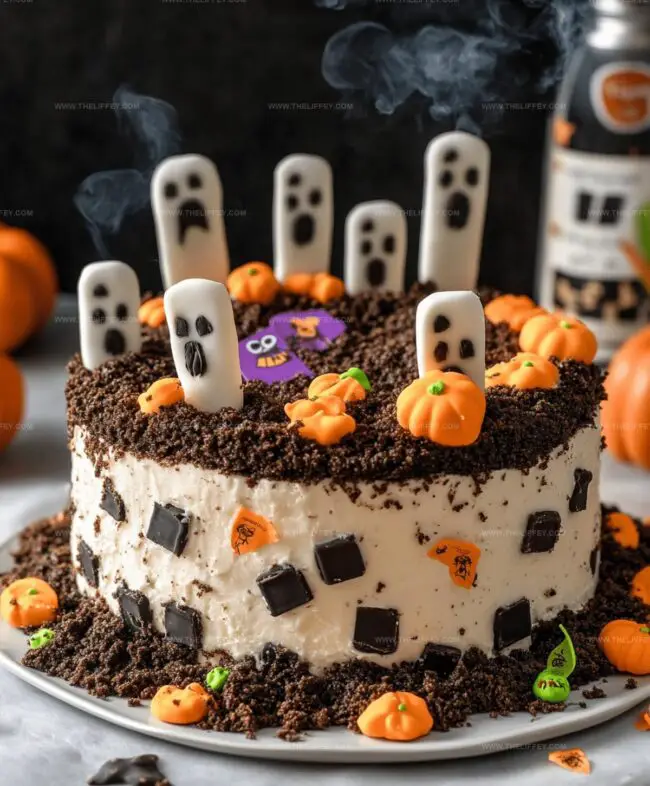
Step 5: Construct Haunting Tombstones
Use Milano cookies as tombstones by standing them upright across the cake’s surface.
Add candy pumpkins strategically around the “graveyard” to enhance the spooky Halloween theme.
Step 6: Add Eerie Grass Details
Pipe green icing around the edges and between tombstones to create grass-like texture.
This final touch brings your graveyard scene to life.
Step 7: Chill and Serve
Refrigerate the cake for at least one hour to allow all elements to set.
Serve chilled and watch guests marvel at your creepy culinary creation.
Tips for Best Results with Halloween Graveyard Chocolate Poke Cake
Flavor Variations for Halloween Graveyard Chocolate Poke Cake
Serving Inspirations for Halloween Graveyard Chocolate Poke Cake
Storing Halloween Graveyard Chocolate Poke Cake Safely
FAQs
The poke cake method involves creating holes in the cake and filling them with pudding, which adds moisture and extra flavor to the dessert.
Yes, this cake actually tastes better when prepared in advance and chilled for a few hours, allowing the pudding to fully soak into the cake.
Children can help crush Oreos, place candy pumpkins, and decorate the “graveyard” scene, making it a fun Halloween baking activity.
This recipe is very beginner-friendly since it uses a boxed cake mix and simple decorating techniques that don’t require advanced baking skills.
Print
Halloween Graveyard Chocolate Poke Cake Recipe
- Total Time: 1 hour 30 minutes
- Yield: 12 1x
Description
Spooky Halloween graveyard chocolate poke cake delivers a haunting dessert experience for seasonal celebrations. Creamy chocolate layers adorned with cookie tombstones and gummy worm decorations create a playful horror-themed treat that delights party guests.
Ingredients
Main Ingredients:
- 1 box chocolate cake mix
- 1 package instant chocolate pudding
- 2 cups milk (480 milliliters)
Topping and Decoration:
- 1 container whipped cream
- 1 package crushed Oreos
- 1 package Milano cookies
- 1 bag candy pumpkins
- 1 tube green icing
Instructions
- Craft the chocolate cake according to package guidelines, ensuring a moist and rich base for your spooky dessert.
- Once cooled, methodically puncture the cake’s surface with the rounded end of a wooden spoon, creating evenly spaced deep holes.
- Whip up the instant pudding mixture and gently cascade it over the cake, allowing the liquid to seep into the created cavities, saturating the interior.
- Generously layer whipped cream across the entire surface, creating a smooth and creamy canvas.
- Pulverize Oreo cookies into fine crumbs, then sprinkle them uniformly over the whipped cream to mimic dark, textured soil.
- Strategically position Milano cookies vertically to simulate tombstones, angling them at slight variations for a more realistic graveyard effect.
- Scatter candy pumpkins across the landscape, nestling them into the “dirt” to enhance the Halloween theme.
- Use green icing to pipe delicate grass-like tendrils around the tombstones and edges, adding dimension and eerie texture.
- Refrigerate the cake for at least 1 hour to allow flavors to meld and set, ensuring a chilled and firm presentation.
- Serve directly from the refrigerator for maximum visual impact and flavor integrity.
Notes
- Pudding Selection: Choose chocolate or vanilla instant pudding for a rich, creamy texture that complements the chocolate cake base.
- Oreo Crumb Texture: Crush Oreos coarsely to create a realistic dirt-like appearance, avoiding fine powder for a more authentic graveyard effect.
- Decorative Precision: Angle Milano cookie tombstones at slightly different heights to enhance the spooky graveyard scene and add visual interest.
- Dietary Adaptation: Swap ingredients for gluten-free cake mix, dairy-free pudding, and vegan whipped cream to accommodate different dietary needs without compromising the festive design.
- Prep Time: 30 minutes
- Cook Time: 1 hour
- Category: Desserts
- Method: Baking
- Cuisine: American
Nutrition
- Serving Size: 12
- Calories: 320 kcal
- Sugar: 28 g
- Sodium: 210 mg
- Fat: 14 g
- Saturated Fat: 7 g
- Unsaturated Fat: 5 g
- Trans Fat: 0.5 g
- Carbohydrates: 45 g
- Fiber: 2 g
- Protein: 4 g
- Cholesterol: 40 mg
Amanda Bennett
Recipe Curator & Culinary Educator
Expertise
Baking and Pastry Arts, Recipe Testing and Development, Culinary Instruction, Food Styling and Photography
Education
Asheville-Buncombe Technical Community College, Asheville, NC
Diploma in Culinary Arts
Emphasized practical cooking skills, nutrition, and kitchen management.
Cambridge School of Culinary Arts, Cambridge, MA
Certificate in Professional Pastry Arts
Specialized in baking techniques, dessert presentation, and flavor profiling
Amanda’s roots run deep in the Southern hills, where every meal started fresh from the garden and every dessert came with a story. She trained at Asheville-Buncombe Technical Community College and sharpened her pastry skills at the Cambridge School of Culinary Arts, blending classic technique with everyday charm.
At The Liffey, Amanda’s passion is making baking and home cooking feel natural and joyful. She’s all about single recipes that are simple enough for a busy afternoon, but special enough to make someone’s day a little sweeter.