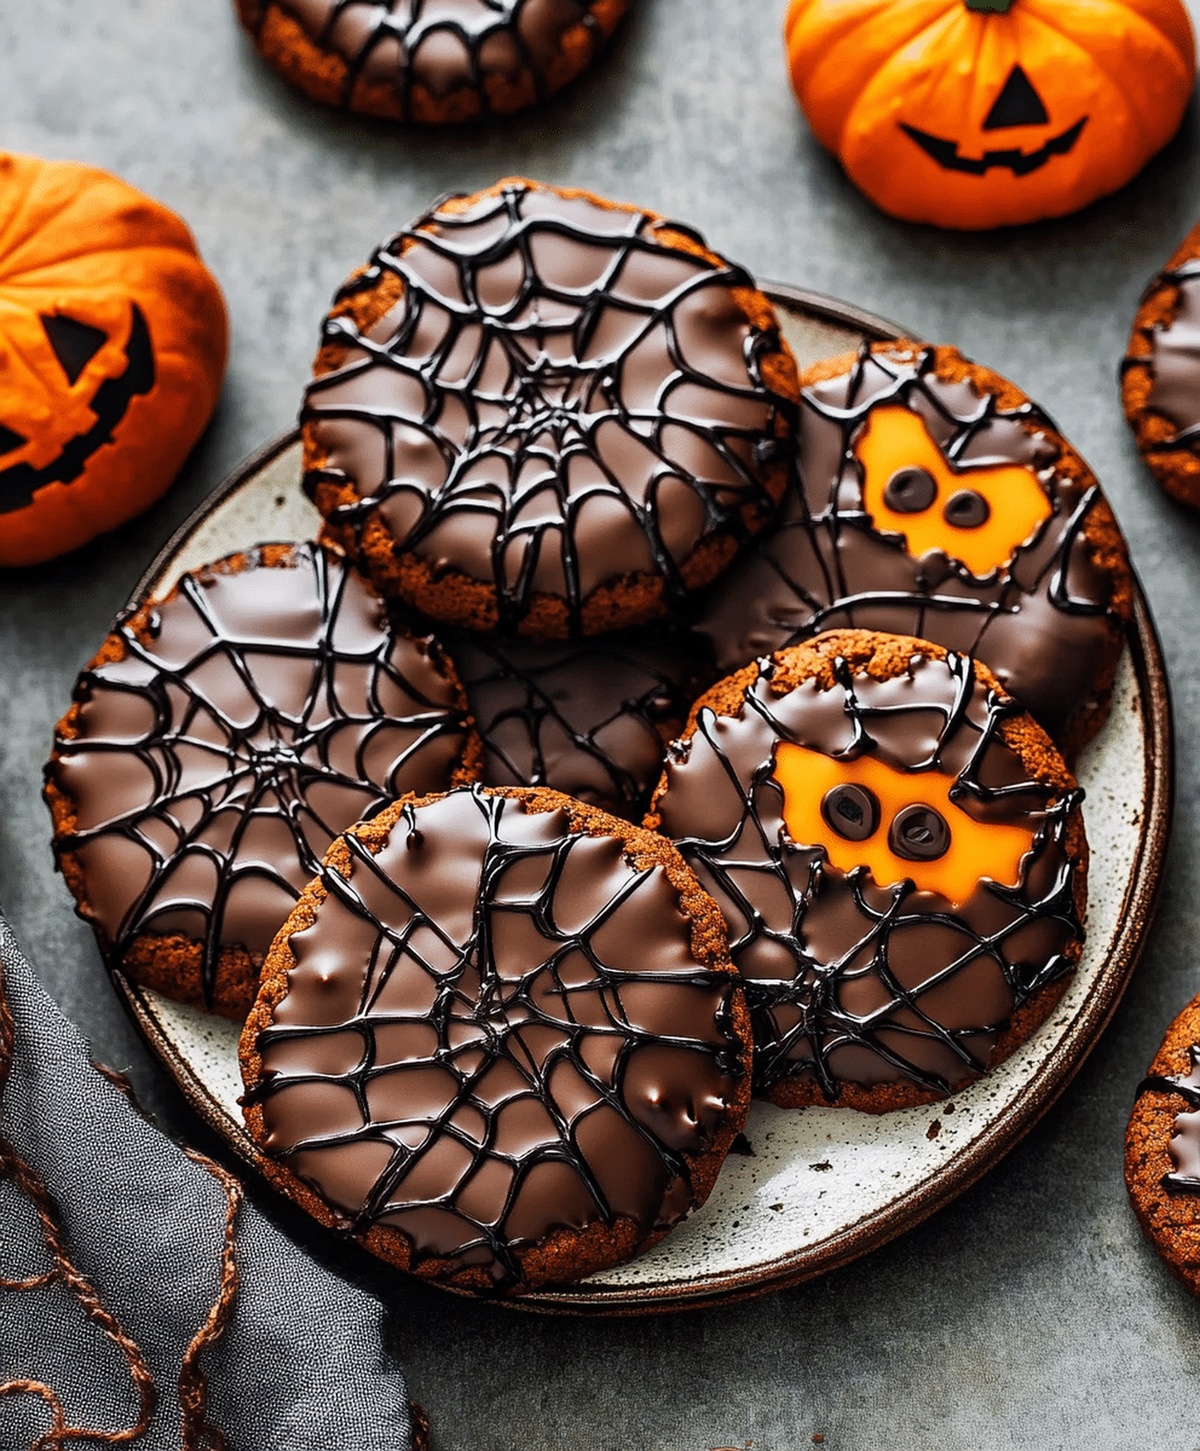
Spooky-Sweet Halloween Chocolate Cookies Recipe for Treats
Spooky and delightful Halloween chocolate cookies dance with dark, decadent flavors that promise to enchant every sweet tooth.
chocolate lovers will adore this magical treat perfect for autumn gatherings.
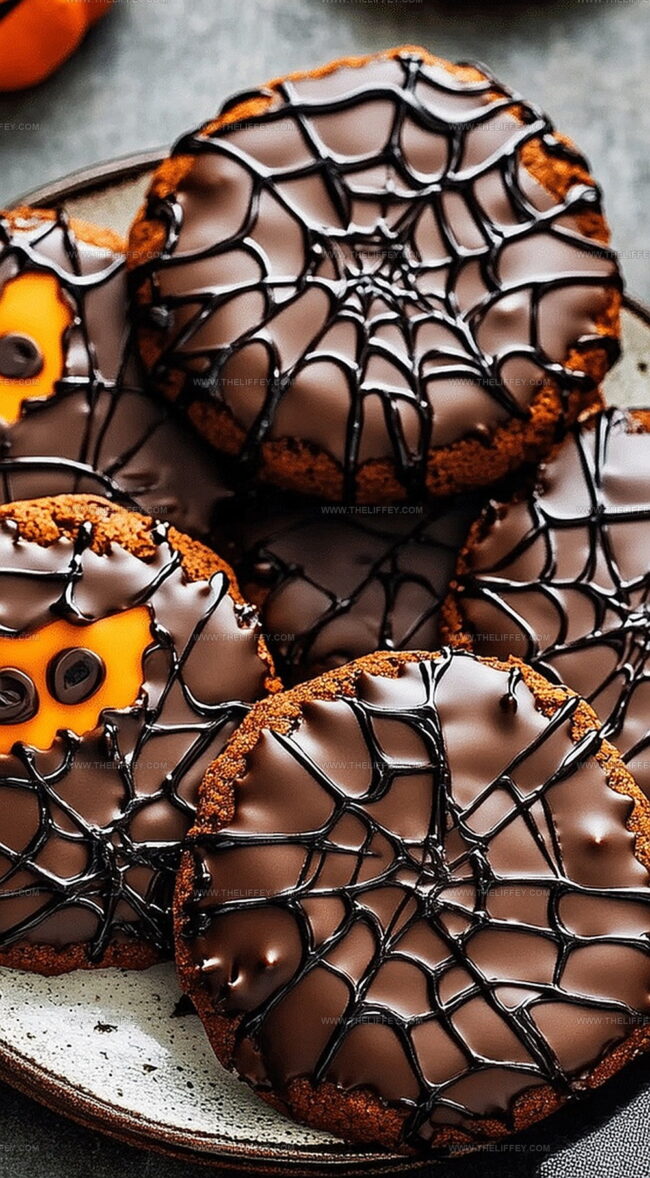
Crisp edges and soft centers create a textural symphony that delights the senses.
Dark cocoa powder infuses rich depth into each carefully crafted morsel.
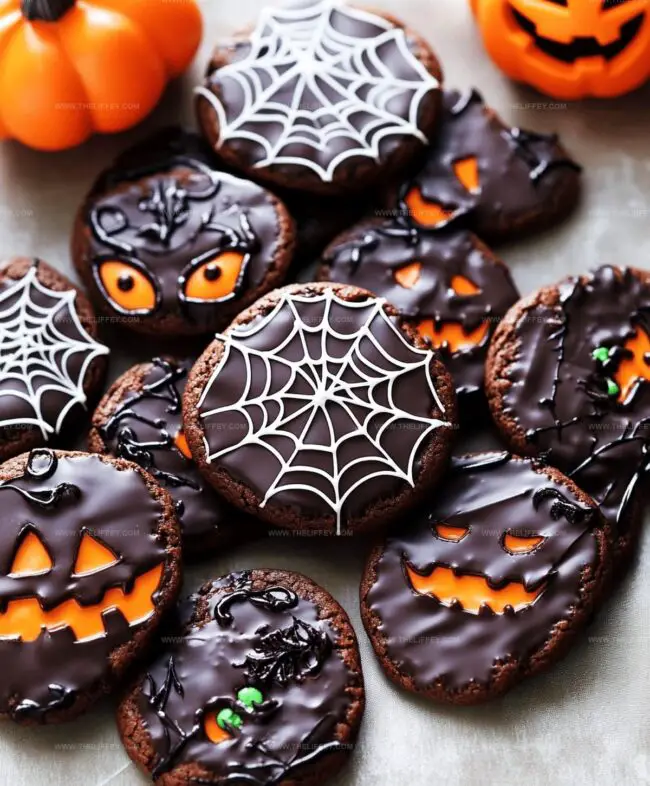
Witch-themed decorations can transform simple cookies into playful Halloween masterpieces.
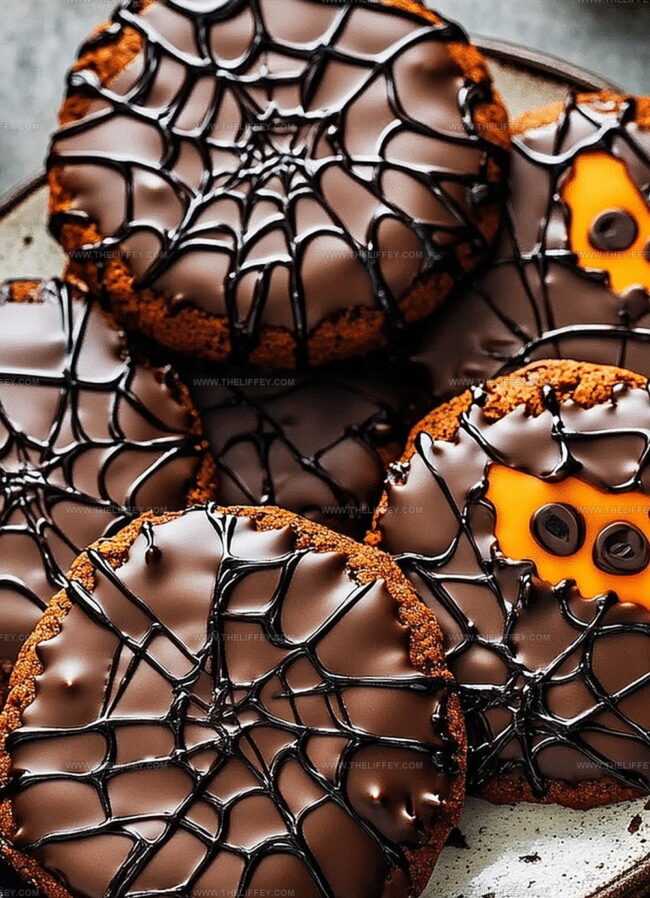
Unexpected ingredients like black cocoa or orange sprinkles make these treats truly memorable.
You’ll become the star baker when friends taste these wickedly delicious morsels.
Halloween Chocolate Cookies: Spooky and Tasty
Ingredients for Halloween Chocolate Cookies
Base Ingredients:Dry Ingredients:Decorative and Mix-In Ingredients:How to Make Halloween Chocolate Cookies
Step 1: Warm Up the Oven
Get your oven ready by setting it to a cozy 350°F (175°C).
This will ensure your cookies bake perfectly.
Step 2: Create a Creamy Base
In a large mixing bowl, blend softened butter, granulated sugar, and brown sugar until the mixture becomes light and airy.
Use an electric mixer for the best results.
Step 3: Add Egg Goodness
Crack eggs into the butter-sugar mixture one at a time, beating thoroughly after each addition.
Pour in vanilla extract and mix until everything is smooth and well combined.
Step 4: Mix Dry Ingredients
In a separate bowl, whisk together:Ensure all dry ingredients are evenly distributed.
Step 5: Combine Wet and Dry Mixtures
Slowly add the dry ingredient mixture to the wet ingredients.
Mix gently until just combined, being careful not to overmix.
Step 6: Fold in Festive Treats
Gently stir in:Mix until evenly distributed throughout the dough.
Step 7: Prepare for Baking
Line a baking sheet with parchment paper.
Scoop cookie dough and place on the sheet, leaving space between each cookie.
Slightly flatten each dough ball.
Step 8: Add Extra Sparkle
Sprinkle additional Halloween-themed decorations on top of each cookie for a festive touch.
Step 9: Bake to Perfection
Place the baking sheet in the preheated oven.
Bake for 10-12 minutes until cookie edges look set and slightly crisp.
Step 10: Cool and Enjoy
Let cookies rest on the baking sheet for a few minutes.
Transfer to a wire rack to cool completely.
Enjoy your spooky, delicious Halloween treats!
Tips for Halloween Chocolate Cookies Success
Variations for Halloween Chocolate Cookies
Serving Ideas for Halloween Chocolate Cookies
Storage Advice for Halloween Chocolate Cookies
FAQs
Yes, you can swap semisweet chocolate chips with dark, milk, or white chocolate chips to customize the flavor and make the cookies more festive.
Chill the dough for 30 minutes before baking, which helps the cookies maintain their shape and prevents excessive spreading during baking.
Absolutely! This recipe is kid-friendly and fun, especially with the Halloween sprinkles. Children can help mix ingredients and decorate the cookies.
Yes, you can prepare the cookie dough in advance and refrigerate it for up to 3 days or freeze it for up to 2 weeks before baking.
Print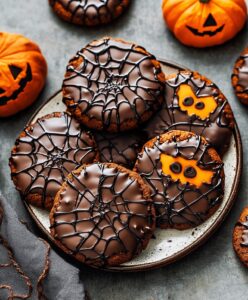
Halloween Chocolate Cookies Recipe
- Total Time: 32 minutes
- Yield: 24 1x
Description
Spooky halloween chocolate cookies bring a ghoulish twist to classic chocolate treats. Festive decorations and rich cocoa flavors create a haunting dessert perfect for autumn gatherings. You’ll love these wickedly delicious bites.
Ingredients
Main Ingredients:
- 2 cups all-purpose flour
- 1 cup unsweetened cocoa powder
- 1 cup chocolate chips
Sweeteners:
- 1 cup granulated sugar
- 1/2 cup brown sugar, packed
Wet Ingredients:
- 1 cup unsalted butter, softened
- 2 large eggs
- 2 teaspoons vanilla extract
Additional Ingredients:
- 1 teaspoon baking soda
- 1/2 teaspoon salt
- Halloween-themed sprinkles or toppings
Instructions
- Prepare workspace by positioning oven rack in the middle and heating to 350F (175C).
- Using an electric mixer, blend butter and sugars until achieving a whipped, airy consistency with pale color.
- Incorporate eggs individually, ensuring complete integration after each addition, then mix in vanilla extract thoroughly.
- Sift together dry ingredients – flour, cocoa powder, baking soda, and salt – in a separate mixing bowl to eliminate potential lumps.
- Gradually fold dry ingredient mixture into wet ingredients, stirring gently until a uniform chocolate dough forms.
- Gently fold chocolate chips and festive Halloween sprinkles throughout the dough, distributing evenly.
- Line baking sheet with parchment paper and drop rounded spoonfuls of dough, pressing each mound slightly to create a flatter profile.
- Sprinkle additional decorative Halloween-themed sprinkles across cookie surfaces for visual appeal.
- Slide baking sheet into preheated oven and bake for 10-12 minutes, watching for set edges and slightly soft centers.
- Remove from oven and allow cookies to rest on baking sheet for 3-4 minutes to stabilize, then transfer to wire cooling rack.
Notes
- Customize sprinkle colors to match any holiday theme by switching out Halloween-specific decorations for festive alternatives.
- Chill dough for 30 minutes before baking to prevent excessive spreading and create thicker, chewier cookies.
- Swap out chocolate chips with white chocolate or peanut butter chips for unique flavor variations that still complement the rich cocoa base.
- Use gluten-free flour blend and dairy-free butter alternatives to make these cookies suitable for dietary restrictions without compromising taste.
- Prep Time: 20 minutes
- Cook Time: 12 minutes
- Category: Snacks, Desserts
- Method: Baking
- Cuisine: American
Nutrition
- Serving Size: 24
- Calories: 160
- Sugar: 12 g
- Sodium: 80 mg
- Fat: 8 g
- Saturated Fat: 5 g
- Unsaturated Fat: 3 g
- Trans Fat: 0 g
- Carbohydrates: 22 g
- Fiber: 2 g
- Protein: 2 g
- Cholesterol: 20 mg
Amanda Bennett
Recipe Curator & Culinary Educator
Expertise
Baking and Pastry Arts, Recipe Testing and Development, Culinary Instruction, Food Styling and Photography
Education
Asheville-Buncombe Technical Community College, Asheville, NC
Diploma in Culinary Arts
Emphasized practical cooking skills, nutrition, and kitchen management.
Cambridge School of Culinary Arts, Cambridge, MA
Certificate in Professional Pastry Arts
Specialized in baking techniques, dessert presentation, and flavor profiling
Amanda’s roots run deep in the Southern hills, where every meal started fresh from the garden and every dessert came with a story. She trained at Asheville-Buncombe Technical Community College and sharpened her pastry skills at the Cambridge School of Culinary Arts, blending classic technique with everyday charm.
At The Liffey, Amanda’s passion is making baking and home cooking feel natural and joyful. She’s all about single recipes that are simple enough for a busy afternoon, but special enough to make someone’s day a little sweeter.