
Sizzling Grilled Cheese Patty Melts Recipe: A Homey Twist
Crafting the ultimate grilled cheese patty melts sparks serious comfort food excitement in our kitchen.
Melted butter coats each slice of hearty bread with golden promise.
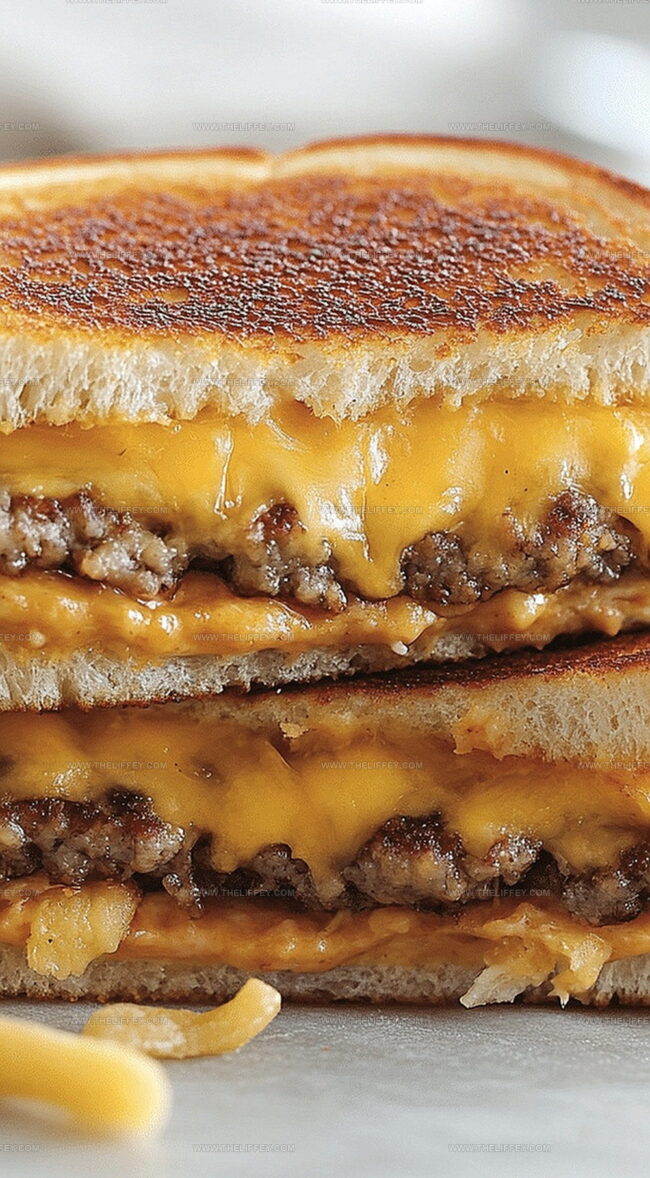
Crispy edges and gooey centers create a sandwich experience that feels like a warm hug.
Juicy beef patties nestle between layers of sharp cheddar and caramelized onions.
Diners will fall in love with this classic diner-style mashup of burger and grilled cheese.
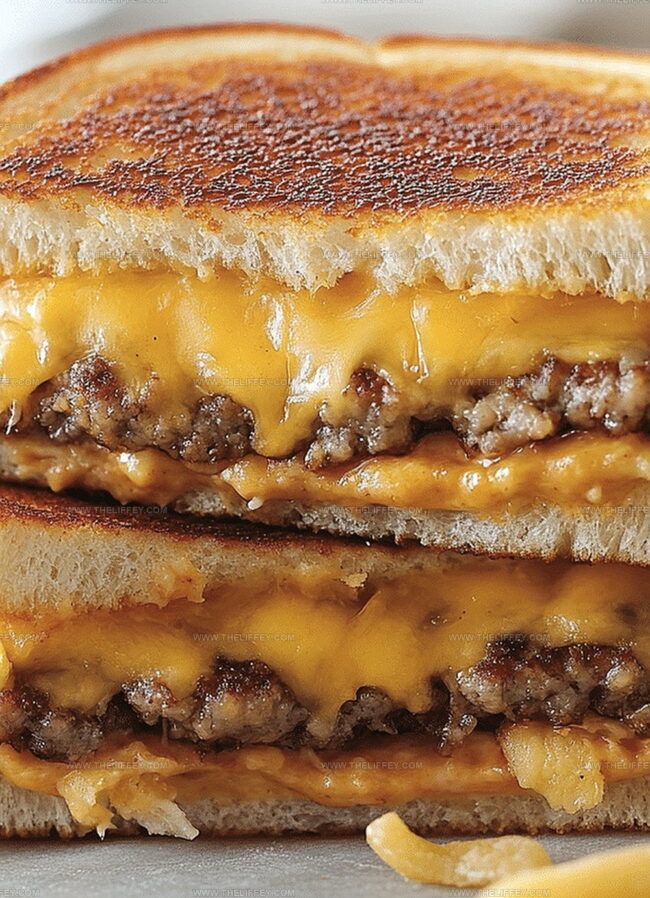
Crisp textures and rich flavors combine for a meal that satisfies deep hunger.
When you bite into these melts, pure deliciousness becomes your only thought.
Grilled Cheese Patty Melts That Satisfy
Ingredients for Grilled Cheese Patty Melts
Main Ingredients:Cheese Blend:Aromatic and Flavor Enhancers:Cooking Ingredients:How to Make Grilled Cheese Patty Melts
Step 1: Caramelize Onions
Heat a skillet and add oil.
Cook diced onions slowly, stirring occasionally until they turn golden brown and become sweet and soft.
This process takes about 10 minutes.
Transfer the caramelized onions to a separate plate.
Step 2: Prepare Beef Patties
Create four equal-sized ground beef patties.
Season the patties with salt, black pepper, and Worcestershire sauce.
Cook the patties in the same skillet over medium heat.
Grill each side for 4-5 minutes until they develop a nice brown crust and reach desired doneness.
Step 3: Prepare Bread Slices
Spread butter generously on one side of each bread slice.
This will help create a crispy, golden exterior when grilled.
Step 4: Build Sandwich Layers
On the unbuttered side of four bread slices, layer:Step 5: Close and Grill Sandwiches
Top each sandwich with the remaining bread slices, ensuring the buttered side faces outward.
Place sandwiches in a skillet or griddle over medium heat.
Cook each side for 2-3 minutes until bread turns golden brown and cheese melts completely.
Step 6: Serve and Enjoy
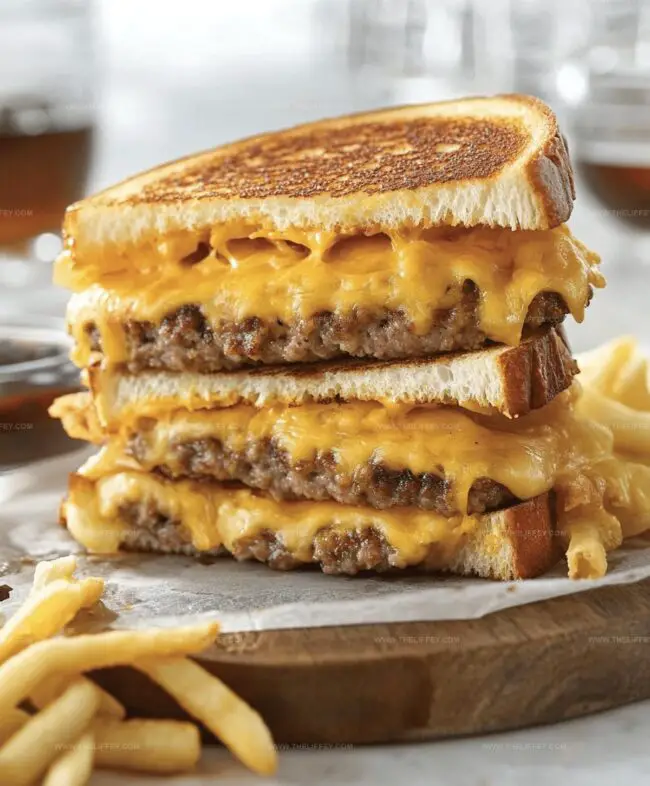
Remove sandwiches from heat, slice diagonally, and serve immediately while warm and gooey.
Tips to Perfect Grilled Cheese Patty Melts
Flavorful Variations for Grilled Cheese Patty Melts
Serving Ideas for Grilled Cheese Patty Melts
How to Store Grilled Cheese Patty Melts
FAQs
A patty melt uses grilled sandwich bread instead of a burger bun, and it includes caramelized onions and typically two types of cheese, creating a richer, more complex flavor profile.
Yes, you can substitute ground beef with ground turkey, ground chicken, or even a plant-based meat alternative to create your own version of a patty melt.
Use medium heat and butter the bread evenly. Keep a close eye on the sandwich and flip when the first side is golden brown, ensuring even cooking and preventing burning.
Print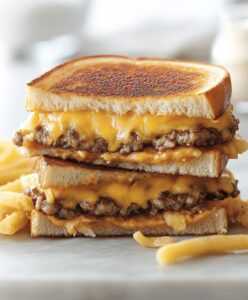
Grilled Cheese Patty Melts Recipe
- Total Time: 30 minutes
- Yield: 4 1x
Description
Grilled cheese patty melts merge classic diner comfort with homemade charm. Melted cheese, caramelized onions, and juicy beef patties create a satisfying sandwich you’ll crave again and again.
Ingredients
Protein:
- 1 pound (454 grams) ground beef
Cheese:
- 4 slices cheddar cheese
- 4 slices swiss cheese
Bread and Cooking Ingredients:
- 8 slices rye or sourdough bread
- 1/2 cup diced onions
- 4 tablespoons butter
- 1 tablespoon vegetable oil
- 1 tablespoon Worcestershire sauce
- Salt to taste
- Pepper to taste
Instructions
- Caramelize diced onions in a skillet over medium heat for approximately 10 minutes until golden and soft, then transfer to a separate plate.
- Create 4 equal ground beef patties, seasoning with salt, pepper, and Worcestershire sauce.
- Cook beef patties in the same skillet over medium heat for 4-5 minutes per side until thoroughly browned and cooked through.
- Spread butter on one side of each bread slice.
- Layer a slice of cheddar and Swiss cheese on the unbuttered side of four bread slices.
- Position a cooked beef patty on top of the cheese for each sandwich.
- Distribute the caramelized onions evenly over the beef patties.
- Complete each sandwich by covering with the remaining bread slices, ensuring the buttered side faces outward.
- Heat a skillet or griddle to medium temperature and grill each sandwich for 2-3 minutes per side.
- Rotate sandwiches when the bread turns golden brown and the cheese begins to melt.
- Remove from heat when both sides are crispy and cheese is completely melted.
- Cut sandwiches diagonally and serve immediately while warm.
Notes
- Caramelize onions slowly over medium heat to develop deep, sweet flavor without burning.
- Choose high-fat ground beef like 80/20 for juicier, more flavorful patties that won’t dry out during cooking.
- Let patties rest briefly after cooking to redistribute meat juices and maintain maximum tenderness.
- Use room temperature butter for easier spreading and more even browning on sandwich exteriors.
- Prep Time: 15 minutes
- Cook Time: 15 minutes
- Category: Lunch, Dinner, Snacks
- Method: Frying
- Cuisine: American
Nutrition
- Serving Size: 4
- Calories: 630 kcal
- Sugar: 2 g
- Sodium: 720 mg
- Fat: 44 g
- Saturated Fat: 20 g
- Unsaturated Fat: 18 g
- Trans Fat: 1 g
- Carbohydrates: 28 g
- Fiber: 2 g
- Protein: 35 g
- Cholesterol: 110 mg
Amanda Bennett
Recipe Curator & Culinary Educator
Expertise
Baking and Pastry Arts, Recipe Testing and Development, Culinary Instruction, Food Styling and Photography
Education
Asheville-Buncombe Technical Community College, Asheville, NC
Diploma in Culinary Arts
Emphasized practical cooking skills, nutrition, and kitchen management.
Cambridge School of Culinary Arts, Cambridge, MA
Certificate in Professional Pastry Arts
Specialized in baking techniques, dessert presentation, and flavor profiling
Amanda’s roots run deep in the Southern hills, where every meal started fresh from the garden and every dessert came with a story. She trained at Asheville-Buncombe Technical Community College and sharpened her pastry skills at the Cambridge School of Culinary Arts, blending classic technique with everyday charm.
At The Liffey, Amanda’s passion is making baking and home cooking feel natural and joyful. She’s all about single recipes that are simple enough for a busy afternoon, but special enough to make someone’s day a little sweeter.