
Soft & Sweet Simple Cream Cheese Mints Recipe
Whipping up these delightful cream cheese mints brings pure joy to any celebration or gathering.
Sweet treats like these always spark conversations and create memorable moments.
Delicate and smooth, these classic confections melt perfectly on your tongue.
Guests will adore the elegant simplicity of these homemade delights.
Crafting these mints requires minimal ingredients and just a few simple steps.
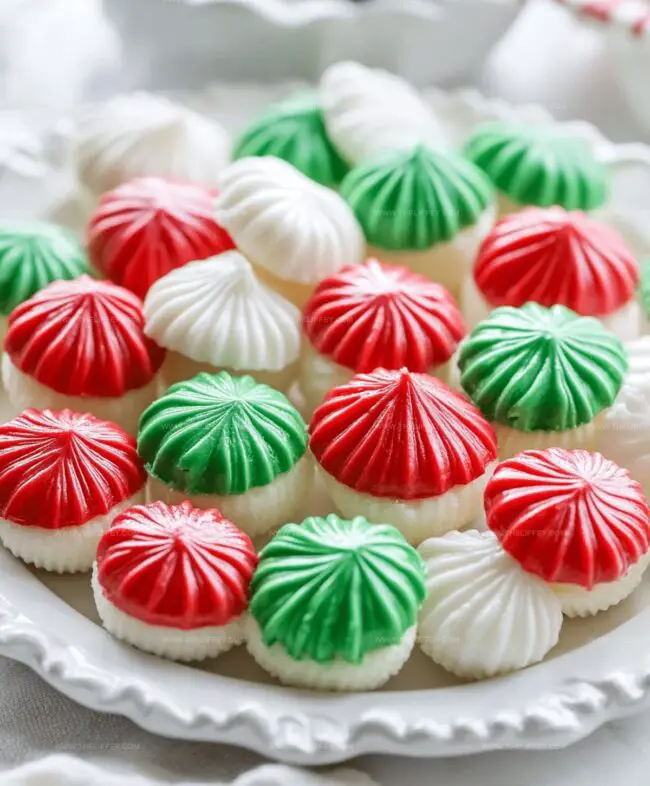
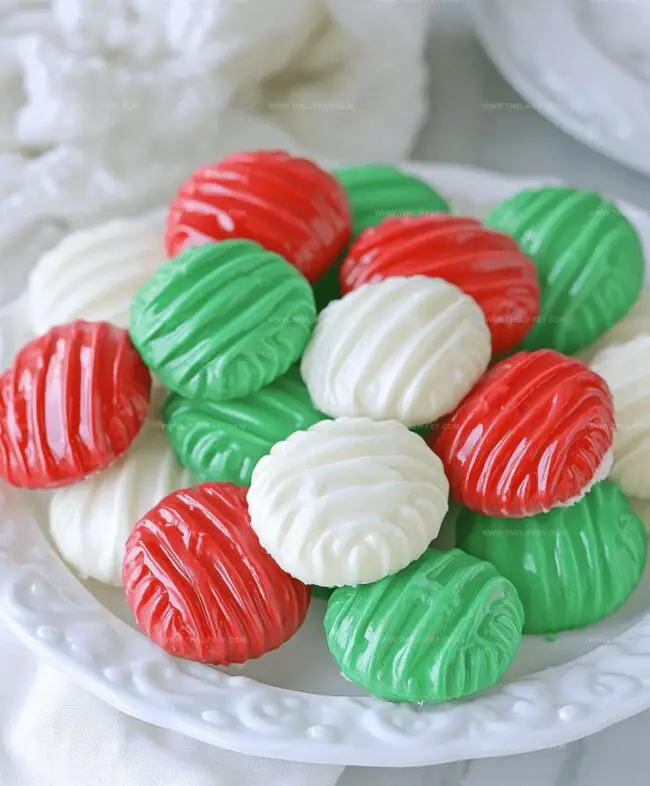
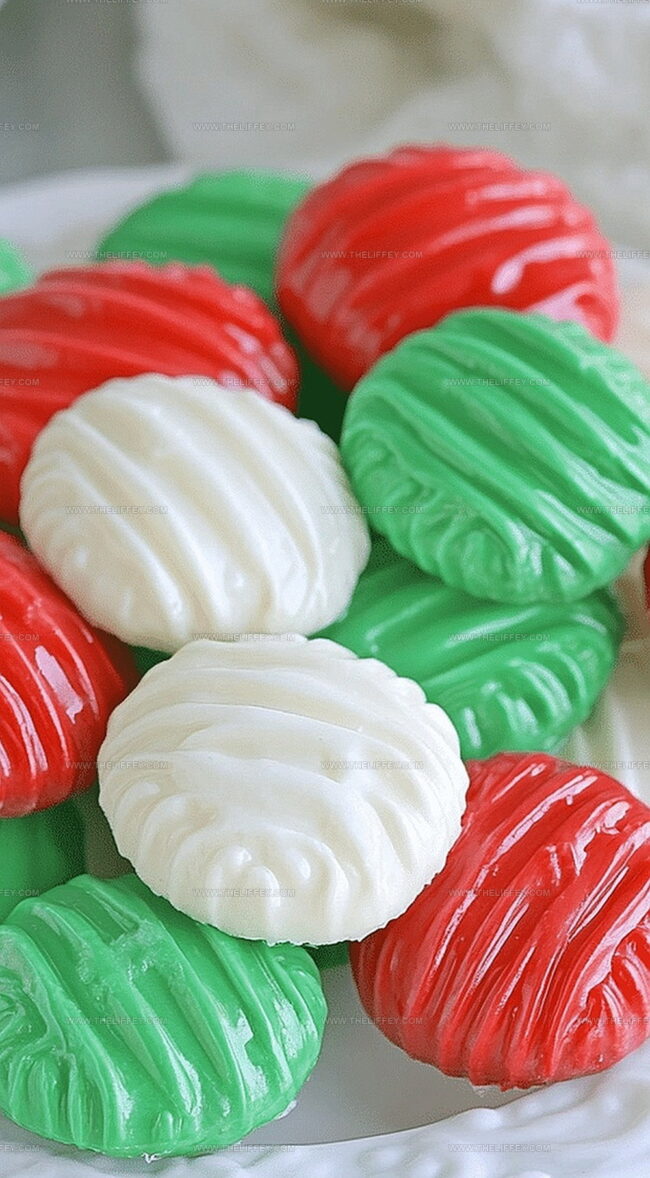
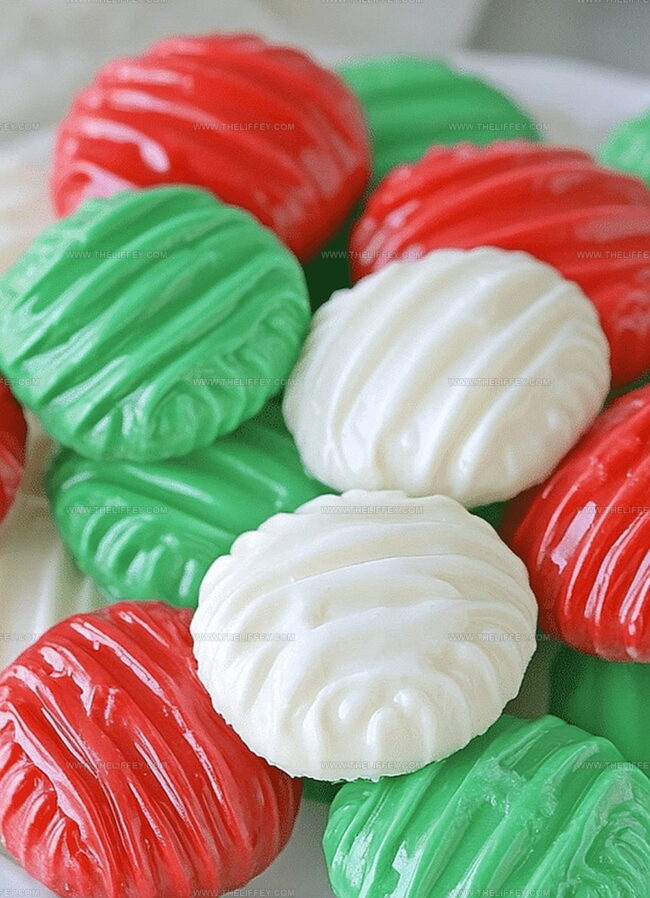
Soft pastel colors can transform these treats into stunning party favors or dessert table centerpieces.
The magic happens when you blend cream cheese with powdered sugar and a touch of mint extract.
Let’s dive into this delectable recipe that promises to impress everyone at your next event.
Why Simple Cream Cheese Mints Are Loved
Ingredients for Cream Cheese Mints
Main Ingredients:Flavoring:Decorative Ingredients:How to Make Cream Cheese Mints
Step 1: Whip Cream Cheese
Grab a spacious mixing bowl and start whipping the softened cream cheese until it transforms into a silky, smooth texture. Use an electric mixer or a sturdy whisk to break down any lumps and create a creamy base for your delightful mints.
Step 2: Blend Sugar
Slowly introduce powdered sugar into the cream cheese mixture. Mix gradually and consistently, watching the ingredients merge into a soft, pliable dough.
Keep stirring until the mixture becomes uniform and starts to pull away from the sides of the bowl.
Step 3: Add Flavor Burst
Drizzle in the peppermint extract, infusing the dough with a refreshing, cool sensation.
If you’re planning to create multiple color variations, this is the perfect moment to divide your dough into separate portions.
Step 4: Create Colorful Swirls
For those wanting vibrant mints, knead in gel food coloring.
Gently work the color through the dough, ensuring an even, consistent shade throughout. Mix thoroughly to avoid streaky patches.
Step 5: Shape Delicate Morsels
Roll the dough into tiny, bite-sized balls. Press each ball gently with a fork to create classic mint patterns, or use decorative candy molds for elegant shapes.
Be creative and have fun with your design!
Step 6: Dry and Set
Place your shaped mints on a parchment-lined baking sheet.
Allow them to air dry for several hours or overnight, letting them firm up and develop a delightful, melt-in-your-mouth texture. Store in a cool, dry location during the drying process.
Tips for Cream Cheese Mint Perfection
Flavor Twists for Cream Cheese Mints
Serving Ideas for Cream Cheese Mints
FAQs
Yes, you can use a wooden spoon or spatula to mix the cream cheese and powdered sugar by hand. It requires more arm strength but works perfectly fine.
Dust your hands with powdered sugar while shaping the mints. This helps control moisture and makes handling the dough easier without sticking.
Absolutely! These homemade cream cheese mints are perfect for weddings, baby showers, graduation parties, and holiday gatherings. They’re elegant, delicious, and can be customized with different colors.
Print
Easy Cream Cheese Mints Recipe
- Total Time: 22 minutes
- Yield: 24 1x
Description
Creamy homemade cream cheese mints dance with delightful sweetness for special occasions. Guests will adore these elegant pastel treats that melt smoothly and offer simple charm.
Ingredients
Main Ingredients:
- 4 ounces (113 grams) cream cheese, softened
- 3 cups (360 grams) powdered sugar
Flavoring:
- 12 teaspoons peppermint extract
Optional Add-ins:
- Gel food coloring
Instructions
- Whip the cream cheese in a mixing bowl until it reaches a silky, uniform consistency at room temperature.
- Incorporate powdered sugar gradually, stirring continuously until the mixture transforms into a cohesive, pliable dough.
- Infuse the dough with peppermint extract, blending thoroughly to distribute the refreshing flavor evenly.
- Separate the dough into portions if planning to create multiple color variations.
- Gently work gel food coloring into each dough section, kneading until the color is seamlessly integrated.
- Craft small, uniform spheres from the colored dough, then delicately flatten each with fork tines or press into decorative candy molds.
- Arrange the shaped mints on a parchment-covered baking sheet, allowing them to air-dry and solidify for 4-6 hours or ideally overnight in a cool, dry environment.
- Once completely set and firm, store the mints in an airtight container, separating layers with parchment paper to prevent sticking.
Notes
- Ensure cream cheese is at room temperature for smooth, lump-free mixing.
- Use gel food coloring for vibrant, even color without altering dough consistency.
- Refrigerate mints in an airtight container for up to two weeks, maintaining their delicate texture.
- Create dietary variations by using sugar-free powdered sweetener for low-carb or diabetic-friendly options.
- Prep Time: 20 minutes
- Cook Time: 2 minutes
- Category: Snacks, Desserts
- Method: Rolling
- Cuisine: American
Nutrition
- Serving Size: 24
- Calories: 90 kcal
- Sugar: 17 g
- Sodium: 25 mg
- Fat: 3 g
- Saturated Fat: 2 g
- Unsaturated Fat: 1 g
- Trans Fat: 0 g
- Carbohydrates: 18 g
- Fiber: 0 g
- Protein: 1 g
- Cholesterol: 10 mg
John Conley
Founder & Culinary Storyteller
Expertise
Recipe Development, Culinary Writing, Home Cooking Techniques, Seasonal Ingredient Utilization
Education
Lane Community College, Eugene, OR
Certificate in Culinary Arts
Focused on foundational cooking techniques, kitchen safety, and menu planning.
Gotham Writers Workshop, New York, NY
Course in Food Writing
Explored the art of crafting engaging culinary narratives and recipe development.
John grew up where food meant connection: big bowls, warm kitchens, and meals that told a story. After earning his Certificate in Culinary Arts from Lane Community College and diving deep into food writing at Gotham Writers Workshop, he found his calling: turning everyday recipes into something worth savoring.
At The Liffey, John’s focus is all about crafting dishes that feel easy, honest, and full of heart.