Heavenly Easy Coconut Pie Recipe That Melts in Your Mouth
Whipping up a delightful coconut pie becomes effortless with this simple, foolproof method.
Sweet tropical flavors dance across your palate, promising pure dessert magic.
coconut lovers will adore how quickly this treat comes together in your kitchen.
No fancy techniques or complicated steps stand between you and dessert bliss.
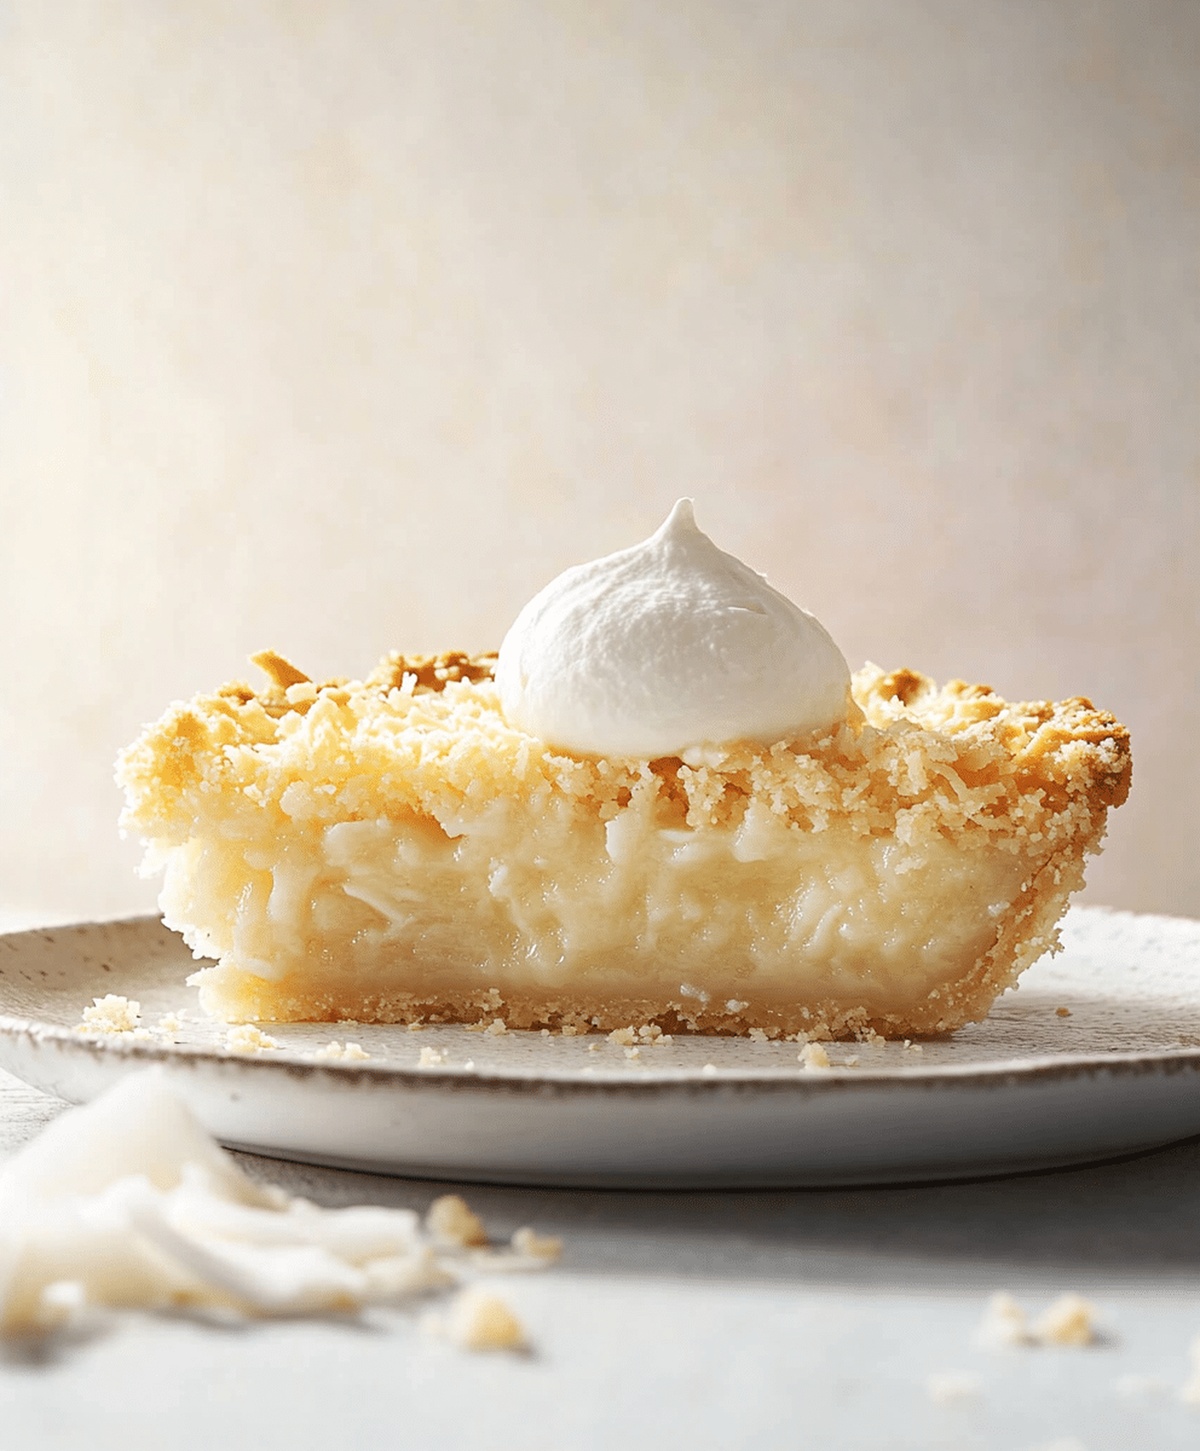
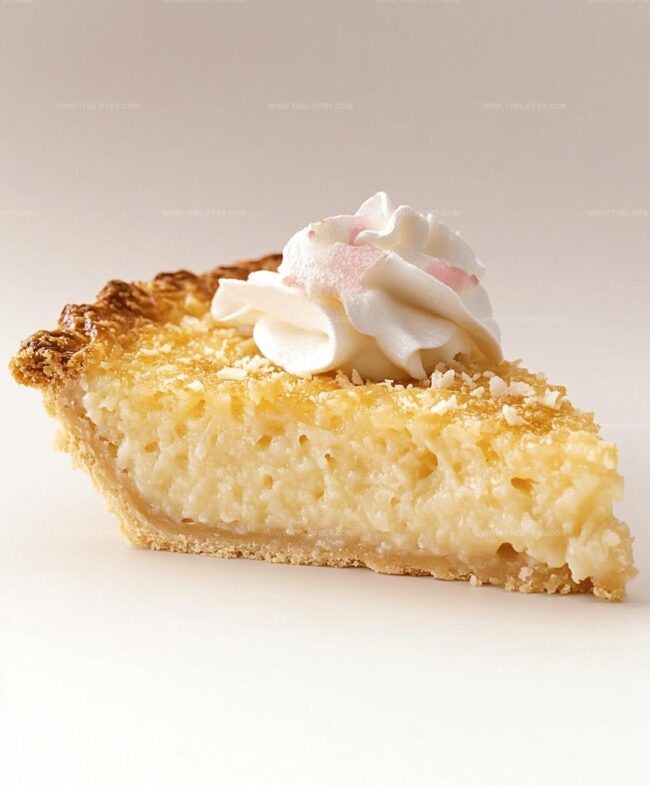
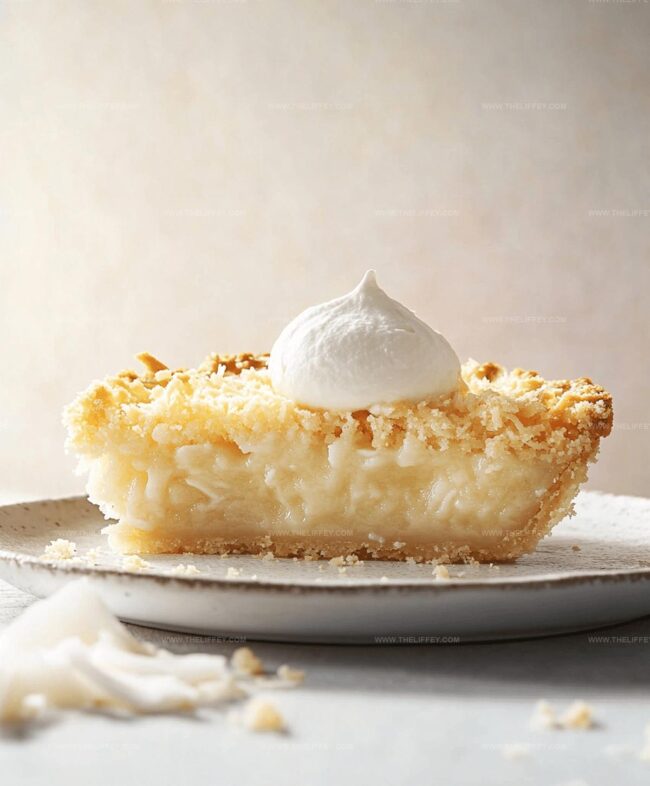
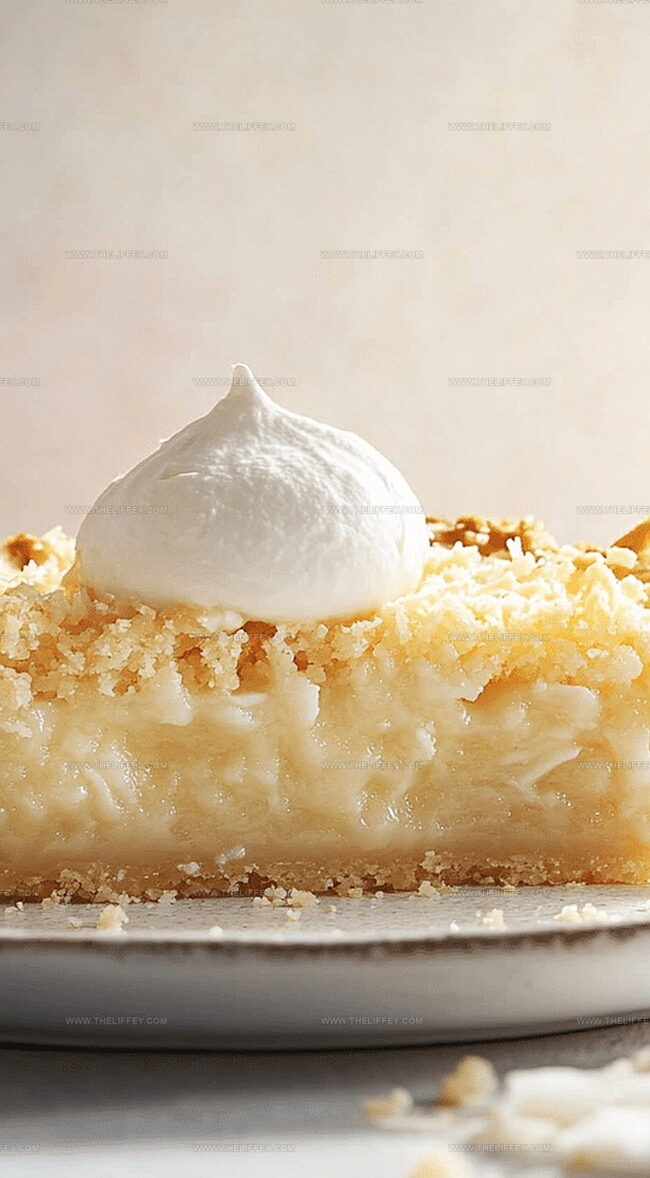
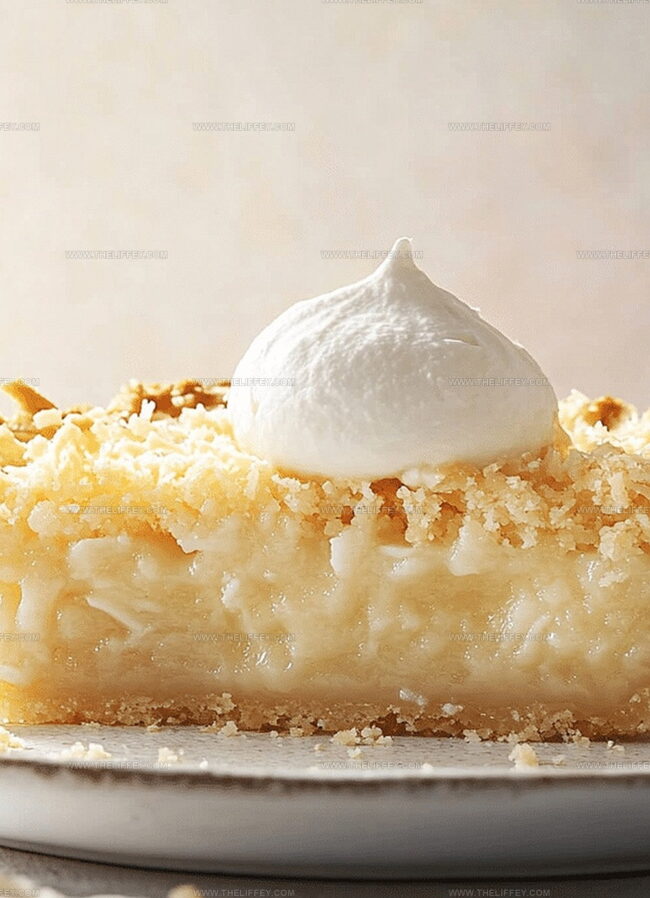
Rich, creamy textures meld perfectly with a golden, crisp crust that melts in your mouth.
Each slice promises a dreamy escape to island-inspired comfort.
Dive into this delectable journey and watch friends marvel at your baking prowess.
Why Everyone Loves Coconut Pie Recipe
All You Need for Coconut Pie Recipe
Main Ingredients:Liquid Ingredients:Binding Ingredients:Instructions for Making Coconut Pie Recipe
Step 1: Warm Up The Oven
Fire up your oven to a cozy 350 degrees Fahrenheit, preparing the perfect toasty environment for your delightful coconut creation.
Step 2: Create Magic In The Mixing Bowl
Gather your delicious ingredients and toss them into a spacious mixing bowl with enthusiasm:Whisk everything together until the mixture transforms into a smooth, creamy dream.
Step 3: Prepare The Baking Vessel
Generously grease a 9-inch pie pan, ensuring your coconut pie will glide out effortlessly after baking.
Step 4: Pour And Spread
Carefully transfer your luscious mixture into the prepared pie pan, spreading it evenly with a gentle touch.
Step 5: Bake To Perfection
Slide the pie into the preheated oven and let it bake for 45-50 minutes.
Watch for a beautiful golden-brown top and a center that’s perfectly set.
Step 6: Cool And Serve
Allow your masterpiece to cool slightly, giving the flavors time to settle and meld.
Slice, serve, and enjoy the tropical paradise you’ve created!
Expert Guidance for Coconut Pie Recipe
Flavorful Options for Coconut Pie Recipe
Tasty Complements for Coconut Pie Recipe
Keep Coconut Pie Fresh for Longer
FAQs
You can use either type, but unsweetened coconut works best to control the overall sweetness of the pie. If using sweetened coconut, slightly reduce the added sugar in the recipe.
Bisquick helps create the pie’s texture and binding, but you can substitute it with all-purpose flour and a pinch of baking powder if needed. The substitution might slightly change the pie’s consistency.
Look for a golden brown top and a set center that doesn’t jiggle when gently shaken. A toothpick inserted near the center should come out clean or with just a few moist crumbs.
Print
Easy Coconut Pie Recipe
- Total Time: 1 hour 5 minutes
- Yield: 8 1x
Description
Creamy coconut pie blends tropical flavors from Caribbean kitchens with classic dessert traditions. Coconut lovers will savor each silky slice of this irresistible sweet treat you’ll want to share with friends.
Ingredients
Main Ingredients:
- 3 large eggs
- 1 cup sugar
- 1 cup whole milk
- 1/2 cup Bisquick baking mix
- 1 cup sweetened shredded coconut
Supporting Ingredients:
- 1/4 cup butter, melted
- 1 1/2 teaspoons vanilla extract
Measurement Conversion:
- 3 large eggs
- 240 grams sugar
- 240 milliliters whole milk
- 60 grams Bisquick baking mix
- 80 grams sweetened shredded coconut
- 57 grams butter, melted
- 7.5 milliliters vanilla extract
Instructions
- Preheat the oven to 350°F (175°C) and thoroughly grease a 9-inch pie pan to prevent sticking.
- In a large mixing bowl, whisk together eggs until they become slightly frothy and light.
- Gradually incorporate milk, melted butter, and vanilla extract into the eggs, stirring continuously to create a smooth liquid base.
- Add Bisquick mix and sugar to the liquid ingredients, blending carefully to eliminate any potential lumps.
- Fold in shredded coconut, ensuring even distribution throughout the mixture for consistent flavor and texture.
- Transfer the combined batter into the prepared pie pan, using a spatula to spread it evenly and tap the pan gently to release any air bubbles.
- Place the pie in the preheated oven and bake for 45-50 minutes, rotating halfway through to promote uniform golden-brown coloration.
- Check the pie’s doneness by inserting a toothpick into the center – it should come out clean with no wet batter.
- Remove from the oven and let the pie cool for 15-20 minutes, allowing the filling to set and firm up before slicing.
- Serve warm or at room temperature, optionally garnishing with additional toasted coconut or a light dusting of powdered sugar.
Notes
- Toast the coconut lightly before mixing to enhance its nutty flavor and add a delightful crunch to the pie.
- For a gluten-free version, replace Bisquick with a gluten-free baking mix or almond flour to maintain the pie’s texture.
- Chill the pie for an hour before serving to help it set firmly and develop a more intense coconut flavor.
- Use unsweetened shredded coconut if you prefer a less sweet dessert, allowing you to control the overall sugar content.
- Prep Time: 15 minutes
- Cook Time: 50 minutes
- Category: Desserts
- Method: Baking
- Cuisine: American
Nutrition
- Serving Size: 8
- Calories: 298 kcal
- Sugar: 29 g
- Sodium: 218 mg
- Fat: 17 g
- Saturated Fat: 12 g
- Unsaturated Fat: 4 g
- Trans Fat: 0.3 g
- Carbohydrates: 34 g
- Fiber: 2 g
- Protein: 4 g
- Cholesterol: 68 mg
Amanda Bennett
Recipe Curator & Culinary Educator
Expertise
Baking and Pastry Arts, Recipe Testing and Development, Culinary Instruction, Food Styling and Photography
Education
Asheville-Buncombe Technical Community College, Asheville, NC
Diploma in Culinary Arts
Emphasized practical cooking skills, nutrition, and kitchen management.
Cambridge School of Culinary Arts, Cambridge, MA
Certificate in Professional Pastry Arts
Specialized in baking techniques, dessert presentation, and flavor profiling
Amanda’s roots run deep in the Southern hills, where every meal started fresh from the garden and every dessert came with a story. She trained at Asheville-Buncombe Technical Community College and sharpened her pastry skills at the Cambridge School of Culinary Arts, blending classic technique with everyday charm.
At The Liffey, Amanda’s passion is making baking and home cooking feel natural and joyful. She’s all about single recipes that are simple enough for a busy afternoon, but special enough to make someone’s day a little sweeter.