
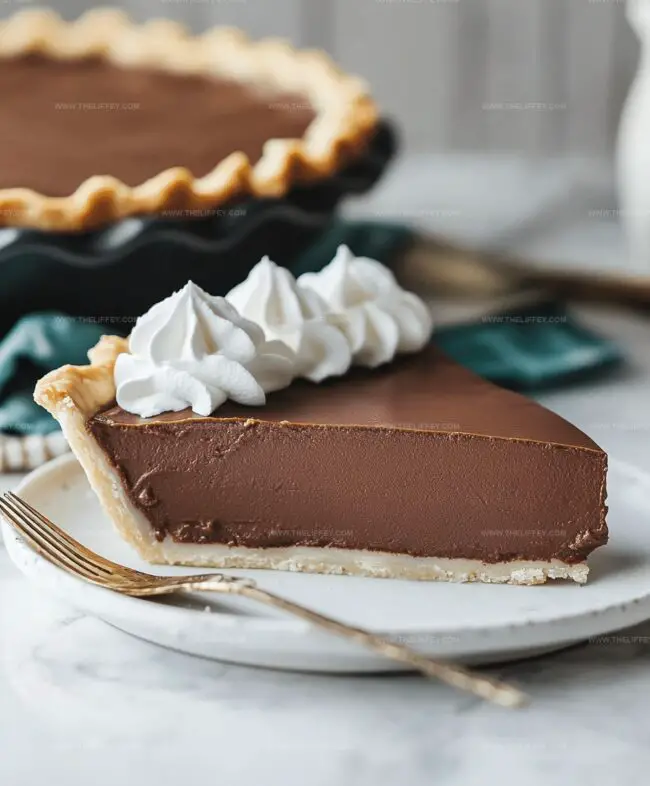
Dreamy Chocolate Pie Recipe That Melts Hearts Every Time
Sweet memories often swirl around a homemade chocolate pie that captures hearts instantly.
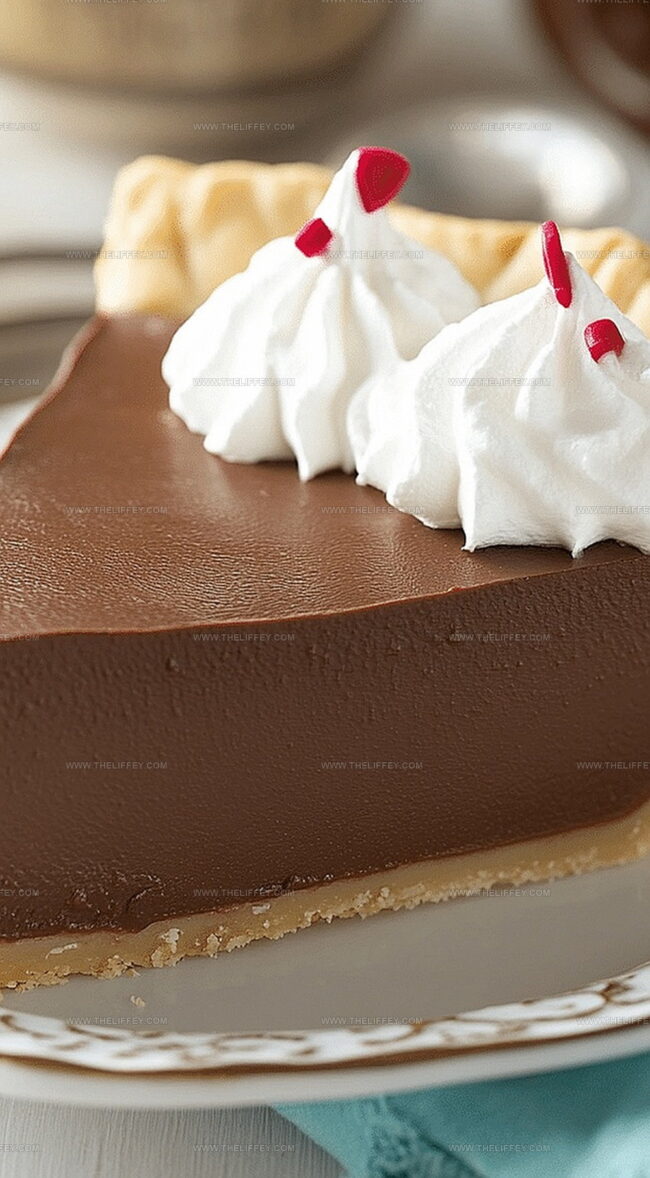
Creamy textures and rich chocolate flavors dance together in this simple dessert.
Minimal ingredients create maximum satisfaction with every delightful slice.
Childhood comfort meets elegant simplicity in this uncomplicated treat.
Home bakers can whip up this delectable dessert without stress or complicated techniques.
chocolate lovers will find pure joy in each smooth, decadent bite.
Grab your whisk and let’s make magic happen in your kitchen!
Why This Chocolate Pie Recipe Stands Out
Ingredients Needed for Chocolate Pie Recipe
Pie Crust:Chocolate Filling Ingredients:Binding and Flavor Ingredients:Step-by-Step Chocolate Pie Instructions

Step 1: Warm Up the Oven
Fire up your oven to a toasty 350 degrees Fahrenheit (175 degrees Celsius).
This will create the perfect environment for baking your decadent chocolate pie.
Step 2: Create Silky Chocolate Mixture
Grab your chocolate chips and heavy cream.
Gently melt them together in a double boiler or microwave, stirring until the mixture becomes incredibly smooth and glossy.
Let the mixture cool down for a few minutes to prevent scrambling the eggs in the next step.
Step 3: Whip Up the Filling
In a large mixing bowl, combine:Whisk these ingredients until they’re well blended and slightly frothy.
Slowly pour in the melted chocolate mixture, stirring continuously to create a rich, velvety filling.
Step 4: Fill the Pie Crust
Pour the luscious chocolate mixture into your prepared pie crust.
Make sure to spread it evenly, creating a tempting surface that will make mouths water.
Step 5: Bake to Perfection
Slide the pie into the preheated oven and bake for 30 to 35 minutes.
You’ll know it’s done when the filling is set but still has a slight jiggle in the center.
The pie will continue to firm up as it cools.
Step 6: Cool and Serve
Allow the pie to cool completely at room temperature.
This helps the filling set and makes cutting clean slices easier.
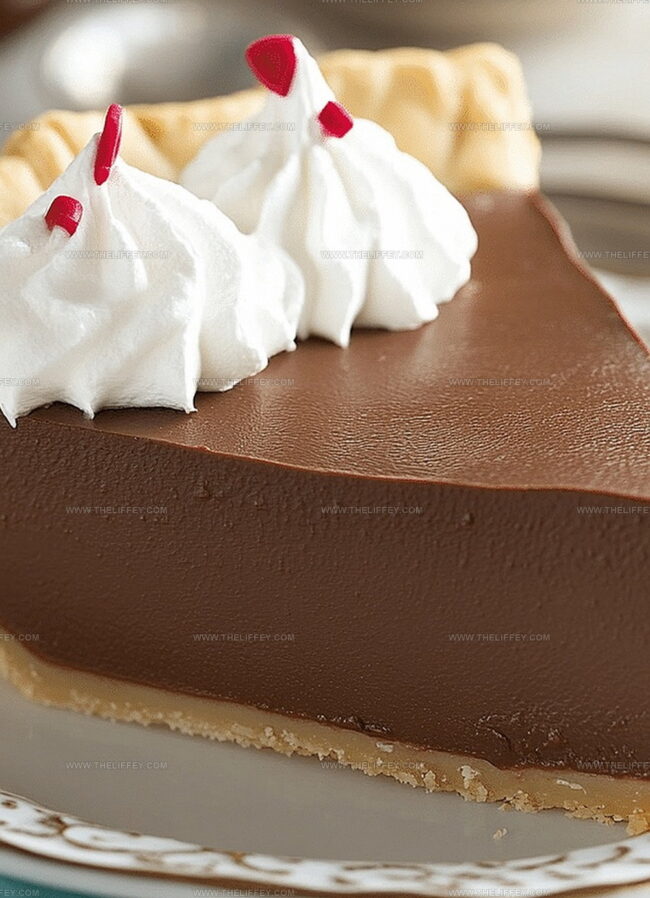
Serve chilled or at room temperature for a truly indulgent dessert experience.
Chocolate Pie Tips That Really Help
Flavor Combos for Chocolate Pie Recipe
What to Serve with Chocolate Pie Recipe
Save Your Chocolate Pie Like a Pro
FAQs
Dark chocolate provides richer flavor, but milk chocolate works if you prefer sweeter taste. Just ensure chocolate melts smoothly with cream.
Pie is done when edges are set but center slightly jiggles. A knife inserted near center should come out mostly clean with minimal wet chocolate.
You’ll need a 9-inch pie dish, mixing bowls, whisk, and standard baking tools. No specialized equipment required for this simple recipe.
Yes, using dark chocolate creates a rich, less sugary dessert. The recipe balances sweetness with deep chocolate flavor, making it appealing to those who prefer less sugary treats.
Print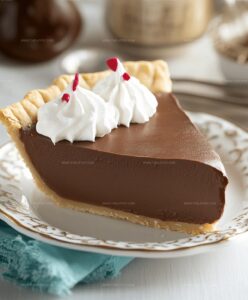
Easy Chocolate Pie Recipe
- Total Time: 50 minutes
- Yield: 8 1x
Description
Sinful chocolate pie brings rich, velvety indulgence straight from grandma’s kitchen. Chocolate lovers will savor each silky slice with pure dessert delight.
Ingredients
Main Ingredients:
- 1 pre-made pie crust
- 1 cup (240 ml) semi-sweet chocolate chips
- 2 large eggs
- 3/4 cup (150 g) granulated sugar
Dairy Components:
- 1/2 cup (120 ml) heavy cream
Flavor Enhancers:
- 1 teaspoon vanilla extract
- 1/4 teaspoon salt
Instructions
- Warm the oven to 350F (175C) for optimal pie preparation.
- Create a silky chocolate mixture by gently melting chocolate chips into heavy cream, stirring until completely smooth and glossy.
- In a separate mixing bowl, combine sugar, eggs, salt, and vanilla extract, whisking thoroughly to integrate all ingredients.
- Slowly incorporate the warm chocolate mixture into the egg blend, ensuring a consistent and velvety texture without overmixing.
- Transfer the luxurious chocolate filling into the prepared pie crust, spreading evenly to prevent air pockets.
- Position the pie in the preheated oven and bake for 30-35 minutes, watching for a set consistency with a slight jiggle in the center.
- Remove from oven and allow the pie to cool completely at room temperature, which helps the filling solidify and develop rich flavors.
- Once cooled, slice and serve the decadent chocolate pie, optionally garnishing with whipped cream or chocolate shavings for an elegant presentation.
Notes
- Chill the pie crust beforehand to prevent soggy bottom and ensure a crisp texture.
- Use high-quality dark chocolate for a richer, more intense flavor profile that elevates the entire dessert.
- Gently fold chocolate mixture to avoid overbeating, which can create air bubbles and affect the smooth, silky consistency.
- Accommodate dietary needs by substituting dairy-free chocolate and using coconut cream for a vegan-friendly version of this decadent pie.
- Prep Time: 15 minutes
- Cook Time: 35 minutes
- Category: Desserts
- Method: Baking
- Cuisine: American
Nutrition
- Serving Size: 8
- Calories: 315
- Sugar: 29 g
- Sodium: 125 mg
- Fat: 21 g
- Saturated Fat: 13 g
- Unsaturated Fat: 7 g
- Trans Fat: 0.5 g
- Carbohydrates: 30 g
- Fiber: 2 g
- Protein: 4 g
- Cholesterol: 75 mg
Amanda Bennett
Recipe Curator & Culinary Educator
Expertise
Baking and Pastry Arts, Recipe Testing and Development, Culinary Instruction, Food Styling and Photography
Education
Asheville-Buncombe Technical Community College, Asheville, NC
Diploma in Culinary Arts
Emphasized practical cooking skills, nutrition, and kitchen management.
Cambridge School of Culinary Arts, Cambridge, MA
Certificate in Professional Pastry Arts
Specialized in baking techniques, dessert presentation, and flavor profiling
Amanda’s roots run deep in the Southern hills, where every meal started fresh from the garden and every dessert came with a story. She trained at Asheville-Buncombe Technical Community College and sharpened her pastry skills at the Cambridge School of Culinary Arts, blending classic technique with everyday charm.
At The Liffey, Amanda’s passion is making baking and home cooking feel natural and joyful. She’s all about single recipes that are simple enough for a busy afternoon, but special enough to make someone’s day a little sweeter.