Savory Easy Cheeseburger Sliders Recipe for Family Fun Night
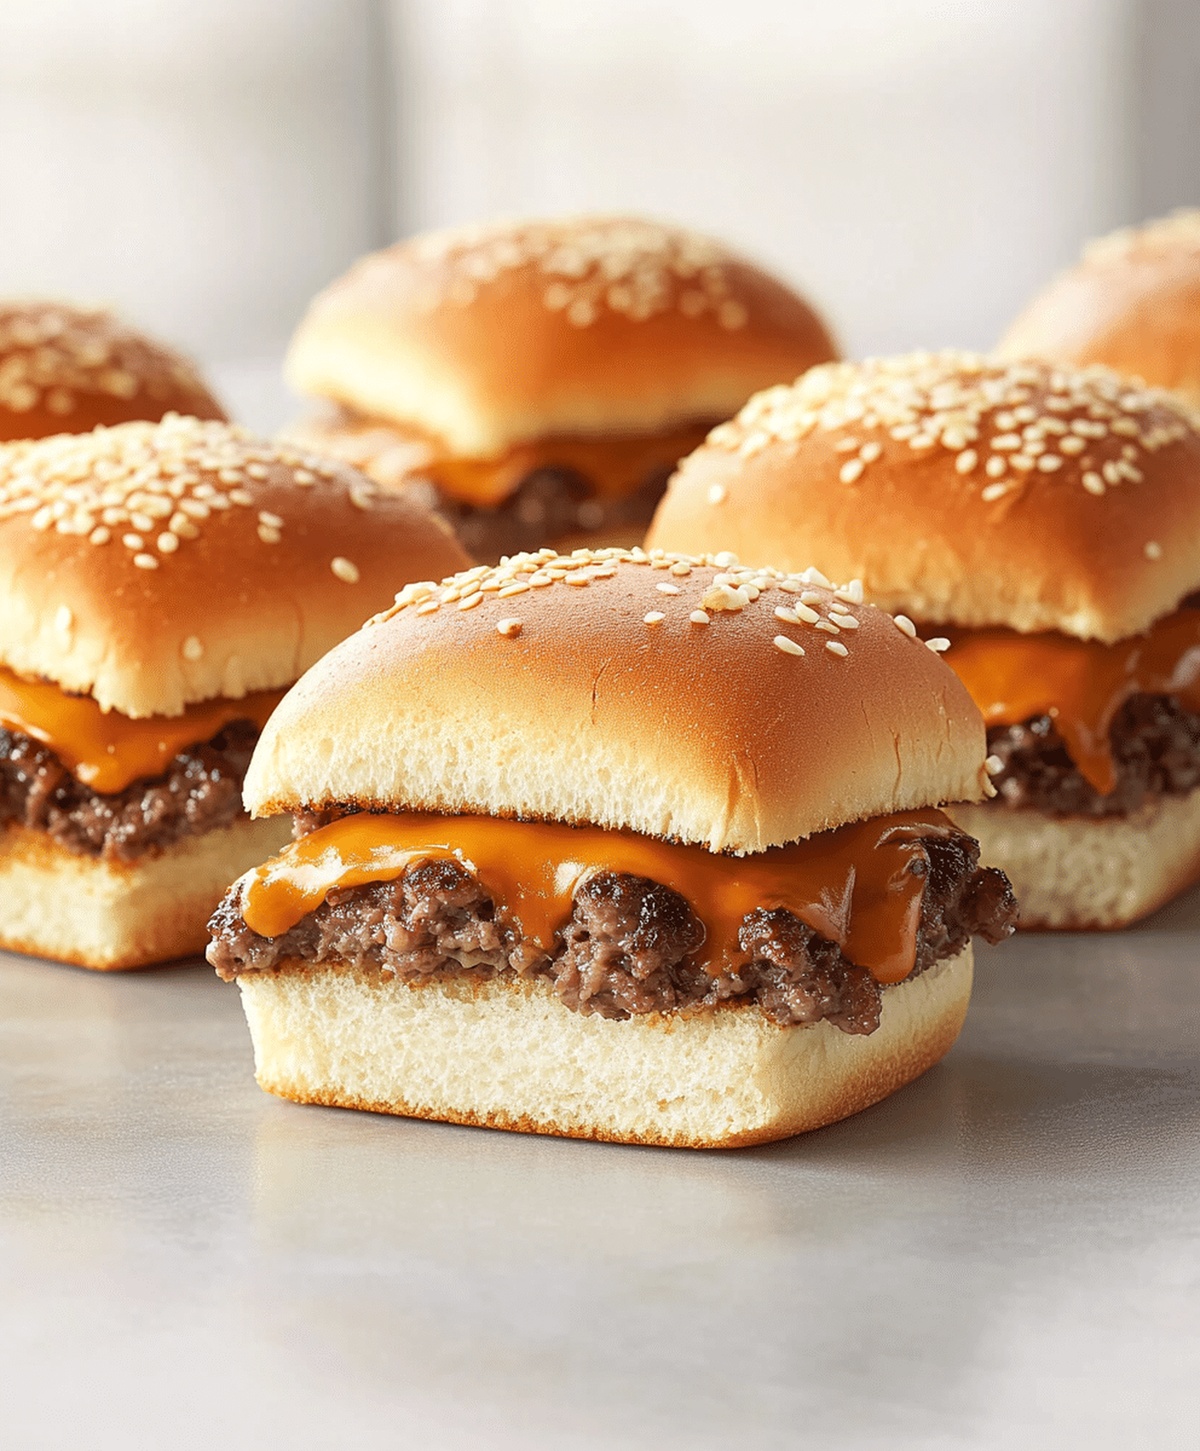
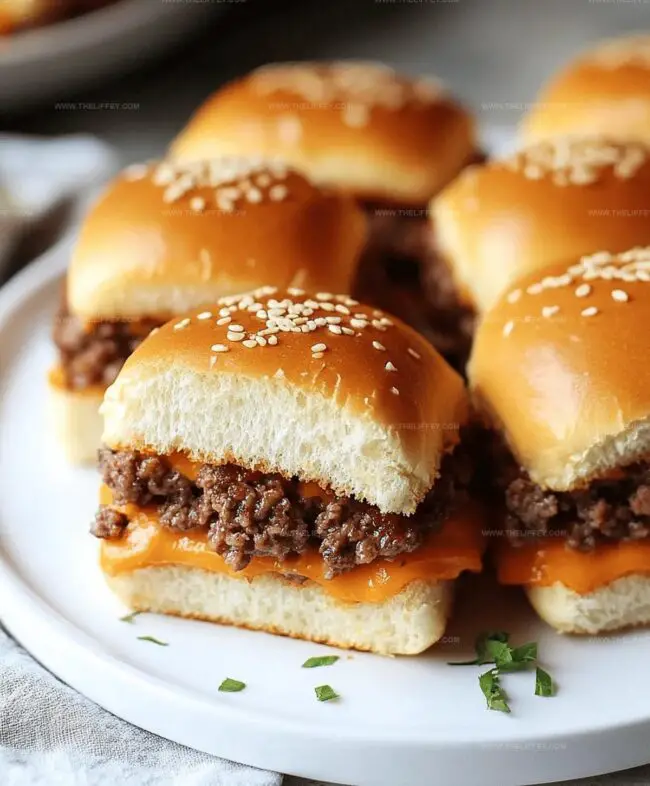
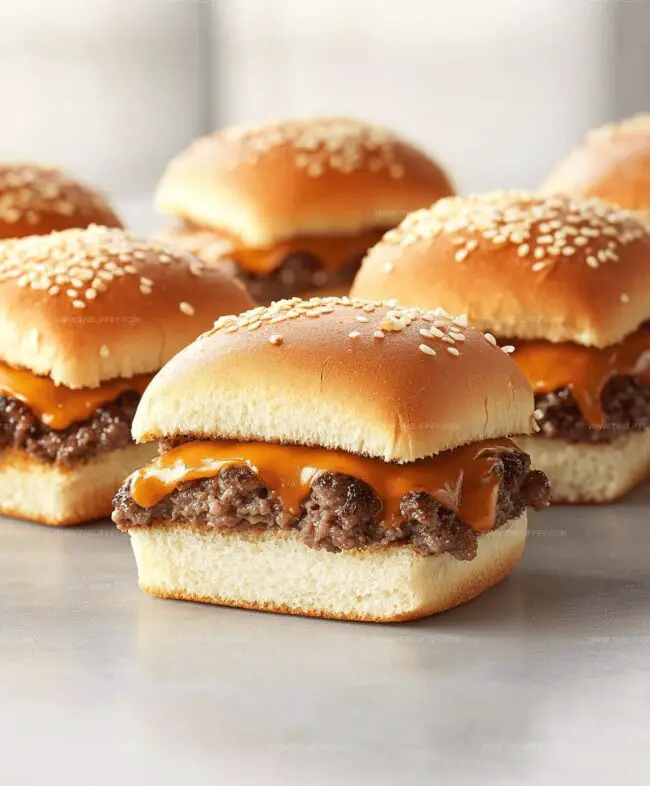
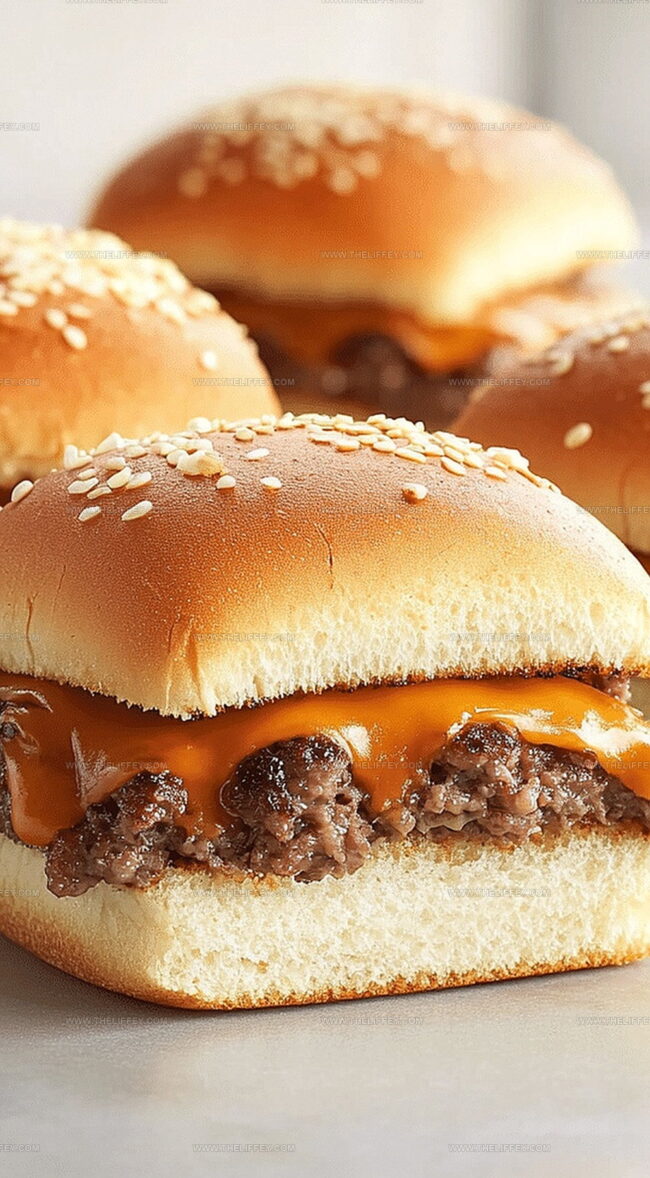
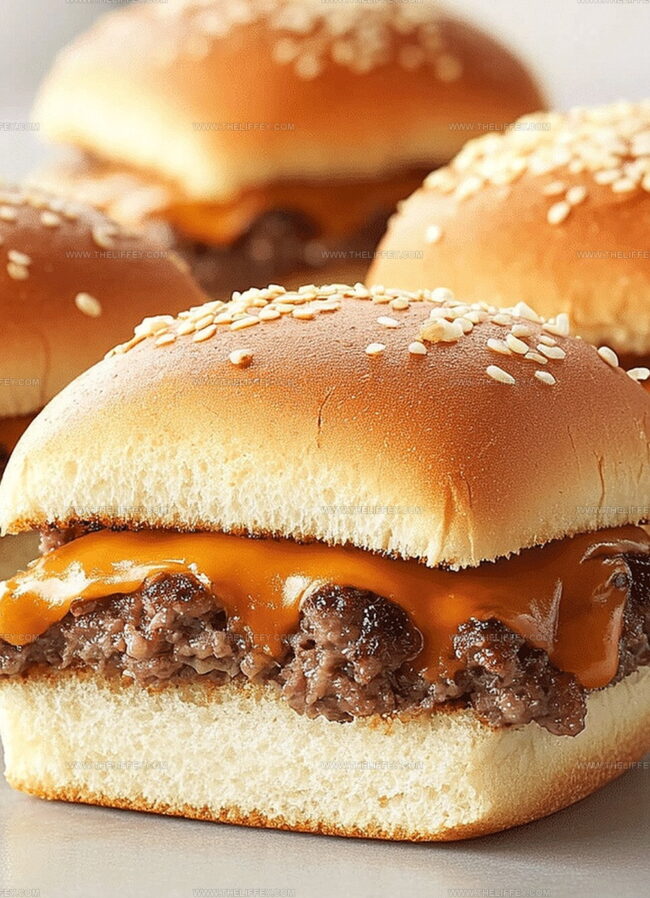
Small yet mighty, these delightful cheeseburger sliders pack serious flavor into bite-sized portions.
Every ingredient comes together with surprising simplicity and joy.
Miniature sandwiches bring unexpected delight to casual gatherings and game day celebrations.
Crispy edges and melted cheese create an irresistible combination that sparks instant cravings.
Quick preparation means minimal kitchen time and maximum satisfaction.
Meat lovers and sandwich enthusiasts will appreciate how these little gems deliver big taste in compact form.
Jump into this recipe and watch hungry faces light up with pure culinary excitement.
Why Cheeseburger Sliders Are So Tasty
Ingredients for Cheeseburger Sliders Recipe
Main Protein:Seasoning and Flavor Enhancers:Bread and Topping Components:How to Make Cheeseburger Sliders
Step 1: Warm Up the Oven
Fire up your oven to a toasty 350°F (175°C) and get ready for slider magic.
Step 2: Brown the Meat and Onions
Grab a skillet and toss in ground beef and diced onions.
Cook them together over medium heat until the meat looks beautifully browned.
Drain away any extra fat to keep things nice and tidy.
Step 3: Season the Beef Mixture
Sprinkle in:Stir everything together so the flavors dance around the meat.
Step 4: Prepare the Slider Base
Slice your slider buns right down the middle.
Line them up on a baking sheet, showing off their bottom halves.
Step 5: Layer the Delicious Goodness
Spread the seasoned beef mixture evenly across the bun bottoms.
Top each slider with a slice of cheese that’ll melt into gooey perfection.
Step 6: Crown with Bun Tops
Gently place the top bun halves over the cheesy beef, creating little burger sandwiches.
Step 7: Add Golden Finishing Touches
Brush melted butter over the bun tops.
Sprinkle sesame seeds if you’re feeling fancy.
Step 8: Bake to Perfection
Slide the baking sheet into the preheated oven.
Bake for 10-12 minutes until the cheese melts and buns turn a beautiful golden brown.
Step 9: Serve and Devour
Pull out those gorgeous sliders and serve them warm.
Get ready for a flavor explosion!
Tips for Perfect Cheeseburger Sliders Recipe
Cheeseburger Slider Variations You’ll Enjoy
What to Serve With Cheeseburger Sliders
How to Store Cheeseburger Sliders
FAQs
Use lean ground beef or ground turkey to reduce fat content. Add chopped vegetables like bell peppers or spinach to the meat mixture for extra nutrition.
Yes, you can assemble the sliders ahead of time and refrigerate them. Cover tightly with foil and bake when ready to serve, adding a few extra minutes to cooking time.
American, cheddar, and provolone are excellent choices. They melt well and provide great flavor. Choose a cheese that melts smoothly for the best results.
Absolutely! They’re easy to make in large batches, perfect for gatherings, game days, and potlucks. They’re bite-sized, crowd-pleasing, and quick to prepare.
Print
Easy Cheeseburger Sliders Recipe
- Total Time: 32 minutes
- Yield: 12 1x
Description
Juicy cheeseburger sliders offer miniature delights perfect for casual gatherings. Small beef patties topped with melted cheese create irresistible party bites you’ll crave at every celebration.
Ingredients
Meat Ingredients:
- 1 pound (1 lb) ground beef
Flavoring Ingredients:
- 1 small onion, diced
- 1 teaspoon garlic powder
- Salt to taste
- Pepper to taste
Bread and Topping Ingredients:
- 12 slider buns
- 6 slices cheddar cheese, halved
- 2 tablespoons butter, melted
- 1 teaspoon sesame seeds
Instructions
- Prepare a baking sheet and set the oven to 350°F (175°C) for optimal heating.
- In a skillet over medium heat, brown ground beef with diced onions, ensuring thorough cooking and draining any excess fat.
- Enhance the meat mixture with garlic powder, salt, and pepper, blending flavors evenly throughout.
- Carefully split slider buns horizontally, positioning bottom halves on the prepared baking sheet.
- Distribute the seasoned beef mixture uniformly across the bun bases, creating an even layer of meat.
- Layer cheese slices directly on top of the beef to ensure complete coverage.
- Gently place the top bun halves over the cheese, creating compact mini burgers.
- Generously brush melted butter across the bun surfaces, optionally sprinkling sesame seeds for additional texture and flavor.
- Bake in the preheated oven for 10-12 minutes, watching for golden-brown buns and fully melted cheese.
- Remove from oven, allow a brief cooling moment, then serve these delectable sliders while warm and inviting.
Notes
- Customize the sliders by adding different cheese varieties like sharp cheddar, pepper jack, or blue cheese for unique flavor profiles.
- Swap ground beef with ground turkey or plant-based meat alternatives to create healthier or vegetarian versions of the recipe.
- Enhance the burger mixture by incorporating finely chopped herbs like parsley or chives for an extra layer of freshness and aroma.
- Ensure even cooking by gently pressing down the beef mixture when spreading it on the buns, creating a uniform layer that melts cheese perfectly.
- Prep Time: 20 minutes
- Cook Time: 12 minutes
- Category: Lunch, Dinner, Snacks, Appetizer
- Method: Baking
- Cuisine: American
Nutrition
- Serving Size: 12
- Calories: 280 kcal
- Sugar: 3 g
- Sodium: 520 mg
- Fat: 18 g
- Saturated Fat: 8 g
- Unsaturated Fat: 7 g
- Trans Fat: 0.5 g
- Carbohydrates: 16 g
- Fiber: 1 g
- Protein: 15 g
- Cholesterol: 45 mg

Amanda Bennett
Recipe Curator & Culinary Educator
Expertise
Baking and Pastry Arts, Recipe Testing and Development, Culinary Instruction, Food Styling and Photography
Education
Asheville-Buncombe Technical Community College, Asheville, NC
Diploma in Culinary Arts
Emphasized practical cooking skills, nutrition, and kitchen management.
Cambridge School of Culinary Arts, Cambridge, MA
Certificate in Professional Pastry Arts
Specialized in baking techniques, dessert presentation, and flavor profiling
Amanda’s roots run deep in the Southern hills, where every meal started fresh from the garden and every dessert came with a story. She trained at Asheville-Buncombe Technical Community College and sharpened her pastry skills at the Cambridge School of Culinary Arts, blending classic technique with everyday charm.
At The Liffey, Amanda’s passion is making baking and home cooking feel natural and joyful. She’s all about single recipes that are simple enough for a busy afternoon, but special enough to make someone’s day a little sweeter.