
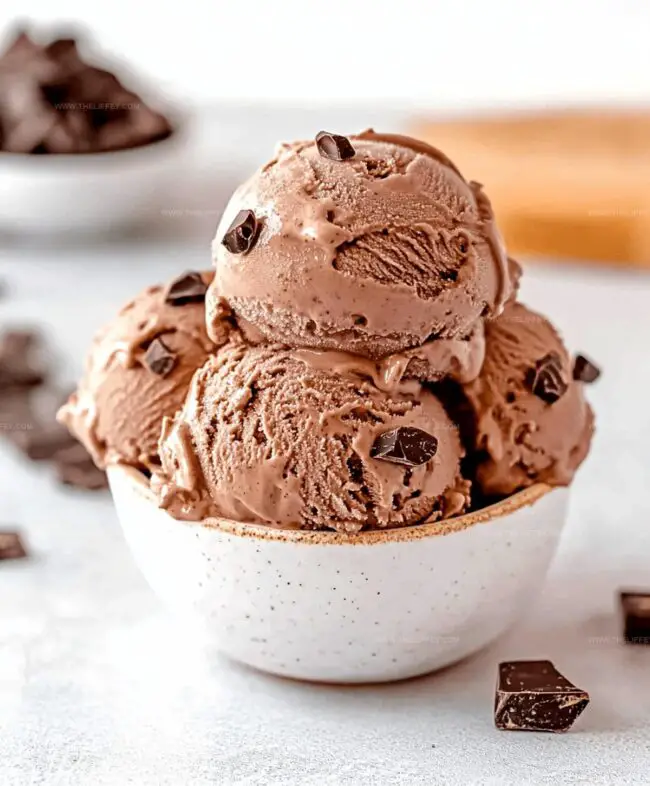
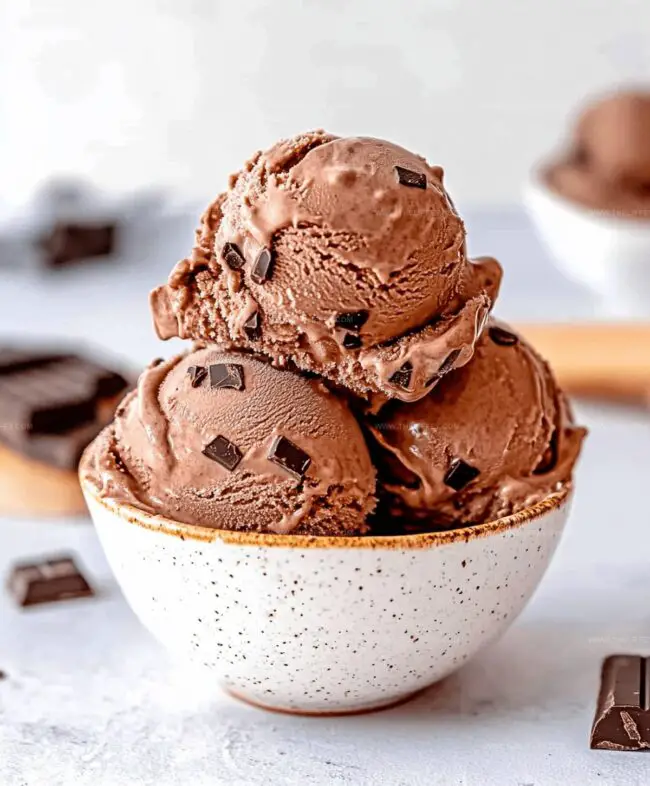
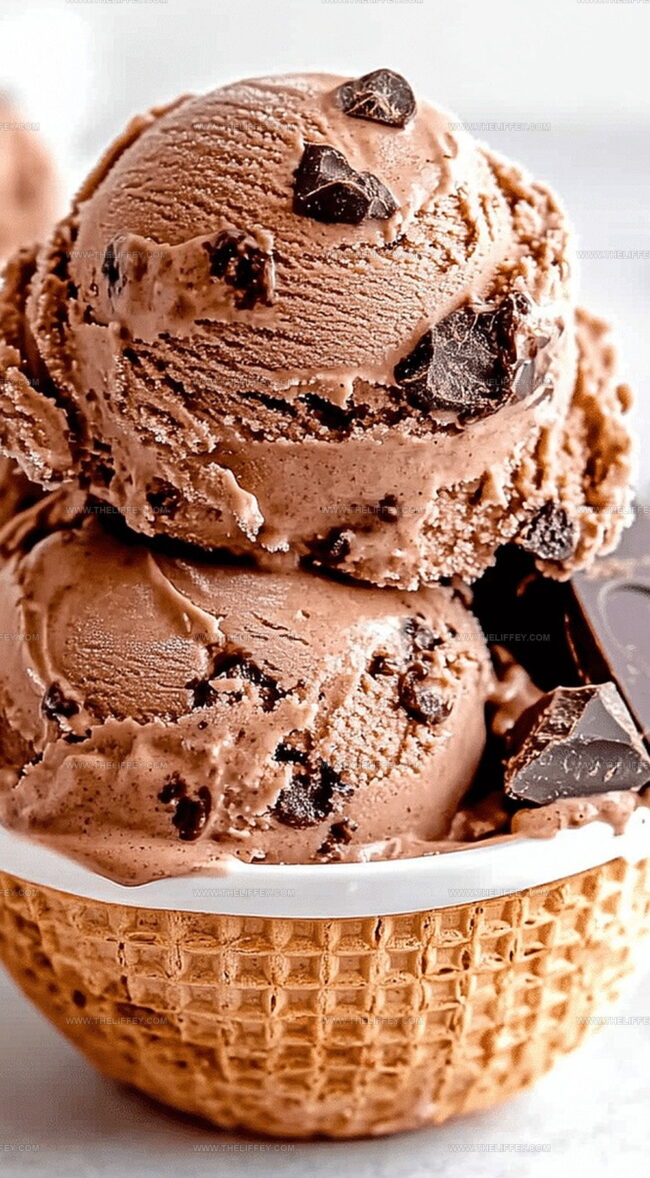
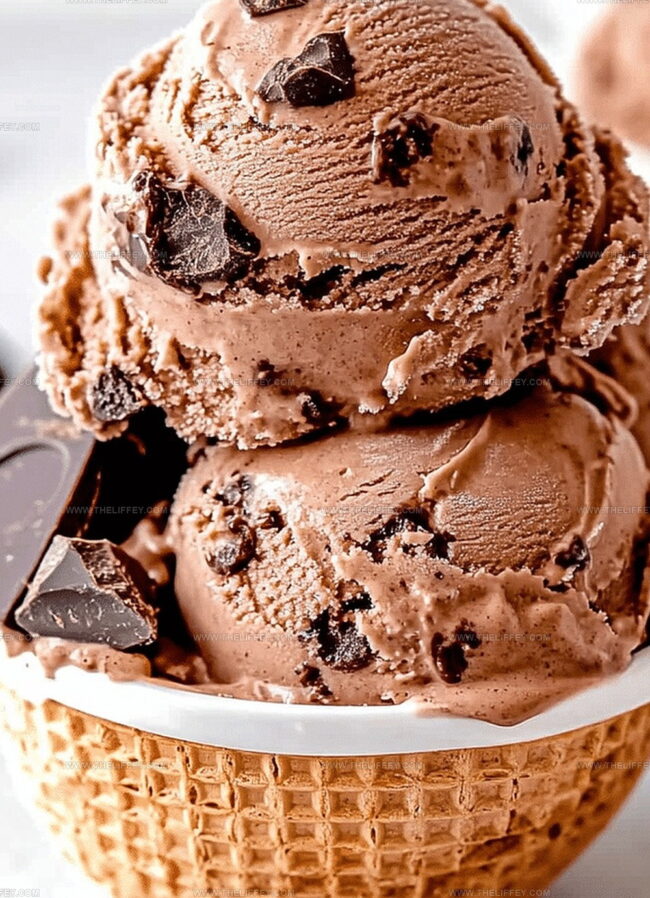
The Ultimate Double Chocolate Ice Cream Recipe for Sweet Bliss
Crafting the perfect double chocolate ice cream sparks pure culinary joy for dessert enthusiasts everywhere.
Sweet dreams become reality when cocoa meets cream in this decadent treat.
Rich chocolate lovers will adore this smooth, indulgent recipe that melts beautifully on your tongue.
Creamy textures blend with deep, intense flavors that dance across taste buds.
Sophisticated yet simple, this dessert requires minimal kitchen skills and maximum deliciousness.
Summer afternoons or cozy winter evenings call for this irresistible chocolate sensation.
You’ll want to savor every delightful spoonful of this incredible homemade delight.
Double Chocolate Ice Cream Rundown
What’s in Double Chocolate Ice Cream
Dairy Base:Sweeteners and Chocolate:Binding and Flavor Enhancers:Crafting Double Chocolate Ice Cream
Step 1: Warm the Chocolate Base
Create a silky chocolate foundation by combining milk, sugar, cocoa powder, and salt in a saucepan.
Gently heat the mixture over medium heat, whisking until everything blends smoothly and becomes warm.
Step 2: Temper the Egg Yolks
Grab a separate bowl and whisk the egg yolks until they’re light and creamy.
Slowly drizzle a small amount of the warm milk mixture into the yolks, whisking continuously to prevent scrambling.
This technique ensures a smooth, velvety texture.
Step 3: Cook the Custard
Pour the tempered yolk mixture back into the saucepan.
Continue cooking and stirring until the mixture thickens and coats the back of a spoon.
The custard should have a luxurious, pudding-like consistency.
Step 4: Melt in Chocolate Goodness
Remove the pan from heat and add:Stir until the chocolate melts completely, creating an intense, rich chocolate flavor.
Step 5: Blend in Creamy Extras
Incorporate:Mix thoroughly to create a luscious, smooth base that promises incredible flavor.
Step 6: Chill and Rest
Refrigerate the mixture for at least 4 hours or overnight.
This resting period allows the flavors to develop and the base to become super cold.
Step 7: Churn to Perfection
Use an ice cream maker to transform the chilled mixture into a creamy, dreamy dessert.
Follow the specific instructions for your ice cream maker.
Step 8: Freeze and Serve
Transfer the churned ice cream to a freezer-safe container.
Let it firm up for a few hours.
Scoop and enjoy your homemade double chocolate masterpiece!
Tips for Ice Cream Done Right
Fun Ways to Change Up the Ice Cream
Perfect Pairings for Chocolate Ice Cream
Ice Cream Storage the Smart Way
FAQs
No, it’s quite simple. Even beginner cooks can follow the step-by-step instructions easily with basic kitchen tools and standard ingredients.
The recipe uses both cocoa powder and chopped chocolate, creating a rich, intense double chocolate flavor that chocolate lovers will adore.
While an ice cream maker helps create a smoother texture, you can still make this by freezing the mixture and stirring every hour to break up ice crystals, though the texture might be less creamy.
When stored in an airtight container in the freezer, this homemade double chocolate ice cream will remain delicious for about 1-2 weeks.
Print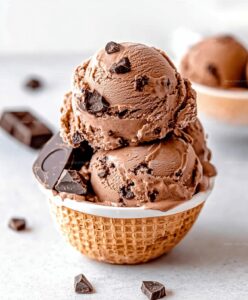
Double Chocolate Ice Cream Recipe
- Total Time: 30 minutes
- Yield: 4 1x
Description
Double chocolate ice cream delights chocolate enthusiasts with its rich, creamy texture. Cocoa and chocolate chunks create an indulgent dessert that satisfies intense sweet cravings. You’ll savor each spoonful of this luxurious treat.
Ingredients
Chocolate Base:
- 1/2 cup unsweetened cocoa powder
- 4 ounces (113 grams) dark chocolate, chopped
- 3/4 cup granulated sugar
Dairy Components:
- 2 cups heavy cream
- 1 cup whole milk
- 4 large egg yolks
Additional Flavor:
- 1 teaspoon vanilla extract
Instructions
- Combine milk, sugar, cocoa powder, and salt in a saucepan, heating gently over medium temperature until the mixture becomes warm and smooth.
- Separately, whisk egg yolks in a bowl, then gradually introduce the warm milk mixture while continuously whisking to prevent curdling.
- Return the tempered yolk mixture to the saucepan, cooking and stirring until the custard thickens and coats the back of a spoon, approximately 3-4 minutes.
- Remove from heat and immediately incorporate chopped chocolate, stirring until completely melted and creating a rich, glossy chocolate base.
- Blend in heavy cream and vanilla extract, ensuring a uniform consistency throughout the mixture.
- Refrigerate the chocolate custard for a minimum of 4 hours, allowing it to cool completely and develop deep flavor profiles.
- Pour the chilled mixture into an ice cream maker and churn according to manufacturer’s guidelines, typically 20-25 minutes until it reaches a soft-serve texture.
- Transfer the churned ice cream to a freezer-safe container, smoothing the surface to prevent ice crystal formation.
- Freeze for 4-6 hours or overnight until the ice cream firms up and reaches the desired scoopable consistency.
Notes
- Tempering eggs carefully prevents scrambling, ensuring a smooth custard base for the ice cream.
- Use high-quality dark chocolate for a richer, more intense chocolate flavor that elevates the dessert.
- For a lighter version, substitute whole milk with half-and-half or a lower-fat milk alternative.
- Vegan adaptation possible by replacing dairy with coconut milk and using egg substitute or cornstarch to thicken the base.
- Prep Time: 30 minutes
- Cook Time: 0 minutes
- Category: Desserts
- Method: Simmering
- Cuisine: American
Nutrition
- Serving Size: 4
- Calories: 412 kcal
- Sugar: 21 g
- Sodium: 44 mg
- Fat: 34 g
- Saturated Fat: 20 g
- Unsaturated Fat: 12 g
- Trans Fat: 0.5 g
- Carbohydrates: 23 g
- Fiber: 3 g
- Protein: 6 g
- Cholesterol: 195 mg
Amanda Bennett
Recipe Curator & Culinary Educator
Expertise
Baking and Pastry Arts, Recipe Testing and Development, Culinary Instruction, Food Styling and Photography
Education
Asheville-Buncombe Technical Community College, Asheville, NC
Diploma in Culinary Arts
Emphasized practical cooking skills, nutrition, and kitchen management.
Cambridge School of Culinary Arts, Cambridge, MA
Certificate in Professional Pastry Arts
Specialized in baking techniques, dessert presentation, and flavor profiling
Amanda’s roots run deep in the Southern hills, where every meal started fresh from the garden and every dessert came with a story. She trained at Asheville-Buncombe Technical Community College and sharpened her pastry skills at the Cambridge School of Culinary Arts, blending classic technique with everyday charm.
At The Liffey, Amanda’s passion is making baking and home cooking feel natural and joyful. She’s all about single recipes that are simple enough for a busy afternoon, but special enough to make someone’s day a little sweeter.