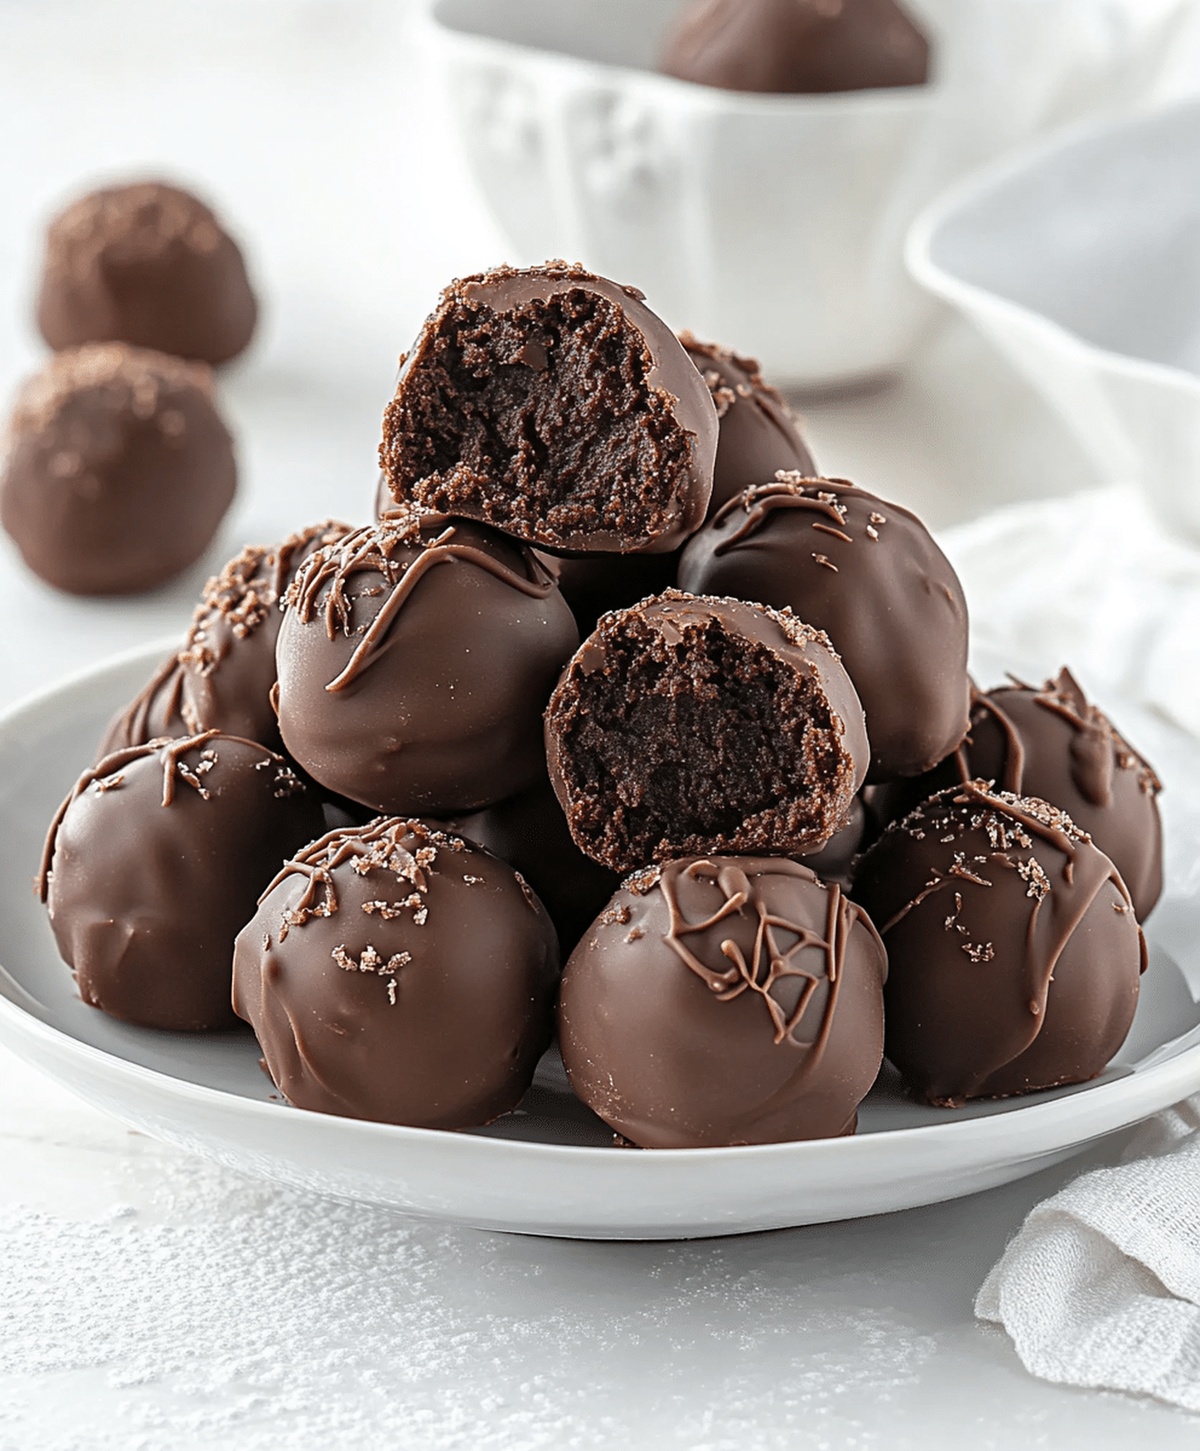
Easy Brownie Truffles Recipe: Fudgy Bites of Chocolate Heaven
Crafting delectable brownie truffles promises a delightful culinary adventure that connects sweet memories with pure indulgence.
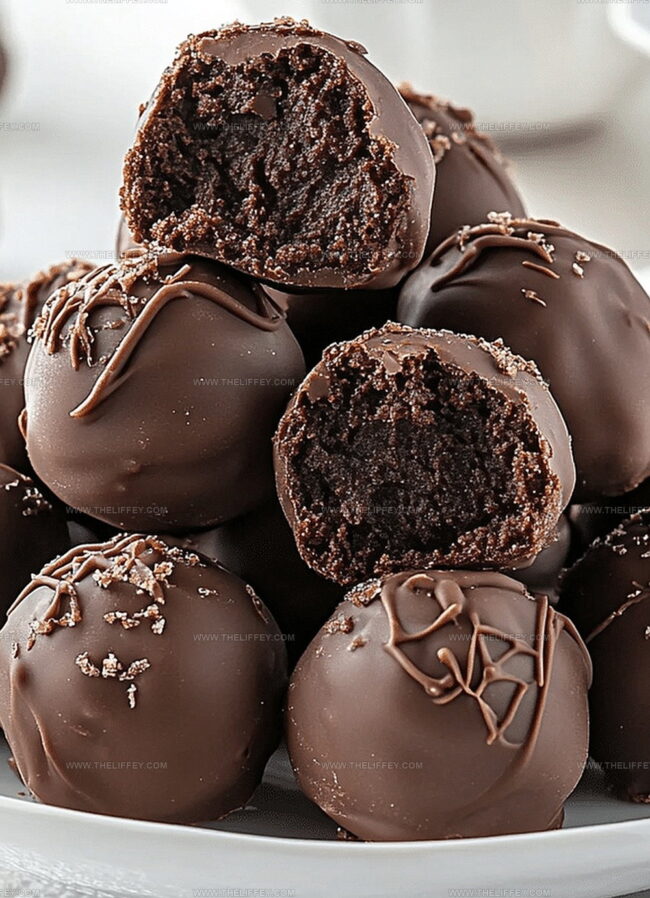
Chocolate lovers will find this recipe irresistibly simple and wickedly decadent.
Small bites pack intense flavor, melting effortlessly on your tongue.
Rich cocoa notes blend seamlessly with creamy textures, creating miniature dessert masterpieces.
Each truffle represents a perfect balance between fudgy brownies and smooth ganache.
Minimal ingredients ensure anyone can master these delectable treats without stress.
Let your kitchen become a playground of chocolatey creativity and pure joy.
What Makes Brownie Truffles So Irresistible
Ingredients For Brownie Truffles
Base Ingredients:Coating Ingredients:Optional Toppings:How To Make Brownie Truffles
Step 1: Crush Brownies into Crumbles
Break the baked brownies into a spacious mixing bowl, using your hands or a fork to create fine, even crumbs that will help create a smooth truffle texture.
Step 2: Blend Cream Cheese into Brownie Mixture
Add softened cream cheese to the brownie crumbs, stirring and pressing with a spatula or wooden spoon until the ingredients combine into a consistent, moldable dough with no visible cream cheese streaks.
Step 3: Shape Truffle Balls
Scoop small portions of the brownie-cream cheese mixture and roll between your palms to create perfectly round, uniform balls approximately one inch in diameter. Gently place each truffle on a parchment-lined baking sheet.
Step 4: Chill Truffle Balls
Transfer the baking sheet with truffle balls to the freezer, allowing them to firm up and become easier to handle. Let them rest in the cold environment for 15-20 minutes until they feel solid and compact.
Step 5: Prepare Chocolate Coating
Melt chocolate chips using a double boiler or microwave, stirring occasionally to ensure a smooth, glossy consistency without any lumps. Choose between dark, milk, or white chocolate based on your preference.
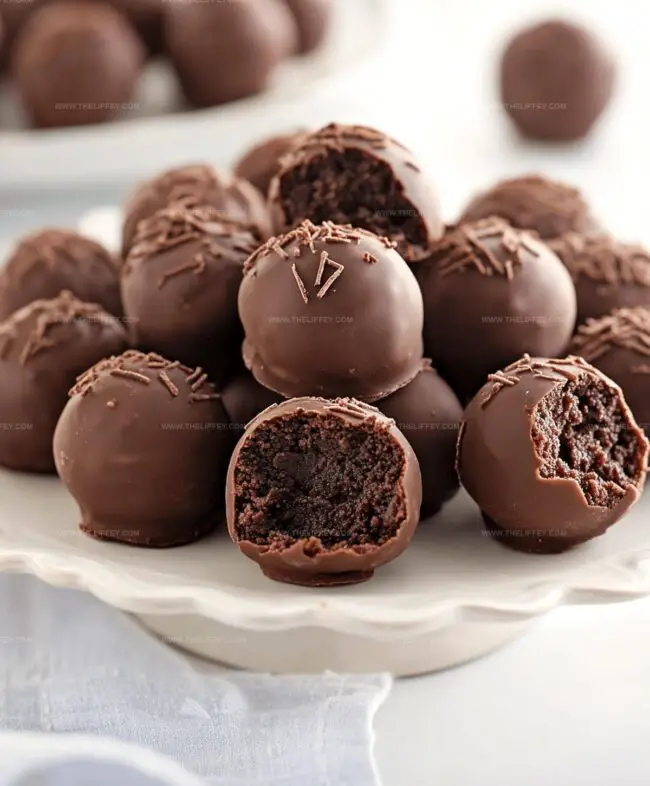
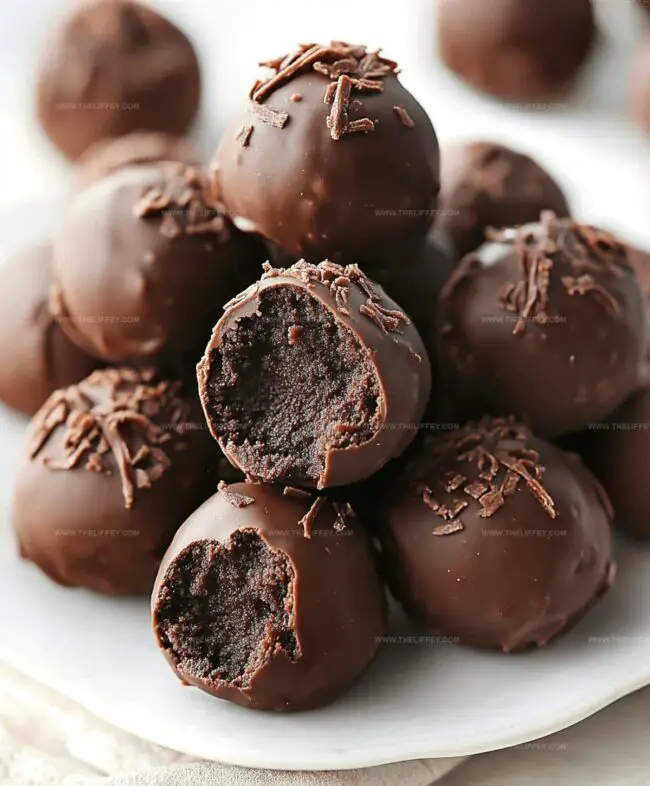
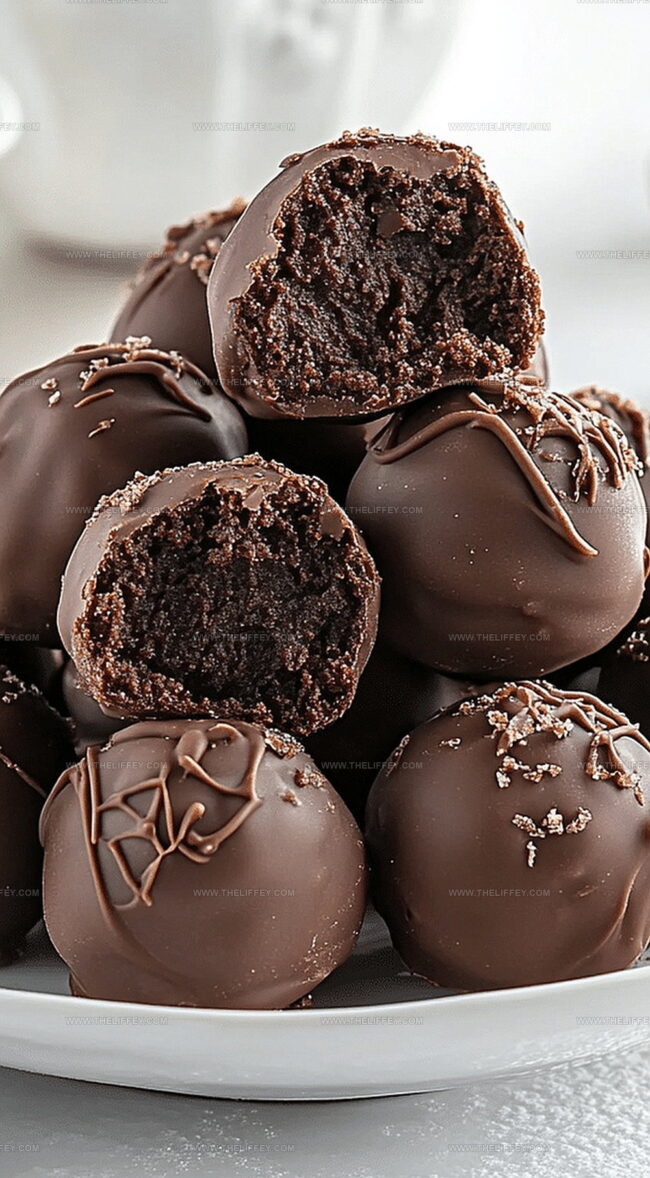
Step 6: Dip and Decorate Truffles
Using a fork or dipping tool, carefully lower each chilled truffle into the melted chocolate, ensuring complete coverage. Gently tap off excess chocolate and return to the lined baking sheet.
Sprinkle with optional toppings like:Step 7: Let Chocolate Set
Allow the chocolate-coated truffles to rest at room temperature or in the refrigerator until the chocolate hardens completely, creating a smooth, glossy shell around the rich brownie center.
Tips For Rich And Decadent Brownie Truffles
Fun Variations For Brownie Truffles
What To Serve With Brownie Truffles
How To Store Brownie Truffles
FAQs
Yes, homemade brownies work perfectly! Just ensure they are completely cooled before crumbling.
Store in an airtight container in the refrigerator for up to 5-7 days. They’ll maintain their delicious texture and flavor.
Semi-sweet or dark chocolate chips are ideal. They provide a rich coating that complements the brownie interior nicely.
Absolutely! Kids will love rolling the truffle balls and helping with chocolate dipping. It’s a fun, simple dessert project for all ages.
Print
Delicious Brownie Truffles Recipe
- Total Time: 50 minutes
- Yield: 24 1x
Description
Chocolate lovers will adore these easy brownie truffles that combine rich brownies with creamy chocolate coating. Sweet indulgence meets simple preparation for a delightful dessert you can quickly create and savor.
Ingredients
Main Ingredients:
- 1 batch brownies, baked and cooled
- 4 ounces (113 grams) cream cheese, softened
- 1 cup (170 grams) chocolate chips
Coating and Toppings:
- 1 cup (170 grams) chocolate chips (for coating)
- Optional toppings: sprinkles
- Optional toppings: crushed nuts
- Optional toppings: cocoa powder
Instructions
- Disintegrate fully cooled brownies into fine crumbs within a spacious mixing container.
- Incorporate softened cream cheese, blending thoroughly until a cohesive, dense mixture develops.
- Craft uniform spherical portions by gently rolling the mixture into compact, bite-sized orbs.
- Position the formed truffles onto a parchment-lined tray, ensuring slight separation between each.
- Transfer the tray to the freezer, allowing the truffles to solidify for approximately 15-20 minutes at 0°F.
- Gently melt chocolate chips using a double boiler or microwave, stirring until smooth and glossy.
- Carefully immerse each chilled truffle into the molten chocolate, ensuring complete and even coverage.
- Delicately return chocolate-coated truffles to the lined sheet, optionally sprinkling decorative toppings.
- Allow truffles to rest at room temperature until chocolate sets completely, approximately 10-15 minutes.
Notes
- Use room temperature cream cheese for smoother mixing and easier blending with brownie crumbs.
- Chill truffles before dipping in chocolate to prevent crumbling and ensure a clean chocolate coating.
- For gluten-free version, use gluten-free brownies or replace with almond flour-based brownie base.
- Experiment with different chocolate coatings like white, dark, or milk chocolate to create variety in flavor and appearance.
- Prep Time: 20 minutes
- Cook Time: 30 minutes
- Category: Desserts, Snacks
- Method: Freezing
- Cuisine: American
Nutrition
- Serving Size: 24
- Calories: 140 kcal
- Sugar: 12 g
- Sodium: 55 mg
- Fat: 8 g
- Saturated Fat: 4 g
- Unsaturated Fat: 3 g
- Trans Fat: 0.1 g
- Carbohydrates: 18 g
- Fiber: 1.5 g
- Protein: 2 g
- Cholesterol: 20 mg
John Conley
Founder & Culinary Storyteller
Expertise
Recipe Development, Culinary Writing, Home Cooking Techniques, Seasonal Ingredient Utilization
Education
Lane Community College, Eugene, OR
Certificate in Culinary Arts
Focused on foundational cooking techniques, kitchen safety, and menu planning.
Gotham Writers Workshop, New York, NY
Course in Food Writing
Explored the art of crafting engaging culinary narratives and recipe development.
John grew up where food meant connection: big bowls, warm kitchens, and meals that told a story. After earning his Certificate in Culinary Arts from Lane Community College and diving deep into food writing at Gotham Writers Workshop, he found his calling: turning everyday recipes into something worth savoring.
At The Liffey, John’s focus is all about crafting dishes that feel easy, honest, and full of heart.