The Ultimate Hot Fudge Pudding Cake Recipe: Dreamy & Divine
Discovering a classic hot fudge pudding cake can spark instant dessert excitement in any kitchen.
Warm chocolate aromas will soon fill your space with pure comfort.
Decadent layers of gooey goodness create a magical experience for chocolate enthusiasts.
Simple ingredients blend together effortlessly, promising a delightful treat that comes together quickly.
Unexpected magic happens when this cake bakes, revealing a rich sauce beneath a tender crumb.
Chocolate lovers understand the pure joy of a dessert that surprises and delights.
Prepare to indulge in a sweet adventure that promises pure, unapologetic deliciousness.
Hot Fudge Pudding Cake Recipe Guide
Ingredients for Hot Fudge Pudding Cake
Dry Ingredients:Wet Ingredients:Topping Ingredients:How to Prepare Hot Fudge Pudding Cake
Step 1: Warm Up The Oven
Crank your oven to a toasty 350°F. Grab your 8-inch square baking dish and give it a generous coating of grease to prevent any sticky situations.
Step 2: Create The Dry Mix
In a medium bowl, blend together:Whisk these dry ingredients until they’re perfectly combined.
Step 3: Transform Into Smooth Batter
Pour in:Stir everything until the mixture becomes silky smooth.
Spread this delectable batter evenly across your prepared baking dish.
Step 4: Sprinkle The Sweet Layer
Generously dust the batter’s surface with:Ensure these are distributed evenly for maximum deliciousness.
Step 5: Add Magical Water
Gently pour hot water over the entire surface. Don’t mix or stir – this is where the cake’s secret magic happens!
Step 6: Bake To Perfection
Slide the dish into the oven and bake for 35-40 minutes. You’ll know it’s ready when the top looks set and the edges start pulling away slightly.
Step 7: Rest And Serve
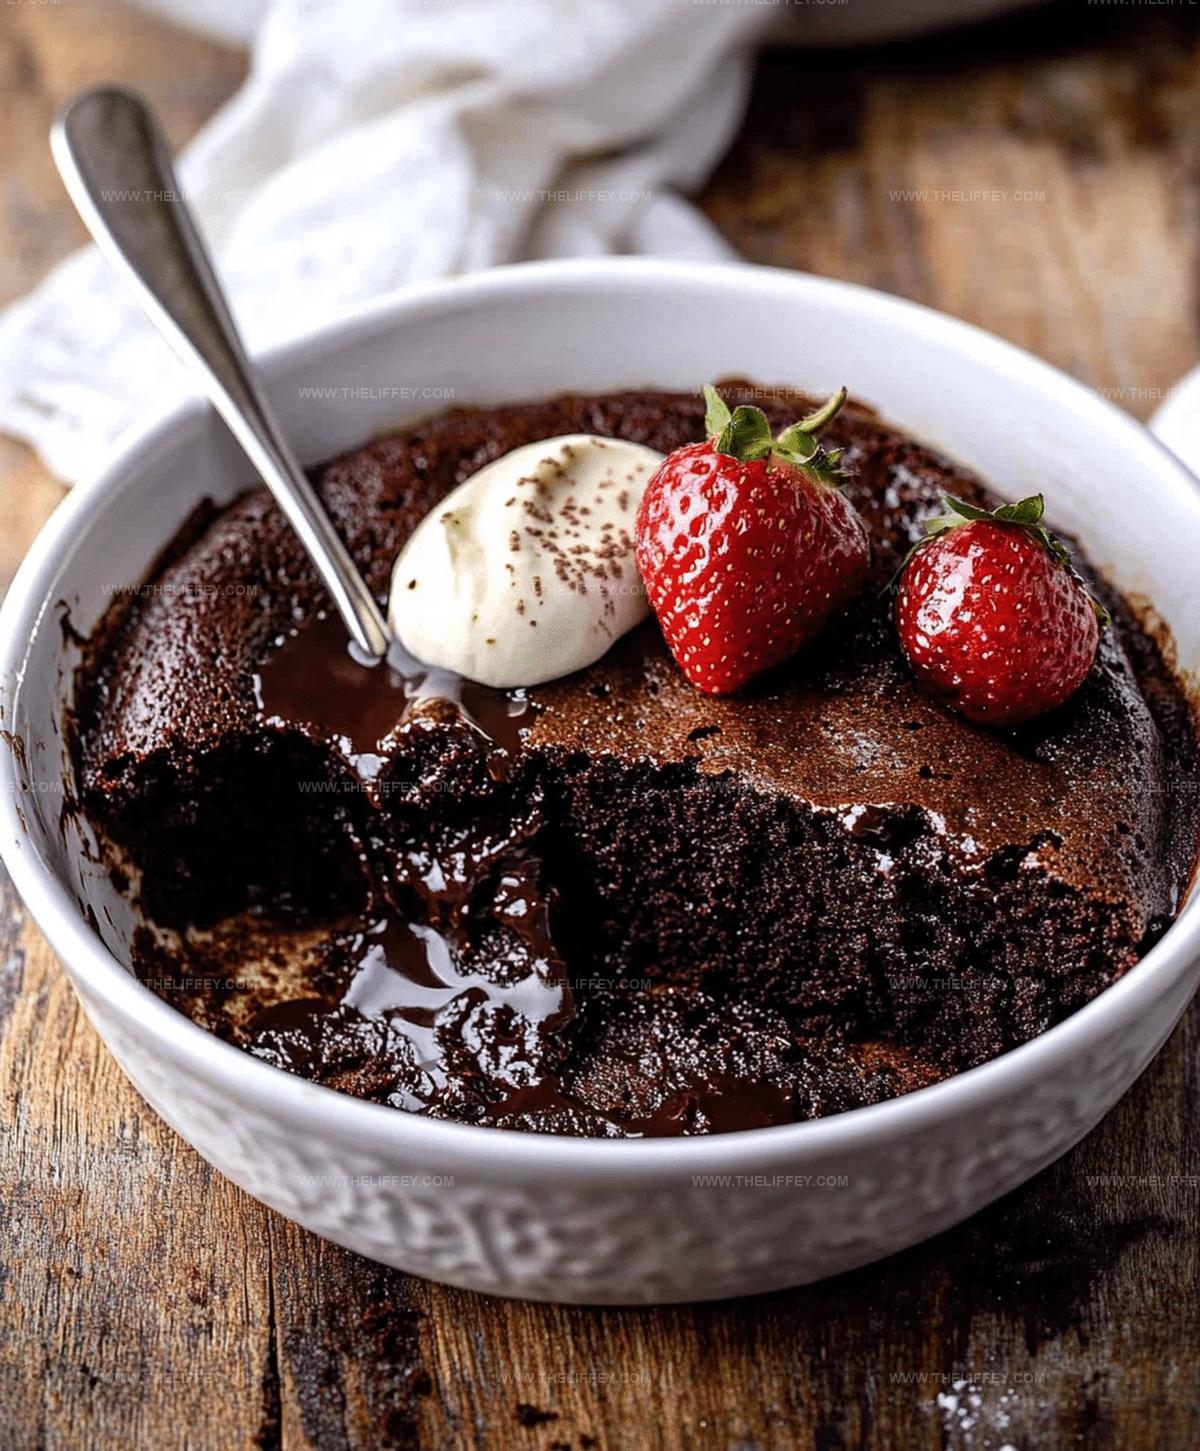
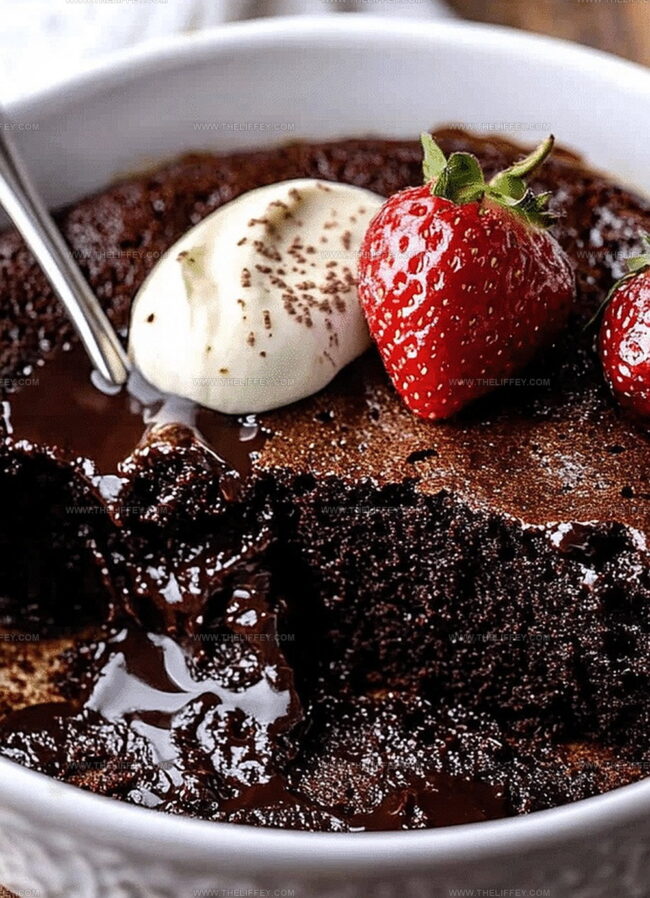
Let the cake rest for 10 minutes. Serve warm, topped with a dollop of whipped cream or a scoop of creamy ice cream.
Enjoy the gooey, chocolatey goodness!
Tips for Hot Fudge Pudding Cake Success
Variations for Hot Fudge Pudding Cake
Serving Suggestions for Hot Fudge Pudding Cake
Storage Advice for Hot Fudge Pudding Cake
FAQs
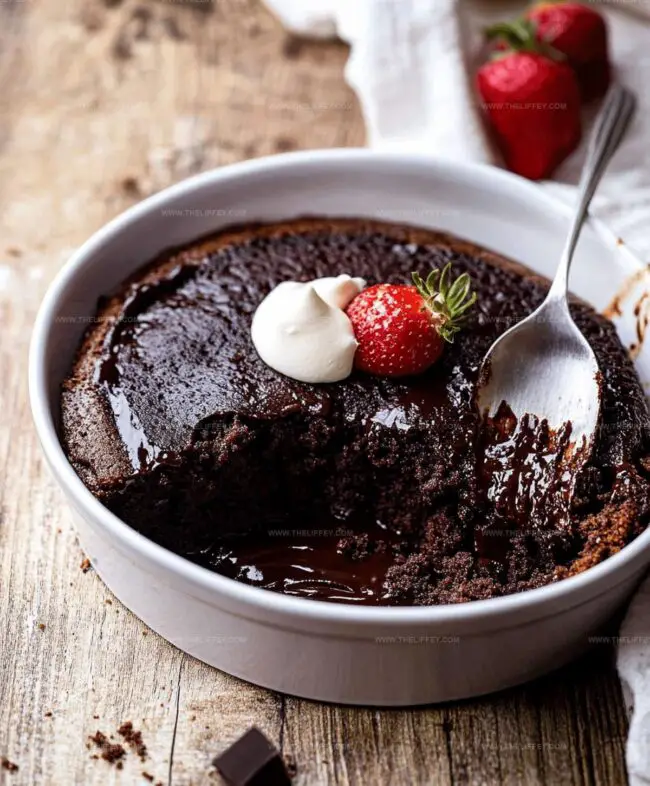
The cake creates its own hot fudge sauce during baking, with a magical layering process where hot water transforms the ingredients into a self-saucing dessert.
The hot water creates a separate sauce layer underneath the cake during baking, resulting in a gooey, rich chocolate bottom that forms naturally without mixing.
Yes, you can substitute the all-purpose flour with a gluten-free flour blend that has a similar consistency to ensure the cake’s texture remains close to the original recipe.
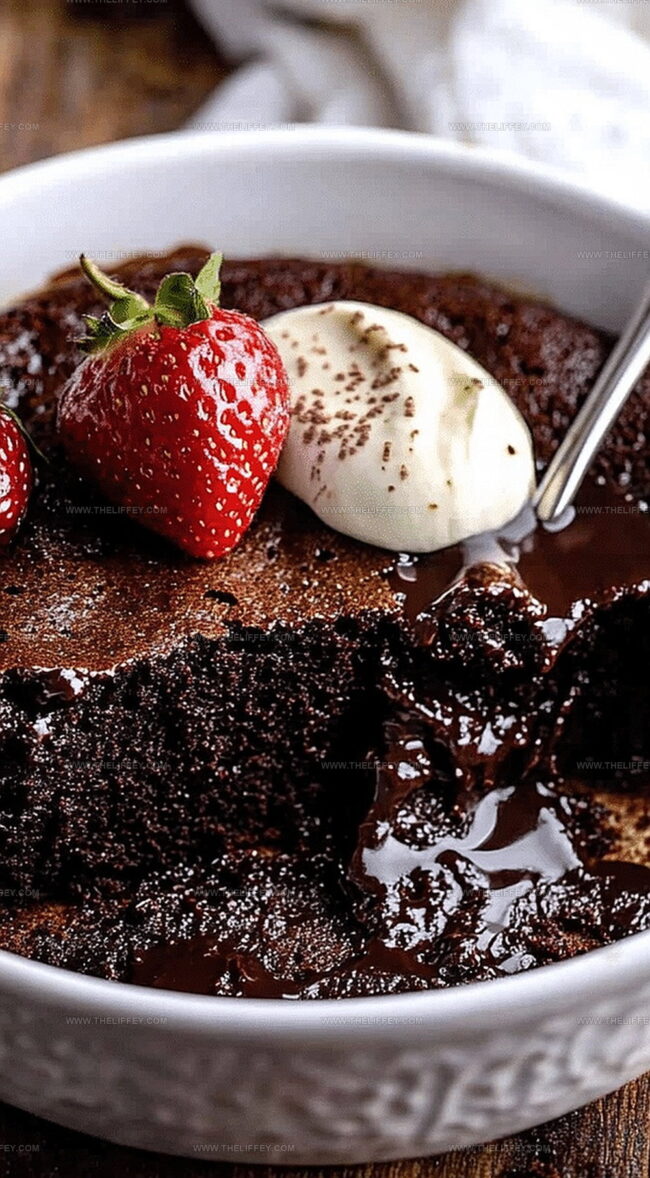
This cake is most delicious when served warm, right after baking, when the chocolate sauce is at its most gooey and the cake is soft and tender.
Print
Decadent Hot Fudge Pudding Cake Recipe
- Total Time: 55 minutes
- Yield: 8 1x
Description
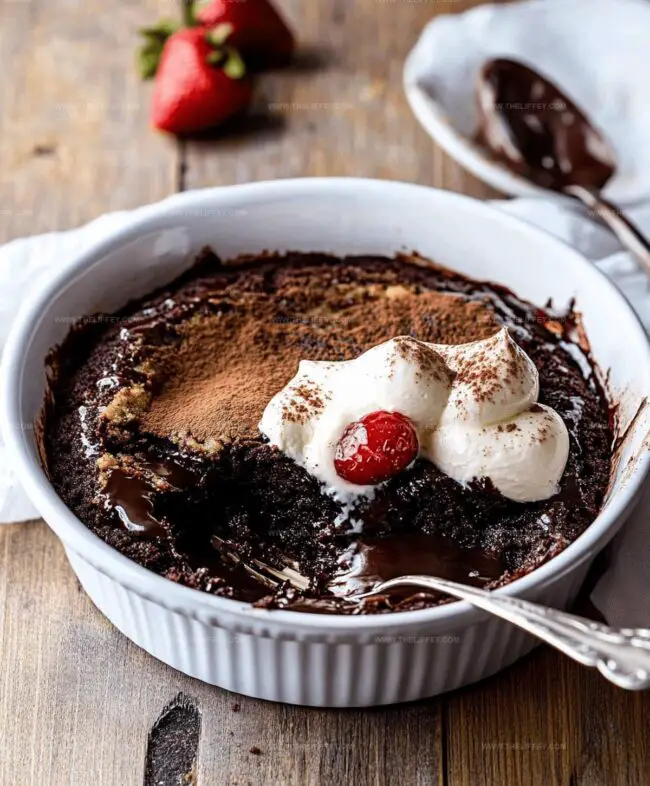
Chocolate lovers adore this hot fudge pudding cake from Southern kitchens. Warm chocolate sauce emerges magically during baking, creating a rich dessert you’ll crave repeatedly.
Ingredients
Main Ingredients:
- 1 cup all-purpose flour
- 3/4 cup granulated sugar
- 3/4 cup packed brown sugar
- 1/2 cup milk
- 2 tablespoons (30 milliliters) melted butter
Chocolate Components:
- 2 tablespoons (15 grams) unsweetened cocoa powder (for batter)
- 1/4 cup (30 grams) unsweetened cocoa powder (for topping)
Leavening and Seasoning:
- 2 teaspoons baking powder
- 1/4 teaspoon salt
- 1 teaspoon vanilla extract
- 1 3/4 cups (420 milliliters) hot water
Instructions
- Warm the oven to 350F (175C) and lightly coat an 8-inch square baking dish with cooking spray or butter.
- Combine dry ingredients in a mixing bowl, blending flour, granulated sugar, cocoa powder, baking powder, and salt until well integrated.
- Incorporate milk, melted butter, and vanilla extract into the dry mixture, whisking until the batter achieves a smooth, consistent texture.
- Distribute the batter evenly across the prepared baking dish, creating a uniform layer.
- Generously sprinkle brown sugar and additional cocoa powder across the surface of the batter, ensuring complete coverage.
- Gently pour hot water over the entire dish, allowing it to settle without disturbing the layered ingredients.
- Transfer to the preheated oven and bake for 35-40 minutes, watching for a set top and slightly pulling edges that indicate proper doneness.
- Remove from oven and let the cake rest for 10 minutes to allow the internal structure to stabilize.
- Serve while still warm, accompanied by a dollop of whipped cream or a scoop of vanilla ice cream for added indulgence.
Notes
- Check butter temperature to ensure smooth batter consistency and prevent lumps.
- Sift dry ingredients for a more uniform cake texture and prevent cocoa powder clumps.
- Use room temperature milk to help ingredients blend seamlessly and create a silky batter.
- Resist stirring after pouring hot water, as this creates the signature pudding-like bottom layer with a rich, gooey chocolate sauce.
- Prep Time: 15 minutes
- Cook Time: 40 minutes
- Category: Desserts
- Method: Baking
- Cuisine: American
Nutrition
- Serving Size: 8
- Calories: 208 kcal
- Sugar: 25 g
- Sodium: 160 mg
- Fat: 5 g
- Saturated Fat: 3 g
- Unsaturated Fat: 2 g
- Trans Fat: 0 g
- Carbohydrates: 39 g
- Fiber: 3 g
- Protein: 3 g
- Cholesterol: 12 mg
John Conley
Founder & Culinary Storyteller
Expertise
Recipe Development, Culinary Writing, Home Cooking Techniques, Seasonal Ingredient Utilization
Education
Lane Community College, Eugene, OR
Certificate in Culinary Arts
Focused on foundational cooking techniques, kitchen safety, and menu planning.
Gotham Writers Workshop, New York, NY
Course in Food Writing
Explored the art of crafting engaging culinary narratives and recipe development.
John grew up where food meant connection: big bowls, warm kitchens, and meals that told a story. After earning his Certificate in Culinary Arts from Lane Community College and diving deep into food writing at Gotham Writers Workshop, he found his calling: turning everyday recipes into something worth savoring.
At The Liffey, John’s focus is all about crafting dishes that feel easy, honest, and full of heart.