
Easy Oreo Balls Recipe: Sweet No-Bake Treats Everyone Loves
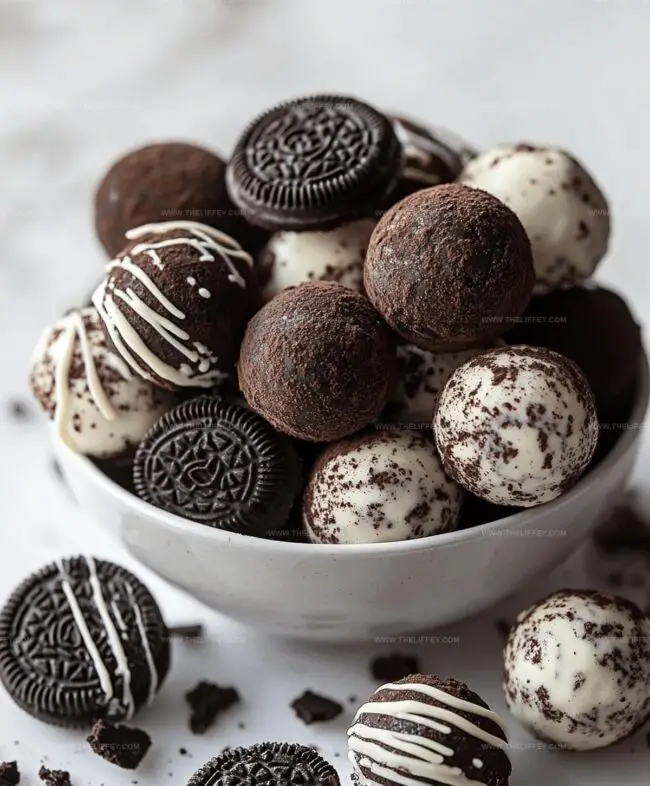
Creamy, delectable Oreo balls dance between decadent chocolate and sweet cookie crumbles.
Cookies crushed into fine pieces create a magical base for these irresistible treats.
Mixing cream cheese with crushed cookies delivers a smooth, rich texture that melts in your mouth.
Simple ingredients combine effortlessly to craft these bite-sized delights.
No baking required means anyone can whip up these crowd-pleasing desserts in minutes.
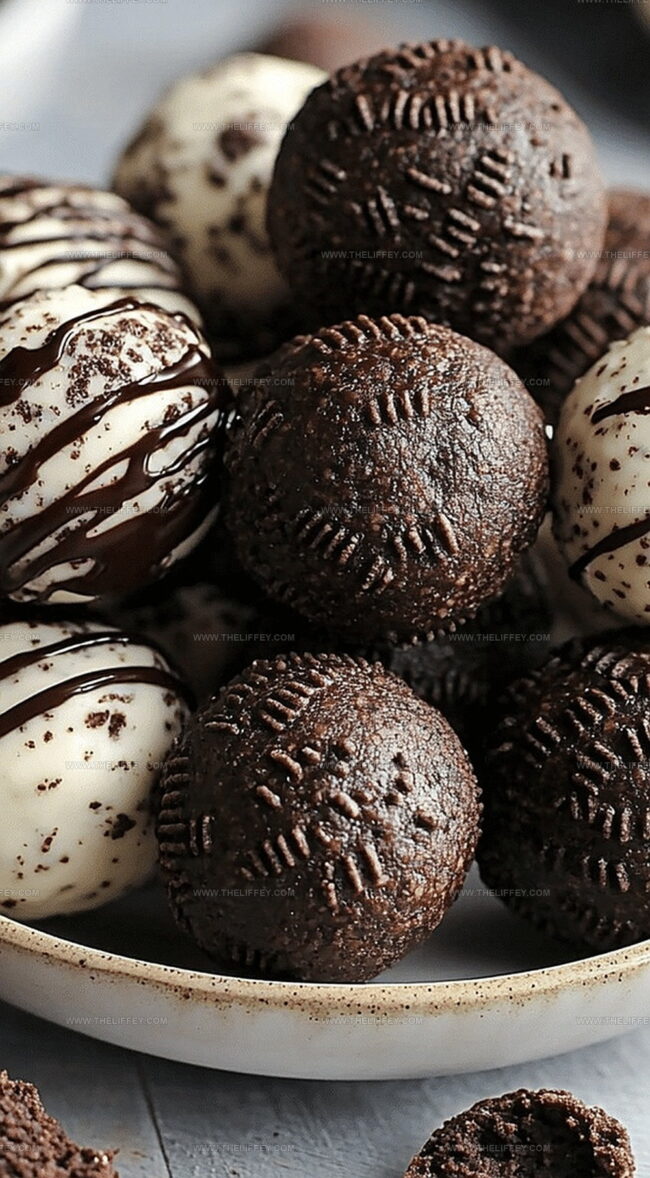
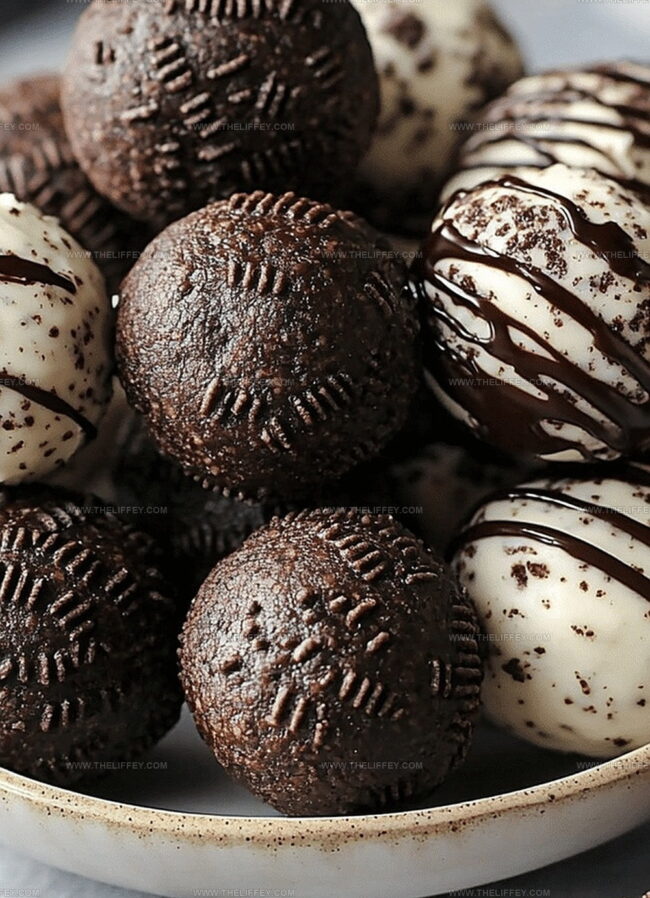
Chocolate coating adds a luxurious finish that makes these Oreo balls look professionally crafted.
You’ll become the dessert hero among friends with this foolproof recipe that promises pure indulgence.
Why Oreo Balls Are So Popular
Essential Ingredients for Oreo Balls
Base Ingredients:Coating Ingredients:Optional Garnish:How to Make Oreo Balls

Step 1: Crush And Blend Cookies
Grab a food processor or place Oreo cookies in a sealed plastic bag and crush them into fine crumbs using a rolling pin. Transfer crumbs to a mixing bowl and add softened cream cheese.
Mix thoroughly until the mixture becomes a smooth, uniform consistency that holds together easily.
Step 2: Shape Delightful Truffles
Using clean hands, roll the cookie mixture into small, uniform balls about the size of a walnut.
Gently place each truffle on a parchment-lined baking sheet, ensuring they are not touching each other.
Step 3: Chill And Prepare
Put the baking sheet with Oreo truffles in the freezer for approximately 15 minutes.
While chilling, prepare your chocolate coating by melting chocolate chips in a microwave-safe bowl, stirring every 30 seconds until completely smooth.
Step 4: Dip In Chocolate Goodness
Remove truffles from the freezer.
Using a fork or dipping tool, carefully lower each truffle into the melted chocolate, ensuring complete coverage. Gently tap off excess chocolate and return to the parchment-lined baking sheet.
Step 5: Finish And Enjoy
Allow chocolate-coated truffles to set at room temperature or place in the refrigerator for faster hardening. Once chocolate is completely firm, transfer to a serving plate or storage container.
These decadent treats can be stored in the refrigerator for up to one week.
Tips for Perfect Oreo Ball Texture
New Twists on Oreo Balls
Best Pairings with Oreo Balls
FAQs
Yes, you can experiment with flavors like mint, peanut butter, or birthday cake Oreos to create unique variations of the recipe.
No, you only need a mixing bowl, baking sheet, and basic kitchen tools like a spoon or spatula to mix and shape the balls.
When stored in an airtight container in the refrigerator, Oreo balls can stay fresh for up to one week.
Absolutely! You can prepare them in advance and keep them in the freezer for up to 2-3 weeks, making them perfect for party planning or early preparation.
Print
Creamy Oreo Balls Recipe
- Total Time: 35 minutes
- Yield: 24 1x
Description
Oreo balls deliver a delightful no-bake dessert perfect for chocolate lovers. Quick preparation and minimal ingredients make these treats an irresistible sweet snack you can enjoy anytime.
Ingredients
Main Ingredients:
- 36 Oreo cookies, finely crushed
- 8 ounces (226 grams) cream cheese, softened
Coating:
- 12 ounces (340 grams) chocolate (white, milk, or dark), melted
Instructions
- Crush Oreo cookies into fine crumbs using a food processor or rolling pin.
- Mix the cookie crumbs with softened cream cheese in a large bowl until a uniform, moldable consistency forms.
- Roll the mixture into compact, uniform 1-inch spheres using clean hands.
- Transfer the formed balls onto a parchment-lined baking sheet and place in the freezer for 10-15 minutes to solidify.
- Melt chocolate in a microwave-safe bowl, stirring every 30 seconds until smooth and fully liquefied.
- Carefully dip each chilled Oreo ball into the melted chocolate, ensuring complete and even coverage.
- Gently tap off excess chocolate and return the coated balls to the parchment-lined baking sheet.
- Allow the chocolate to set at room temperature for 10-15 minutes or quickly chill in the refrigerator until the coating hardens.
- Store the completed Oreo balls in an airtight container in the refrigerator for up to one week.
Notes
- Chill the cream cheese before mixing to ensure a smoother, easier-to-blend texture that prevents crumbling.
- Use a food processor to crush Oreos uniformly, creating a more consistent mixture with no large cookie chunks.
- For dietary variations, swap regular Oreos with gluten-free or vegan alternatives to accommodate different nutritional needs.
- Experiment with chocolate coatings like white, dark, or milk chocolate to add variety and personalize the Oreo balls’ flavor profile.
- Prep Time: 20 minutes
- Cook Time: 15 minutes
- Category: Snacks, Desserts
- Method: Freezing
- Cuisine: American
Nutrition
- Serving Size: 24
- Calories: 132
- Sugar: 12 g
- Sodium: 58 mg
- Fat: 8 g
- Saturated Fat: 4.5 g
- Unsaturated Fat: 3 g
- Trans Fat: 0 g
- Carbohydrates: 15 g
- Fiber: 0.5 g
- Protein: 1.5 g
- Cholesterol: 14 mg
John Conley
Founder & Culinary Storyteller
Expertise
Recipe Development, Culinary Writing, Home Cooking Techniques, Seasonal Ingredient Utilization
Education
Lane Community College, Eugene, OR
Certificate in Culinary Arts
Focused on foundational cooking techniques, kitchen safety, and menu planning.
Gotham Writers Workshop, New York, NY
Course in Food Writing
Explored the art of crafting engaging culinary narratives and recipe development.
John grew up where food meant connection: big bowls, warm kitchens, and meals that told a story. After earning his Certificate in Culinary Arts from Lane Community College and diving deep into food writing at Gotham Writers Workshop, he found his calling: turning everyday recipes into something worth savoring.
At The Liffey, John’s focus is all about crafting dishes that feel easy, honest, and full of heart.