Spooky Mummy Oreo Balls Recipe: Sweet Halloween Magic
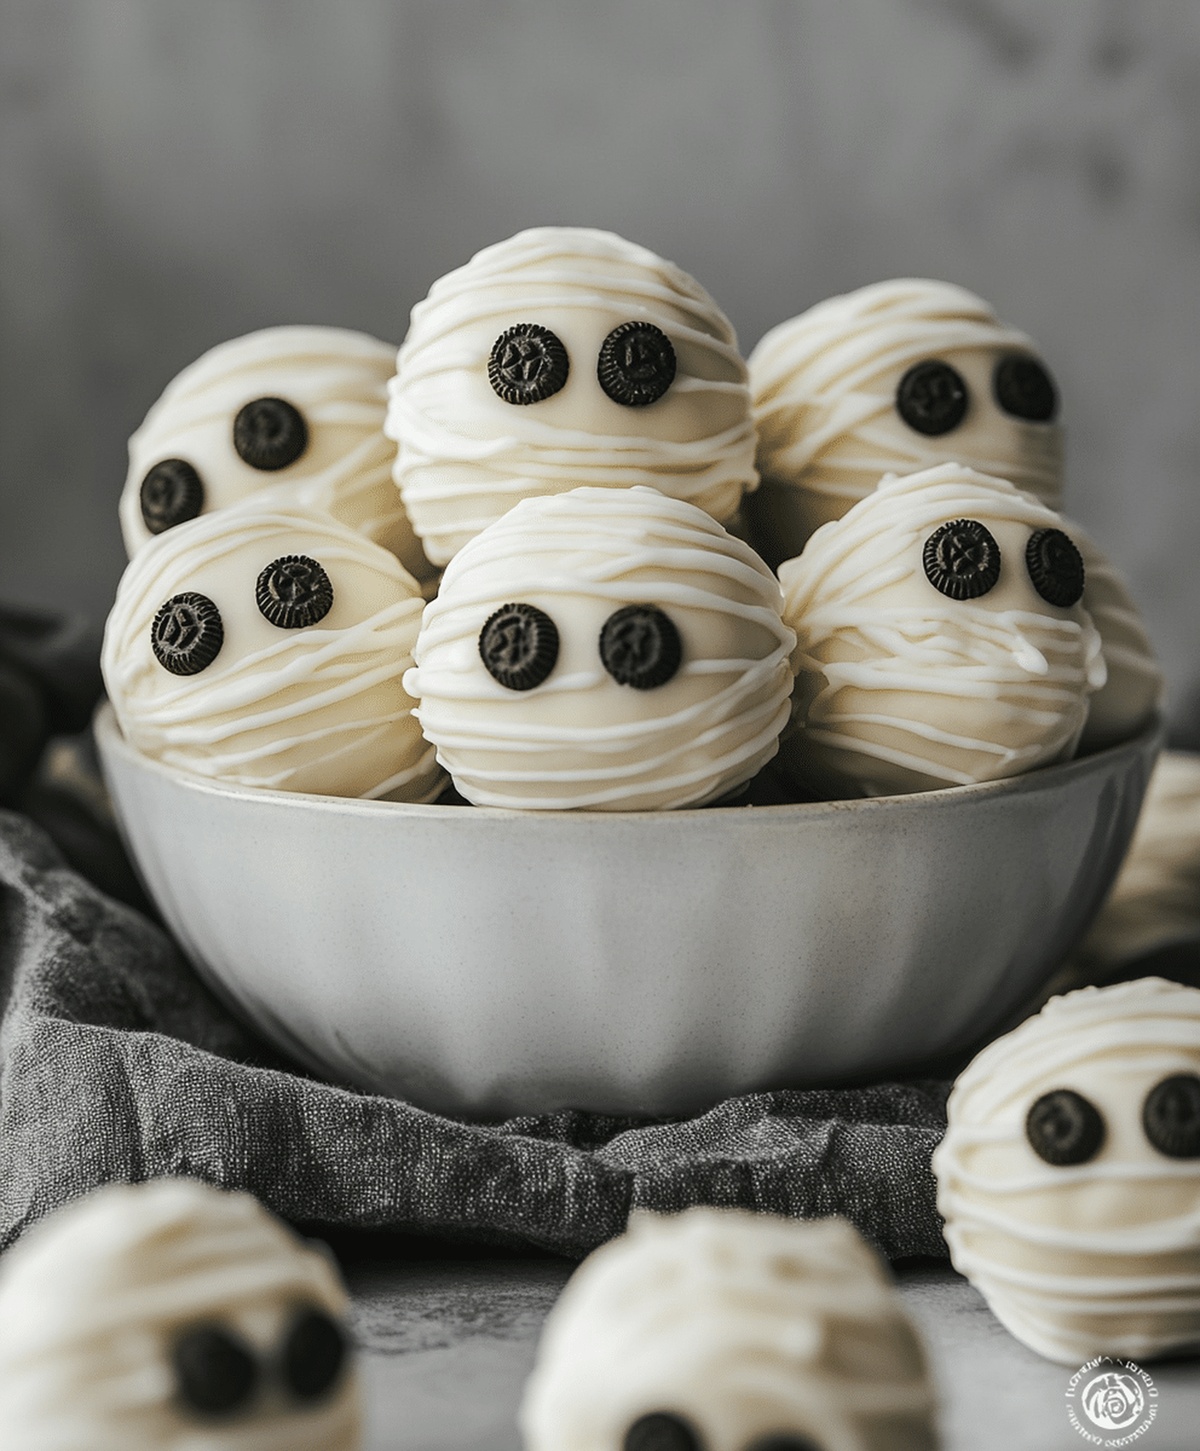
Crafting delectable mummy Oreo balls brings pure magic to your holiday dessert table.
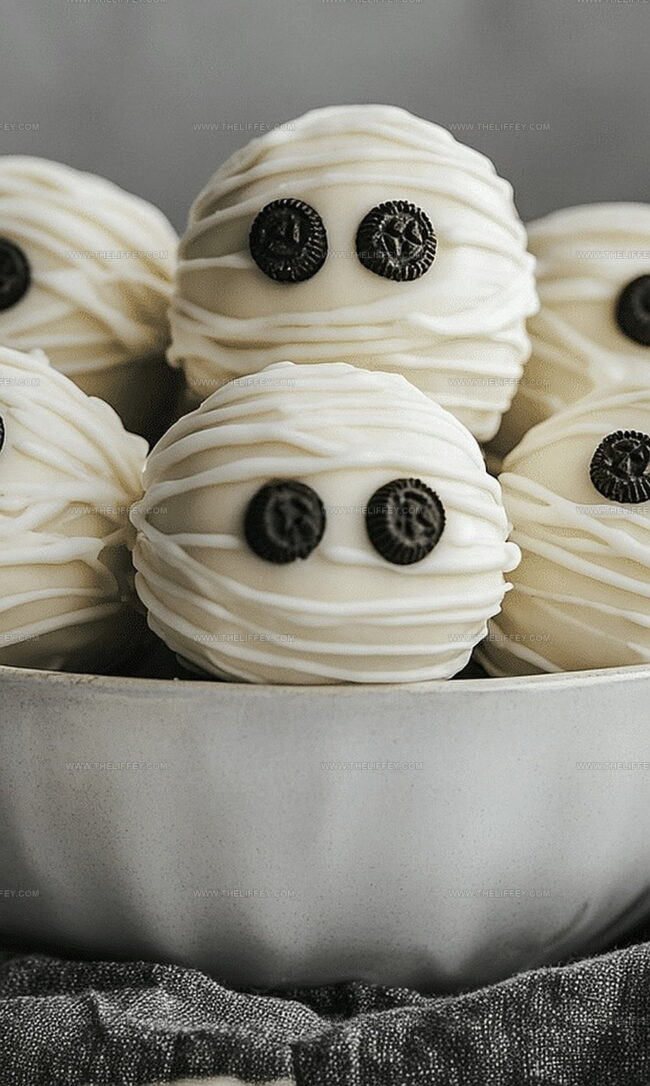
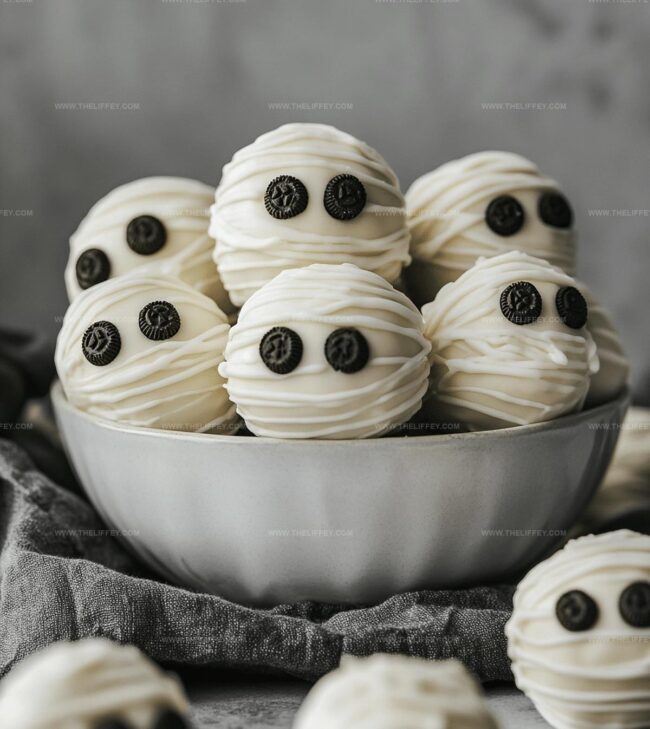
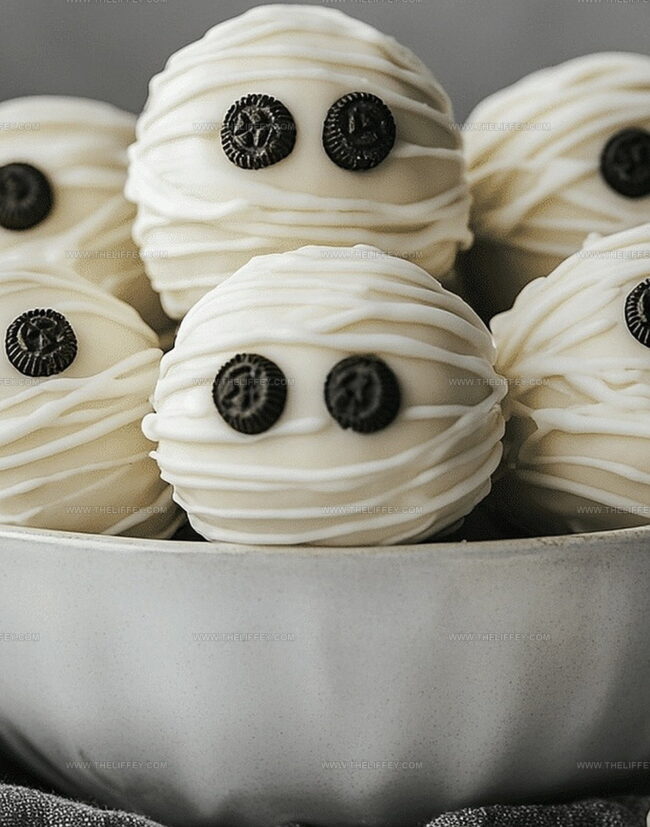
Sweet chocolate-coated treats peek out like adorable little ghosts waiting to delight.
Cookie crumbs blend seamlessly with cream cheese, creating smooth spheres of deliciousness.
Decorative white chocolate drizzles transform simple ingredients into spooky masterpieces.
Halloween parties need these playful confections that spark joy and conversation.
Kids adore helping design these charming edible characters with candy eyes and zigzag patterns.
You’ll become the star of any gathering with these irresistible bite-sized delights that promise to enchant every guest.
Features of Mummy Oreo Balls
Ingredients for Mummy Oreo Balls
Main Ingredients:Coating and Decoration:Optional Extras:How to Make Mummy Oreo Balls
Step 1: Pulverize Oreo Cookies
Grab your food processor and transform the Oreo cookies into fine, sandy crumbs. Make sure no large chunks remain for a smooth texture.
Step 2: Blend With Creamy Goodness
Introduce softened cream cheese to the Oreo crumbs. Mix thoroughly until the mixture becomes a uniform, moldable dough that holds together perfectly.
Step 3: Shape Delightful Balls
Roll the cookie mixture into adorable bite-sized spheres, each about the size of a golf ball. Place these little treasures on a parchment-lined tray and chill in the refrigerator for a quick 15-minute firming session.
Step 4: Melt Chocolate Coating
Select white chocolate or candy melts and gently melt them in the microwave. Use 30-second bursts, stirring between each interval to ensure smooth, even melting without burning.
Step 5: Dunk And Cover
Carefully dip each chilled Oreo ball into the melted white chocolate, ensuring complete coverage. Gently tap off excess chocolate and place back on the lined baking sheet.
Step 6: Create Mummy Bandages
Using a spoon or piping bag, drizzle additional white chocolate across the balls in random, crisscross patterns. This technique mimics the look of mummy wrappings.
Step 7: Add Spooky Eyes
Before the chocolate sets, strategically place candy eyes on each ball to give them a playful, haunting appearance.
Step 8: Final Chill And Serve
Return the decorated Oreo balls to the refrigerator and let them set completely.
Once firm, these spooky treats are ready to delight and terrify your guests!
Tips for Perfect Mummy Oreo Balls
Flavor Variations for Mummy Oreo Balls
Pairing Ideas for Mummy Oreo Balls
FAQs
Yes, you can substitute Oreos with chocolate sandwich cookies or graham crackers for a similar texture and taste.
They stay fresh in the refrigerator for up to 5 days when stored in an airtight container.
A food processor helps crush cookies, but you can also use a zip-lock bag and rolling pin to crush cookies manually.
Kids can help roll the balls and place candy eyes, making it a fun family cooking activity.
Print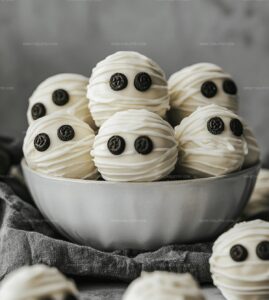
Creamy Mummy Oreo Balls Recipe
- Total Time: 20 minutes
- Yield: 18 1x
Description
Spooky mummy oreo balls delight Halloween party guests with adorable cookie treats. Kids and adults will love these creepy-cute dessert bites covered in white chocolate and decorated with playful mummy bandages.
Ingredients
Mummy Oreo Balls
Cookies:
- 36 Oreo cookies (classic)
Filling:
- 8 ounces (226 grams) cream cheese (softened)
Coating and Decoration:
- 12 ounces (340 grams) white chocolate or candy melts
- Candy eyes
Instructions
- Pulverize Oreo cookies into fine, uniform crumbs using a food processor, ensuring no large chunks remain.
- Incorporate softened cream cheese into the cookie crumbs, kneading thoroughly until a cohesive, moldable mixture develops.
- Carefully shape the mixture into uniform 1-inch spherical portions, compacting gently to maintain structural integrity.
- Refrigerate the formed balls for approximately 15 minutes to enhance firmness and facilitate chocolate coating.
- Melt white chocolate or candy melts in microwave, heating in 30-second increments and stirring between intervals to prevent scorching.
- Delicately submerge each chilled Oreo ball into the melted chocolate, ensuring complete and even coverage.
- Transfer chocolate-coated balls onto a parchment-lined baking sheet, allowing excess chocolate to drip off.
- Create distinctive “mummy bandage” effect by artfully drizzling additional white chocolate across the surface using a spoon or piping bag.
- Strategically position candy eyes on each ball before the chocolate completely solidifies.
- Return the decorated Oreo balls to the refrigerator, allowing them to set completely for approximately 10-15 minutes before serving.
Notes
- Use a food processor for ultra-fine, consistent Oreo crumbs that create a smoother texture and better binding.
- Chill the Oreo balls before dipping prevents them from falling apart in warm chocolate and ensures a cleaner coating.
- Work with cool hands or wear food-safe gloves to prevent the mixture from becoming too soft while rolling balls.
- Melt chocolate slowly and stir frequently to avoid burning and achieve a silky, even consistency for dipping.
- Prep Time: 20 minutes
- Cook Time: 0 minutes
- Category: Snacks, Desserts
- Method: Chilling
- Cuisine: American
Nutrition
- Serving Size: 18
- Calories: 173
- Sugar: 14 g
- Sodium: 78 mg
- Fat: 10 g
- Saturated Fat: 6 g
- Unsaturated Fat: 3 g
- Trans Fat: 0.1 g
- Carbohydrates: 19 g
- Fiber: 0.5 g
- Protein: 2 g
- Cholesterol: 15 mg
John Conley
Founder & Culinary Storyteller
Expertise
Recipe Development, Culinary Writing, Home Cooking Techniques, Seasonal Ingredient Utilization
Education
Lane Community College, Eugene, OR
Certificate in Culinary Arts
Focused on foundational cooking techniques, kitchen safety, and menu planning.
Gotham Writers Workshop, New York, NY
Course in Food Writing
Explored the art of crafting engaging culinary narratives and recipe development.
John grew up where food meant connection: big bowls, warm kitchens, and meals that told a story. After earning his Certificate in Culinary Arts from Lane Community College and diving deep into food writing at Gotham Writers Workshop, he found his calling: turning everyday recipes into something worth savoring.
At The Liffey, John’s focus is all about crafting dishes that feel easy, honest, and full of heart.