
Quick & Fluffy Mini Cheesecakes Recipe: Adorable Sweet Treats
Crafting delectable mini cheesecakes can turn an ordinary afternoon into a sweet celebration of flavors.
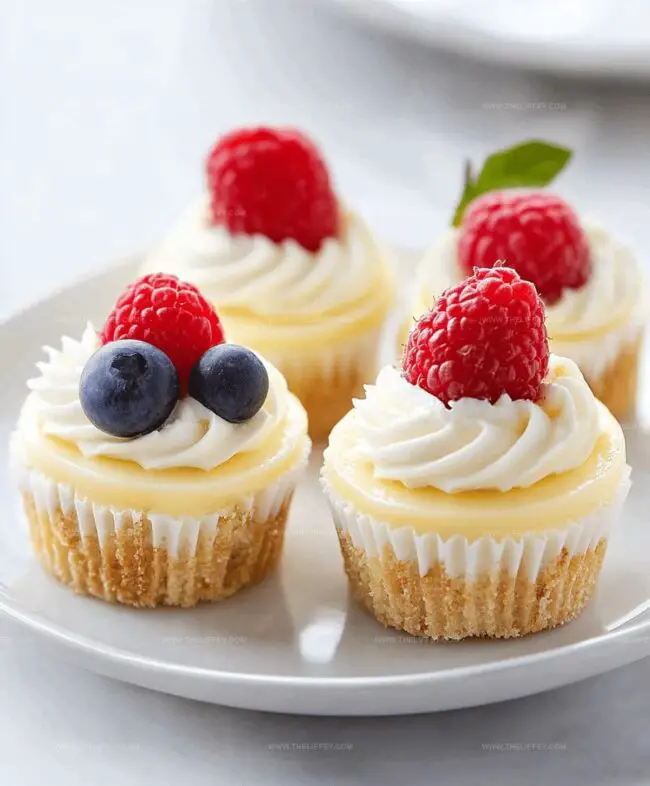
Creamy textures and delightful bite-sized portions make these little desserts irresistible.
Small enough to enjoy without guilt, they pack massive satisfaction in every mouthful.
Professional bakers and home cooks alike adore these compact treats for their elegant simplicity.
Unexpected combinations of toppings can elevate these miniature delights from classic to extraordinary.
Smooth cream cheese blends with subtle ingredients, creating magic in each perfect little circle.
You’ll want to bookmark this recipe and surprise everyone at your next gathering.
Why Mini Cheesecakes Are Party Favorites
Ingredients For Perfect Mini Cheesecakes
Crust Base:Cheesecake Filling:Optional Toppings:How To Make Mini Cheesecakes Easily
Step 1: Prepare Baking Setup
Preheat your oven to 325°F (165°C). Grab a muffin tin and line it with paper cupcake liners, creating perfect little homes for your cheesecake bites.
Step 2: Create Crumbly Crust
Combine graham cracker crumbs with melted butter. Press about one tablespoon of this mixture firmly into the bottom of each paper liner, creating a solid foundation for your mini cheesecakes.
Step 3: Whip Creamy Cheesecake Filling
In a large mixing bowl, blend cream cheese and sugar until the mixture becomes silky smooth. Add vanilla extract and eggs, continuing to mix until all ingredients are perfectly incorporated and free of lumps.
Step 4: Fill Cheesecake Cups
Carefully spoon the creamy cheesecake mixture over each prepared crust. Fill each cup almost to the top, leaving just a tiny bit of space to prevent overflow during baking.
Step 5: Bake and Cool
Place the muffin tin in the preheated oven and bake for 15-18 minutes. The centers should look set and slightly firm when done.
Remove from the oven and let the mini cheesecakes cool completely at room temperature.
Step 6: Chill and Garnish
Refrigerate the cooled cheesecakes for at least 2 hours to help them firm up.
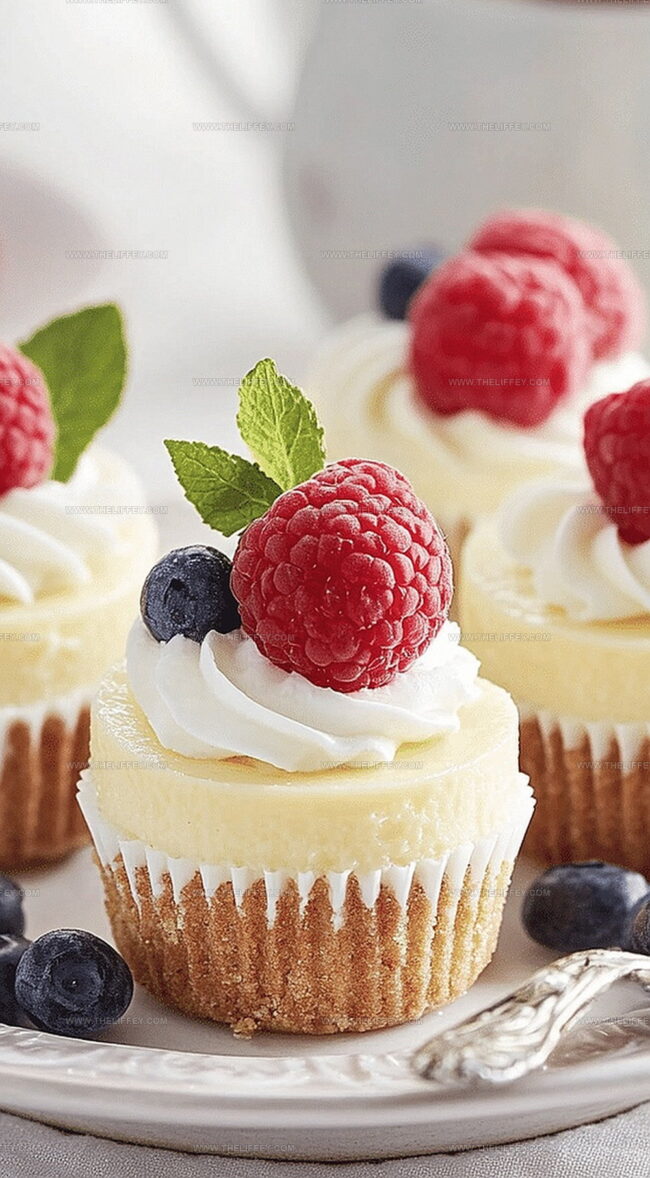
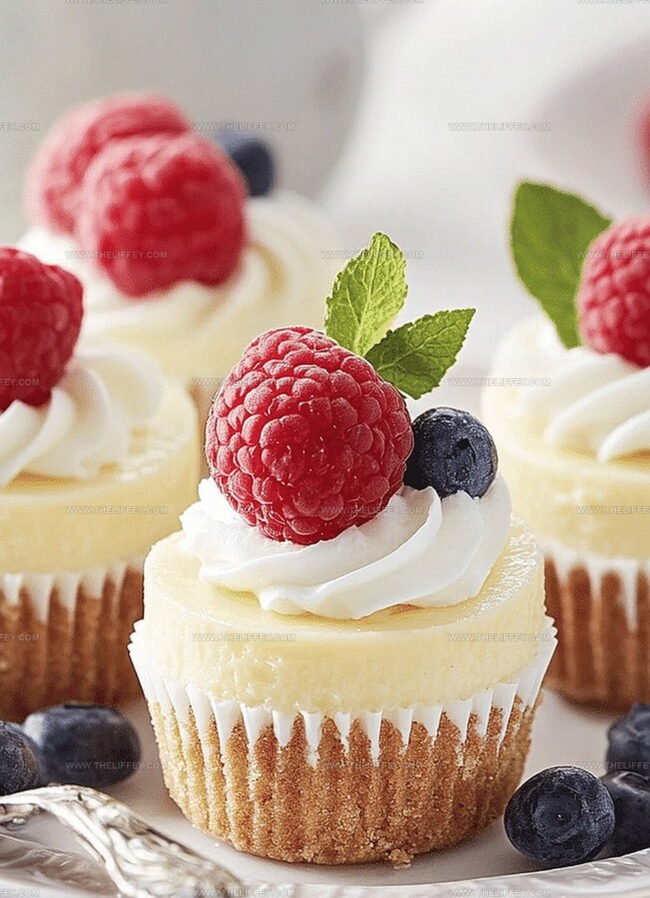
Before serving, add your favorite toppings like fresh berries, chocolate sauce, caramel, or whipped cream to make them extra special.
Tips For Creamy Mini Cheesecakes
Sweet Twists For Mini Cheesecakes
What To Serve With Mini Cheesecakes
How To Store Mini Cheesecakes Right
FAQs
Yes, you can swap graham crackers with vanilla wafers, digestive biscuits, or shortbread cookies to create a unique base flavor for your mini cheesecakes.
Avoid overmixing the batter, bake at the correct temperature, and use room temperature ingredients to help prevent cracks on the surface of your cheesecakes.
Absolutely! You can prepare these mini cheesecakes up to 3 days in advance and store them in the refrigerator, making them perfect for party planning or early meal prep.
Print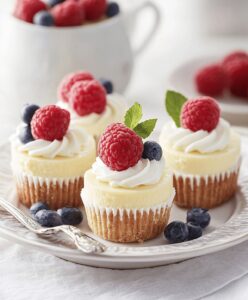
Creamy Mini Cheesecakes Recipe
- Total Time: 33 minutes
- Yield: 12 1x
Description
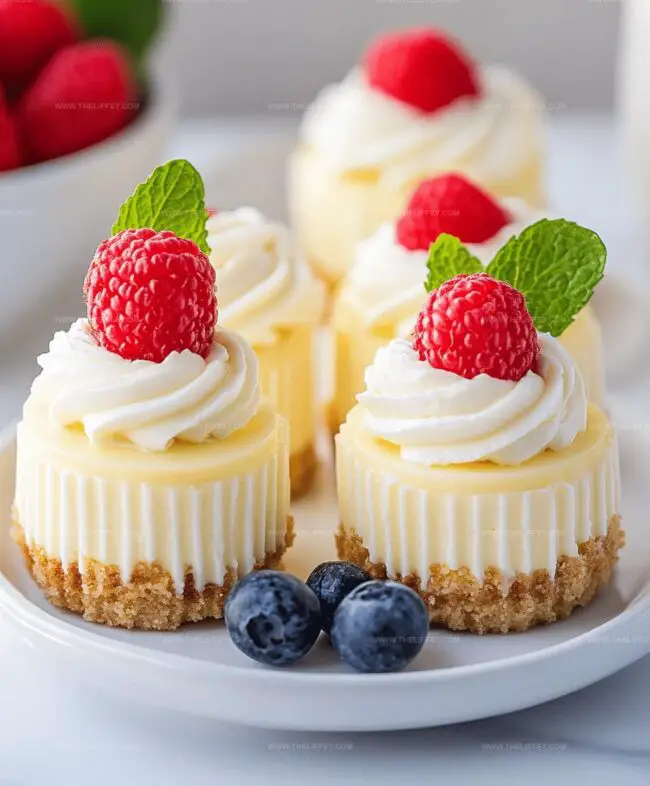
Delightful mini cheesecakes blend creamy textures with a buttery graham cracker crust, offering a perfect individual dessert. Guests will savor each delicate bite of these miniature treats that promise pure indulgence.
Ingredients
Dairy Ingredients:
- 16 ounces (454 grams) cream cheese, softened
- 2 large eggs
- 1/2 cup (100 grams) granulated sugar
Crust Ingredients:
- 1 cup (120 grams) graham cracker crumbs
- 3 tablespoons (45 milliliters) melted butter
Flavor and Topping Ingredients:
- 1/2 teaspoon vanilla extract
- Optional toppings: berries, chocolate, caramel sauce
Instructions
- Warm the oven to 325F (165C) and position paper liners inside a muffin tin.
- Combine graham cracker crumbs with melted butter, then firmly press the mixture into the base of each liner to create a compact crust.
- Using an electric mixer, whip cream cheese and sugar until achieving a silky, lump-free consistency.
- Gently incorporate vanilla and eggs into the cream cheese mixture, blending thoroughly until uniform.
- Carefully distribute the cream cheese filling over each prepared crust, filling each cup approximately 90% full to prevent overflow.
- Place the muffin tin in the preheated oven and bake for 15-18 minutes, watching for a slightly firm and set center.
- Remove from oven and allow cheesecakes to cool completely at room temperature.
- Transfer the cooled mini cheesecakes to the refrigerator and chill for 2 hours to enhance texture and flavor.
- Just before serving, embellish with preferred toppings like fresh berries, chocolate shavings, or caramel drizzle.
Notes
- Ensure cream cheese is at room temperature for smooth, lump-free mixing that creates a silky texture.
- Gently tap the muffin tin on the counter after filling to release air bubbles and prevent cracking during baking.
- For a gluten-free version, swap graham cracker crumbs with almond flour or gluten-free cookie crumbs to accommodate different dietary needs.
- Use a water bath technique by placing the muffin tin in a larger pan with hot water to create more even, gentle baking and prevent surface cracks.
- Prep Time: 15 minutes
- Cook Time: 18 minutes
- Category: Desserts
- Method: Baking
- Cuisine: American
Nutrition
- Serving Size: 12
- Calories: 232 kcal
- Sugar: 13 g
- Sodium: 142 mg
- Fat: 17 g
- Saturated Fat: 10 g
- Unsaturated Fat: 6 g
- Trans Fat: 0.3 g
- Carbohydrates: 14 g
- Fiber: 0.3 g
- Protein: 5 g
- Cholesterol: 62 mg
John Conley
Founder & Culinary Storyteller
Expertise
Recipe Development, Culinary Writing, Home Cooking Techniques, Seasonal Ingredient Utilization
Education
Lane Community College, Eugene, OR
Certificate in Culinary Arts
Focused on foundational cooking techniques, kitchen safety, and menu planning.
Gotham Writers Workshop, New York, NY
Course in Food Writing
Explored the art of crafting engaging culinary narratives and recipe development.
John grew up where food meant connection: big bowls, warm kitchens, and meals that told a story. After earning his Certificate in Culinary Arts from Lane Community College and diving deep into food writing at Gotham Writers Workshop, he found his calling: turning everyday recipes into something worth savoring.
At The Liffey, John’s focus is all about crafting dishes that feel easy, honest, and full of heart.