Fun & Easy Dirt Cake Recipe Everyone Will Dig Into
Whipping up a delightful dirt cake always brings back childhood memories of playful desserts.
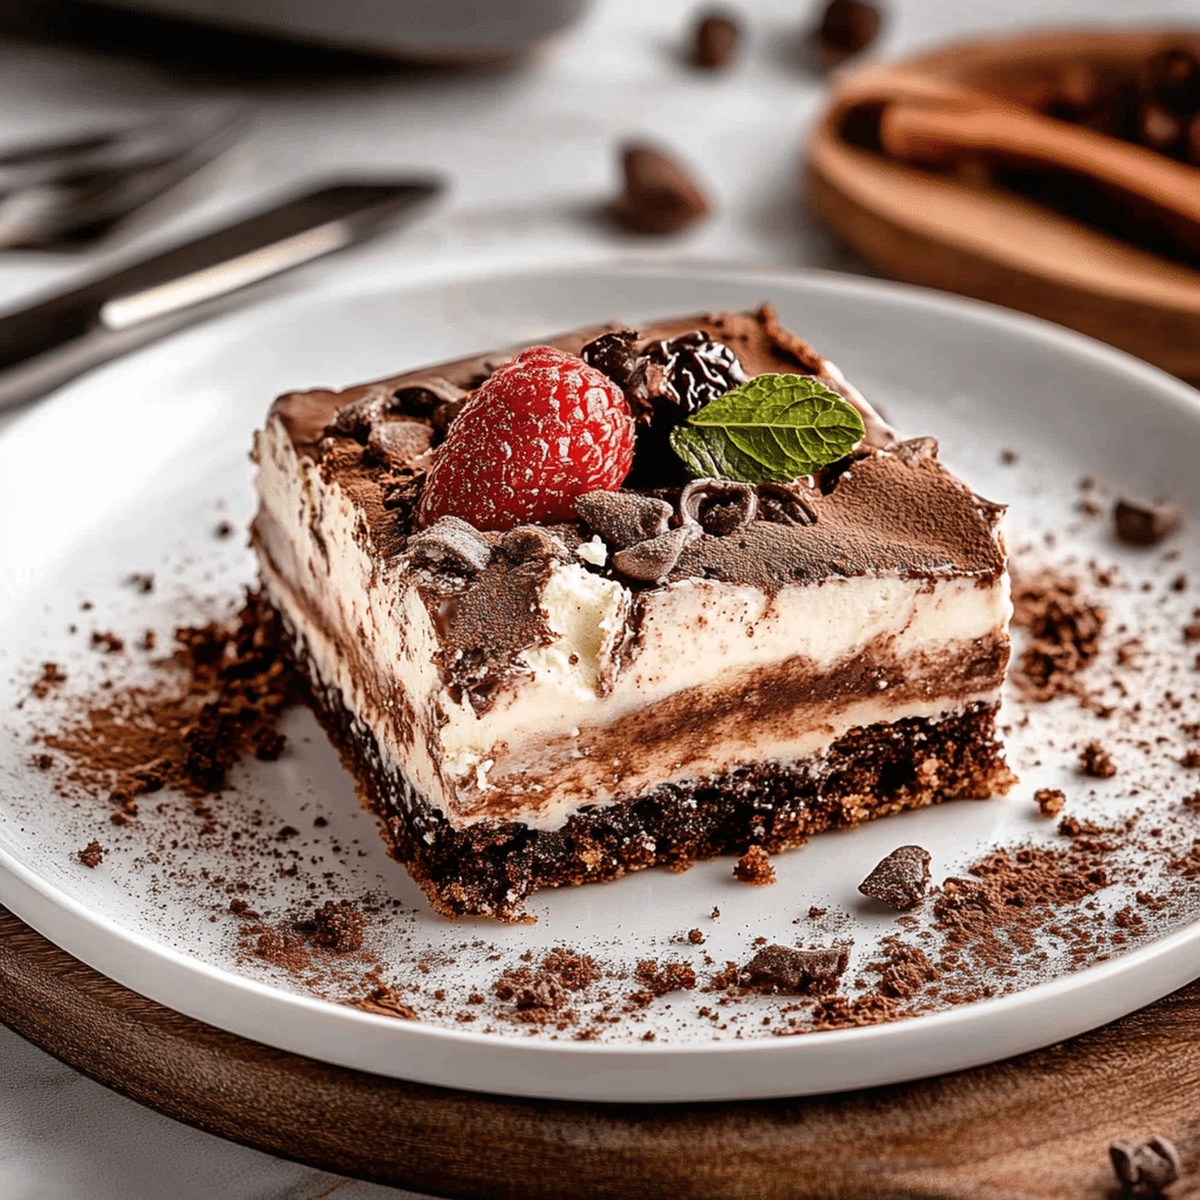
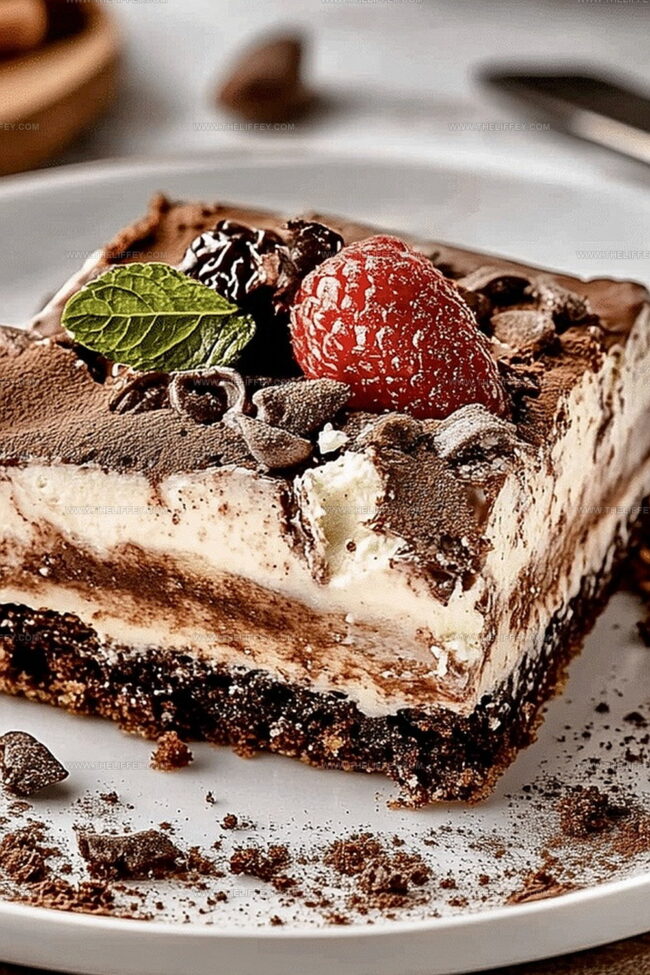
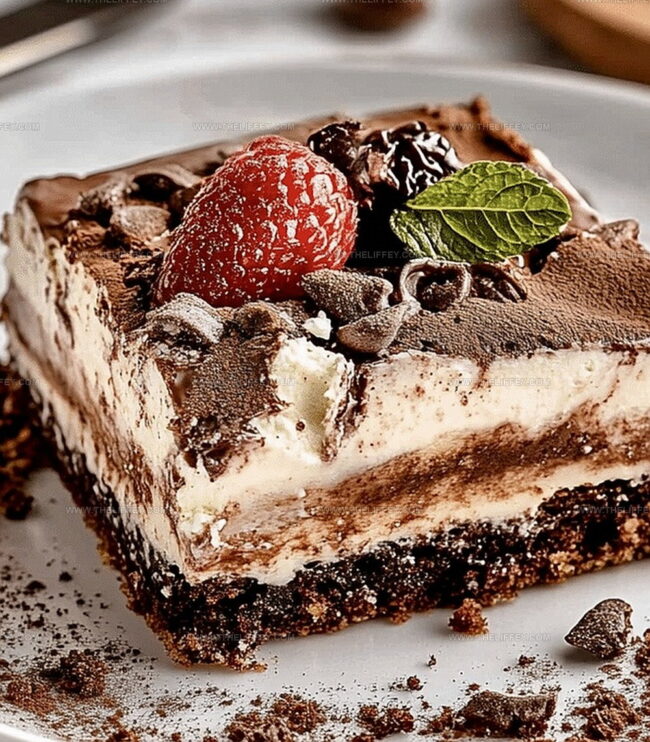
Layers of crumbled cookies and creamy pudding create a magical treat that looks like actual soil.
Kids absolutely adore this clever dessert that mimics a garden landscape.
Chocolate cookie crumbs scattered across smooth pudding layers make it seem like you’re digging into real earth.
Oreo cookies crushed into fine pieces form the perfect “dirt” texture.
Each spoonful promises a delicious surprise with its rich, chocolatey goodness.
Trust you’ll want to scoop up every last delectable bite of this whimsical dessert.
Why Dirt Cake Is So Playful And Fun
Ingredients For Classic Dirt Cake
Cookies:Dairy Components:Sweet and Thickening Ingredients:Optional Decoration:How To Make Dirt Cake Easily
Step 1: Crumble Chocolate Cookies
Break down Oreo cookies using a food processor or place them in a sealed plastic bag and crush with a rolling pin until they become fine crumbs.
Step 2: Whip Creamy Base
In a mixing bowl, blend cream cheese and butter until smooth and silky.
Gradually incorporate powdered sugar, mixing until the texture becomes light and fluffy.
Step 3: Prepare Pudding Mixture
In a separate bowl, combine pudding mix with milk, whisking thoroughly until the mixture thickens and becomes creamy.
Step 4: Combine Creamy Layers
Gently fold the prepared pudding mixture into the cream cheese blend. Carefully incorporate whipped topping, creating a smooth and airy filling.
Step 5: Build Layered Dessert
Select a large serving dish and begin creating alternating layers of crushed cookies and pudding mixture. Start with cookie crumbs and end with a final cookie layer for a beautiful presentation.
Step 6: Add Playful Garnish
Optional: Decorate the top with gummy worms for a fun and whimsical touch that brings the “dirt cake” theme to life.
Step 7: Chill and Serve
Refrigerate the dessert for a minimum of one hour to allow flavors to meld and texture to set.
Serve chilled and enjoy the delightful, creamy treat.
Tips For Delicious Dirt Cake
Creative Spins On Dirt Cake
What To Serve With Dirt Cake
How To Store Dirt Cake Safely
FAQs
No, it’s a fun dessert that looks like dirt but is made with Oreo cookies, cream cheese, pudding, and whipped topping. The crushed Oreos create the “dirt” appearance.
Absolutely! You can crush Oreo cookies in a sealed plastic bag using a rolling pin or the bottom of a heavy pan. Simply crush them until they become fine crumbs.
Yes, dirt cake is super popular with children. Kids love the playful presentation with gummy worms and the sweet, creamy texture. It’s also easy to make and fun to assemble.
Print
Creamy Dirt Cake Recipe
- Total Time: 1 hour 20 minutes
- Yield: 8 1x
Description
Scrumptious dirt cake delights dessert enthusiasts with layers of chocolate pudding, crushed cookies, and playful gummy worms. Creamy textures and nostalgic flavors make this childhood favorite perfect for parties you’ll enjoy sharing with friends and family.
Ingredients
Primary Ingredients:
- 1 package Oreo cookies, crushed
- 2 boxes (3.4 ounces each) instant chocolate pudding mix
- 3 1/2 cups milk
Dairy and Soft Ingredients:
- 8 ounces cream cheese, softened
- 1/4 cup butter, softened
- 1 cup powdered sugar
- 1 container (12 ounces) whipped topping (Cool Whip), thawed
Garnish:
- Optional: gummy worms for decoration
Instructions
- Pulverize the Oreo cookies into fine crumbs using a food processor or by placing them in a sealed bag and crushing with a rolling pin.
- Cream together cream cheese and butter until silky smooth, then gradually incorporate powdered sugar until fully integrated.
- Prepare the pudding by whisking with milk until it reaches a thick, creamy consistency.
- Gently fold the prepared pudding into the cream cheese mixture, ensuring a uniform texture.
- Delicately blend in the whipped topping until the mixture is light and airy.
- Create layers in a large serving dish, alternating between the crushed cookie crumbs and the creamy pudding mixture, with cookie crumbs as the top and bottom layers.
- Optionally, garnish the surface with playful gummy worms for a whimsical touch.
- Refrigerate the dessert for a minimum of 1 hour to allow flavors to meld and texture to set.
- Serve chilled and enjoy the decadent, creamy treat.
Notes
- Crumble cookies extra fine for a smoother, more consistent texture that mimics dirt perfectly.
- Use full-fat ingredients to ensure a rich, creamy dessert with maximum indulgence.
- Consider gluten-free Oreos or graham crackers to make this dessert accessible for those with dietary restrictions.
- Experiment with different pudding flavors like chocolate or vanilla to customize the taste profile and keep the recipe exciting.
- Prep Time: 20 minutes
- Cook Time: 1 hour
- Category: Desserts, Snacks
- Method: Blending
- Cuisine: American
Nutrition
- Serving Size: 8
- Calories: 339 kcal
- Sugar: 30 g
- Sodium: 187 mg
- Fat: 21 g
- Saturated Fat: 11 g
- Unsaturated Fat: 9 g
- Trans Fat: 0.5 g
- Carbohydrates: 38 g
- Fiber: 1.5 g
- Protein: 3 g
- Cholesterol: 35 mg
John Conley
Founder & Culinary Storyteller
Expertise
Recipe Development, Culinary Writing, Home Cooking Techniques, Seasonal Ingredient Utilization
Education
Lane Community College, Eugene, OR
Certificate in Culinary Arts
Focused on foundational cooking techniques, kitchen safety, and menu planning.
Gotham Writers Workshop, New York, NY
Course in Food Writing
Explored the art of crafting engaging culinary narratives and recipe development.
John grew up where food meant connection: big bowls, warm kitchens, and meals that told a story. After earning his Certificate in Culinary Arts from Lane Community College and diving deep into food writing at Gotham Writers Workshop, he found his calling: turning everyday recipes into something worth savoring.
At The Liffey, John’s focus is all about crafting dishes that feel easy, honest, and full of heart.