
Irresistibly Creamy Chicken Enchiladas Recipe: A Family Favorite
Creamy chicken enchiladas emerge as a comforting meal that promises pure satisfaction.
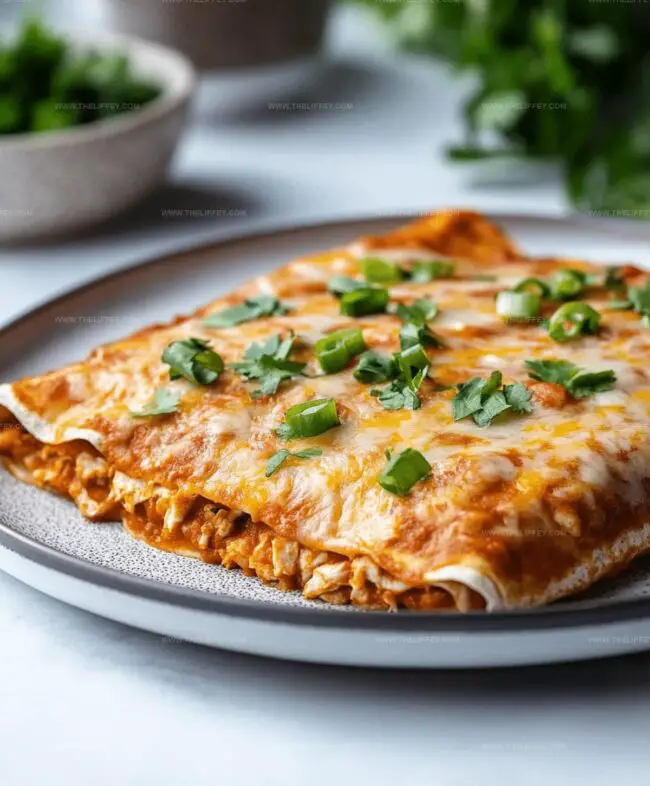
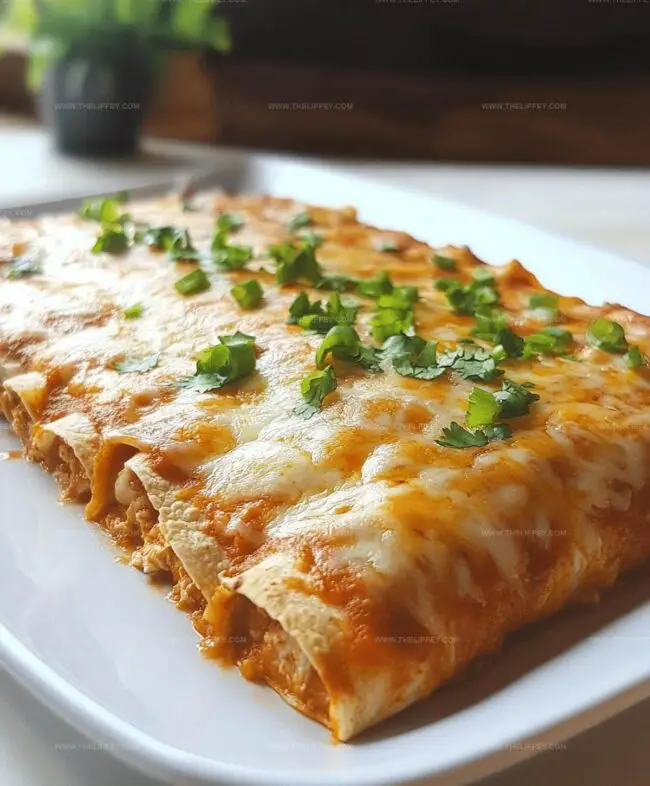
Layers of tender shredded chicken nestle between soft tortillas, creating a delightful texture.
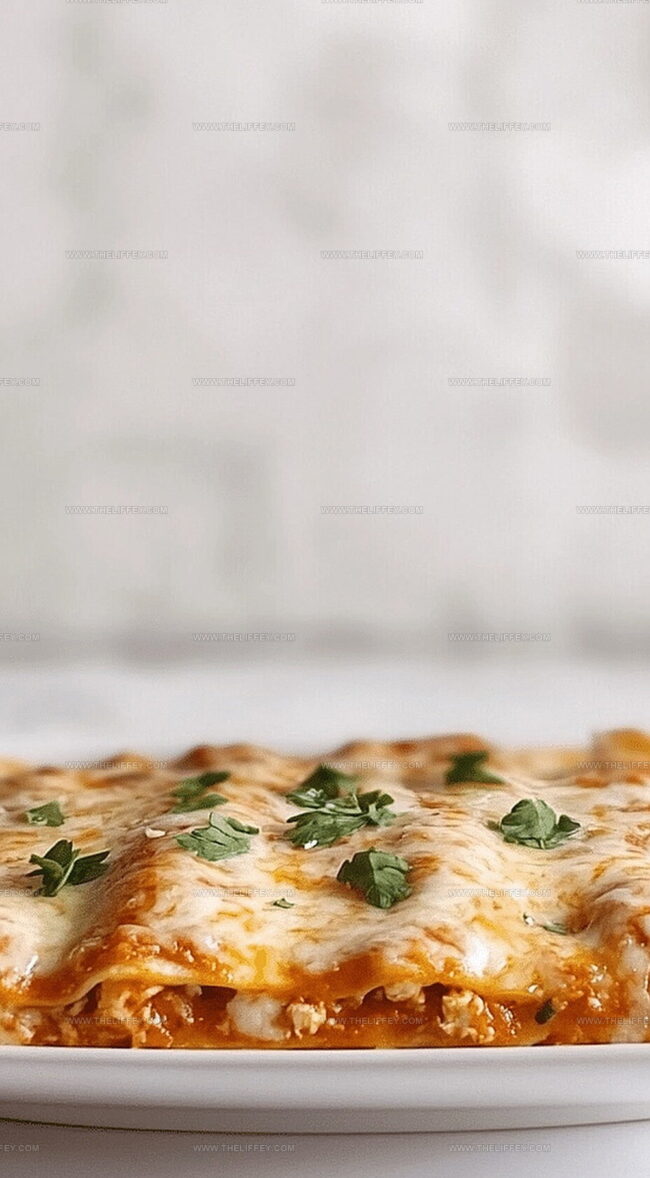
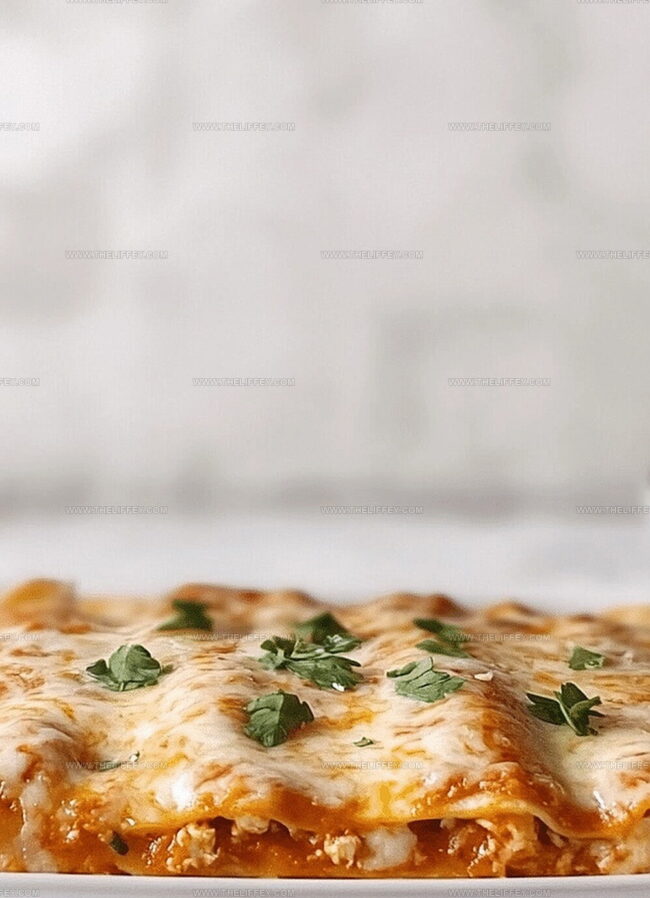
Melted cheese blankets the dish with irresistible golden warmth.
Convenient and quick, this recipe brings restaurant-style flavors straight to your kitchen.
Pantry staples combine effortlessly to craft a meal everyone will adore.
Craving something deliciously simple that sparks joy at the dinner table?
You’ll want to dive right into making these enchiladas tonight.
Chicken Enchiladas Featuring Cream Of Chicken Soup
Essential Ingredients For Creamy Chicken Enchiladas
Main Protein:Dairy and Creamy Components:Wrap and Sauce Components:Flavor Enhancers:A Stepwise Guide To Creamy Chicken Enchiladas
Step 1: Warm Up the Oven
Preheat your oven to a cozy 350°F (175°C) to get ready for some delicious Mexican-inspired magic.
Step 2: Mix the Filling
Grab a large mixing bowl and combine these tasty ingredients:Stir everything together until well blended, creating a creamy and flavorful mixture.
Step 3: Prepare the Baking Dish
Spread a thin layer of enchilada sauce across the bottom of a 9×13-inch baking dish, creating a saucy foundation.
Step 4: Roll the Enchiladas
Take your tortillas and spoon the chicken mixture into the center of each one.
Carefully roll them up, tucking in the sides, and place them seam-side down in the prepared baking dish.
Step 5: Sauce and Cheese
Pour the remaining enchilada sauce over the rolled tortillas, making sure they’re completely covered.
Sprinkle the remaining shredded cheese on top for an extra gooey finish.
Step 6: Bake to Perfection
Cover the baking dish with aluminum foil and slide it into the preheated oven.
Bake for 25 minutes, then remove the foil and continue baking for an additional 5-10 minutes until the cheese is bubbling and turning golden brown.
Step 7: Serve and Enjoy
If you’d like, garnish with fresh cilantro for a pop of color and flavor.
Serve these creamy chicken enchiladas hot and watch everyone dig in with excitement!
Tips To Boost Creamy Chicken Enchiladas
Different Takes On Creamy Chicken Enchiladas
Ideal Pairings For Creamy Chicken Enchiladas
How To Keep Chicken Enchiladas Fresh
FAQs
Yes, rotisserie chicken works perfectly and saves time. Simply shred the meat and mix it with other ingredients as directed.
Add extra green chiles, use a hot enchilada sauce, or sprinkle some cayenne pepper into the chicken mixture to increase heat.
Absolutely! Assemble the enchiladas, cover, and refrigerate for up to 24 hours before baking. Just add an extra 10 minutes to the baking time.
You can substitute with cream of mushroom soup or make a homemade white sauce as an alternative. The texture and flavor will be slightly different but still delicious.
Print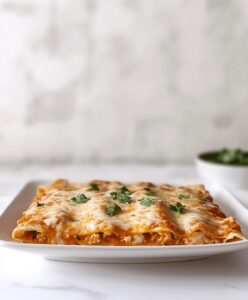
Creamy Chicken Enchiladas With Cream Of Chicken Soup Recipe
- Total Time: 50 minutes
- Yield: 8 1x
Description
Mexican-inspired chicken enchiladas with cream of chicken soup delight palates with comforting flavors. Melted cheese, tender chicken, and creamy sauce create a satisfying meal you’ll crave again and again.
Ingredients
Protein:
- 2 cups cooked, shredded chicken
Cheese and Dairy:
- 1 1/2 cups shredded cheddar cheese
- 1 cup sour cream
- 1 can (10.5 ounces / 298 grams) cream of chicken soup
Other Ingredients:
- 8–10 flour tortillas
- 1 can (4 ounces / 113 grams) diced green chiles
- 1/2 cup chopped onion
- 1 cup enchilada sauce
- Fresh cilantro for garnish
Instructions
- Warm the oven to 350F (175C) to prepare for baking the enchiladas.
- Mix shredded chicken with cream of chicken soup, sour cream, green chiles, and onion in a large mixing bowl, creating a creamy and flavorful filling.
- Lightly coat the bottom of a 9×13-inch baking dish with enchilada sauce to prevent sticking and add initial flavor.
- Carefully spoon the chicken mixture into each tortilla, rolling them tightly and positioning them seam-side down in the prepared baking dish.
- Generously drizzle the remaining enchilada sauce over the rolled tortillas, ensuring complete coverage.
- Sprinkle the top with the remaining shredded cheese, creating a rich and melty topping.
- Cover the baking dish with aluminum foil and bake for 25 minutes to allow the flavors to meld and heat thoroughly.
- Remove the foil and continue baking for an additional 5-10 minutes until the cheese turns golden and bubbles with appetizing texture.
- Optional: Garnish with fresh cilantro leaves for a burst of color and added freshness before serving the hot enchiladas.
Notes
- Customize heat levels by selecting mild or spicy green chiles depending on personal preference for flavor intensity.
- Replace sour cream with Greek yogurt for a healthier protein-packed alternative that maintains creamy texture.
- Prepare chicken mixture ahead of time and refrigerate for deeper flavor melding and convenient meal prep.
- Use corn tortillas for gluten-free version or whole wheat tortillas for added nutritional value and nutty undertone.
- Prep Time: 15 minutes
- Cook Time: 35 minutes
- Category: Lunch, Dinner
- Method: Baking
- Cuisine: Mexican-American
Nutrition
- Serving Size: 8
- Calories: 335 kcal
- Sugar: 2 g
- Sodium: 580 mg
- Fat: 18 g
- Saturated Fat: 9 g
- Unsaturated Fat: 7 g
- Trans Fat: 0.3 g
- Carbohydrates: 21 g
- Fiber: 2 g
- Protein: 22 g
- Cholesterol: 65 mg
John Conley
Founder & Culinary Storyteller
Expertise
Recipe Development, Culinary Writing, Home Cooking Techniques, Seasonal Ingredient Utilization
Education
Lane Community College, Eugene, OR
Certificate in Culinary Arts
Focused on foundational cooking techniques, kitchen safety, and menu planning.
Gotham Writers Workshop, New York, NY
Course in Food Writing
Explored the art of crafting engaging culinary narratives and recipe development.
John grew up where food meant connection: big bowls, warm kitchens, and meals that told a story. After earning his Certificate in Culinary Arts from Lane Community College and diving deep into food writing at Gotham Writers Workshop, he found his calling: turning everyday recipes into something worth savoring.
At The Liffey, John’s focus is all about crafting dishes that feel easy, honest, and full of heart.