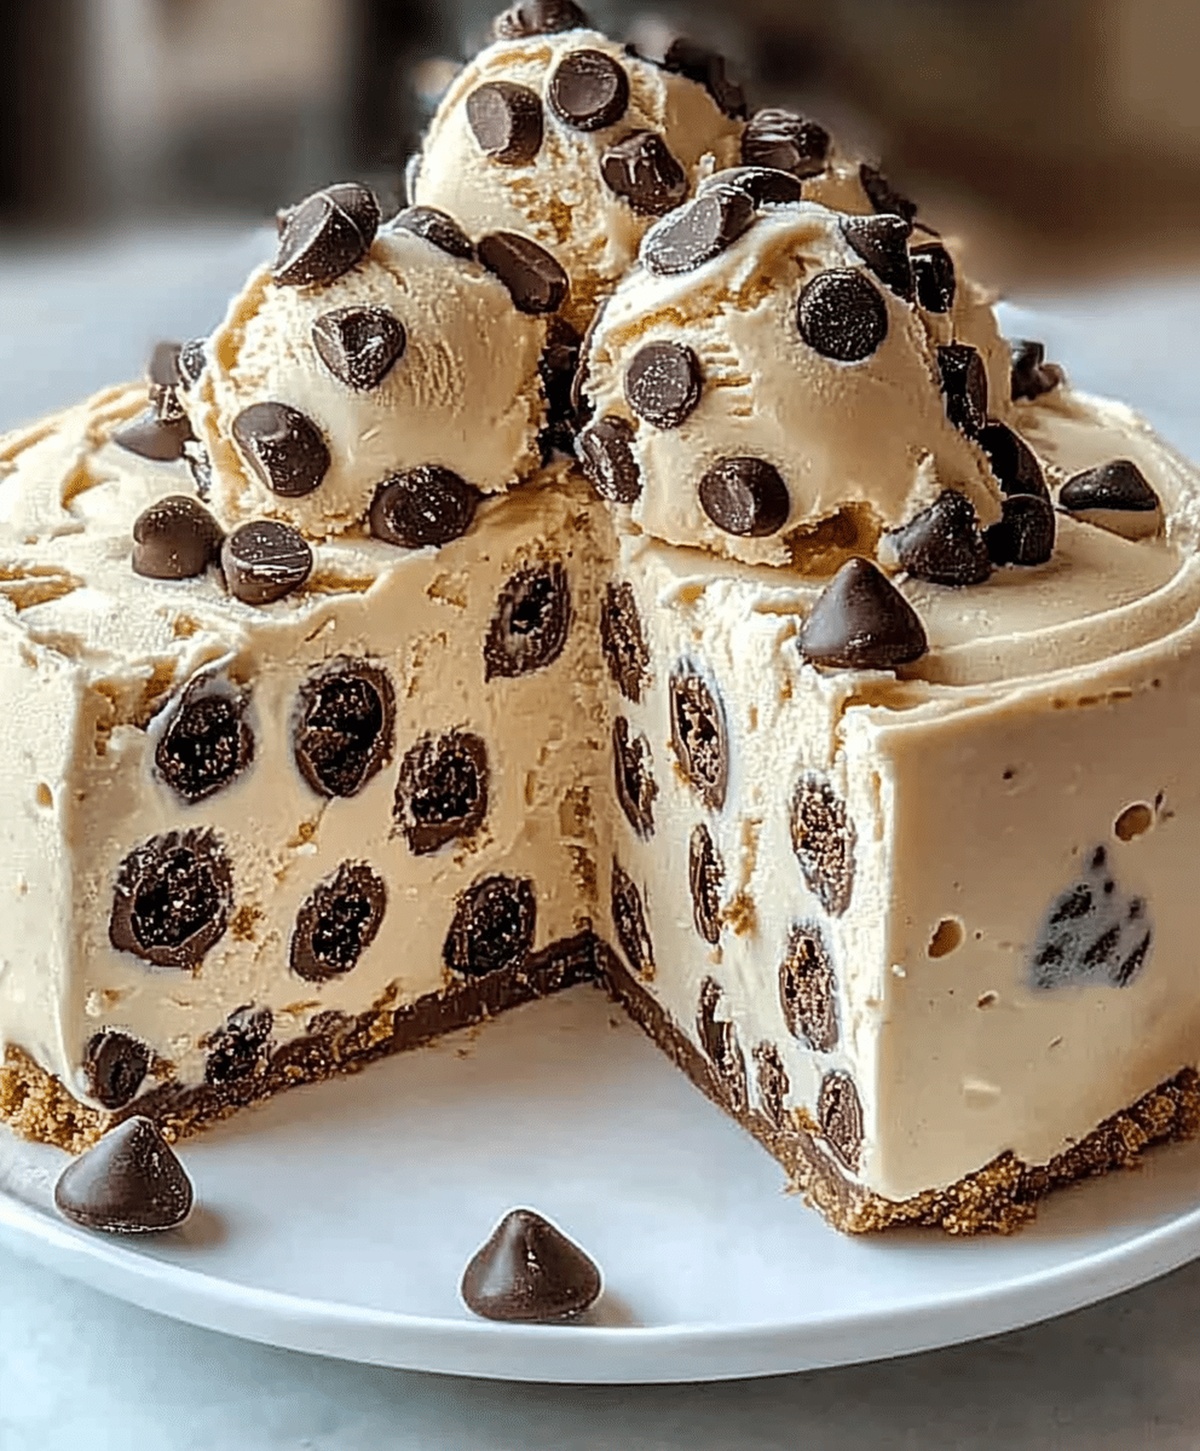
Irresistible Cookie Dough Snickers & Reese’s Ice Cream Recipe
Whipping up a decadent cookie dough snikers & reese’s ice cream promises pure indulgence for chocolate enthusiasts.
Sweet memories dance through creamy layers packed with unexpected textures.
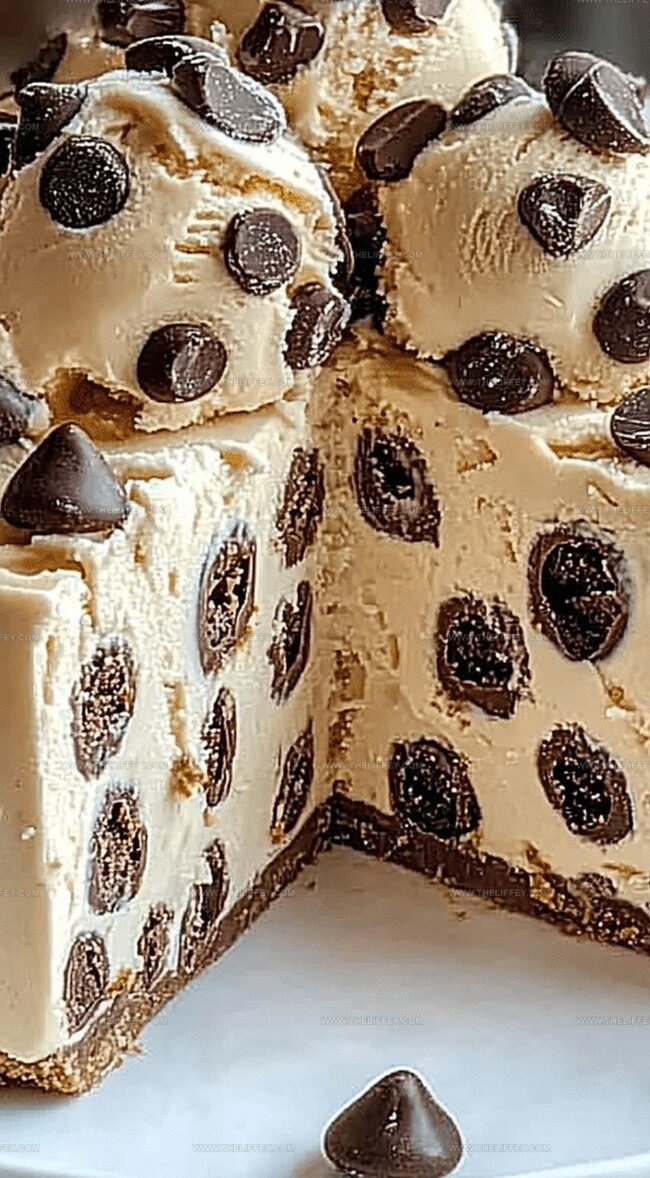
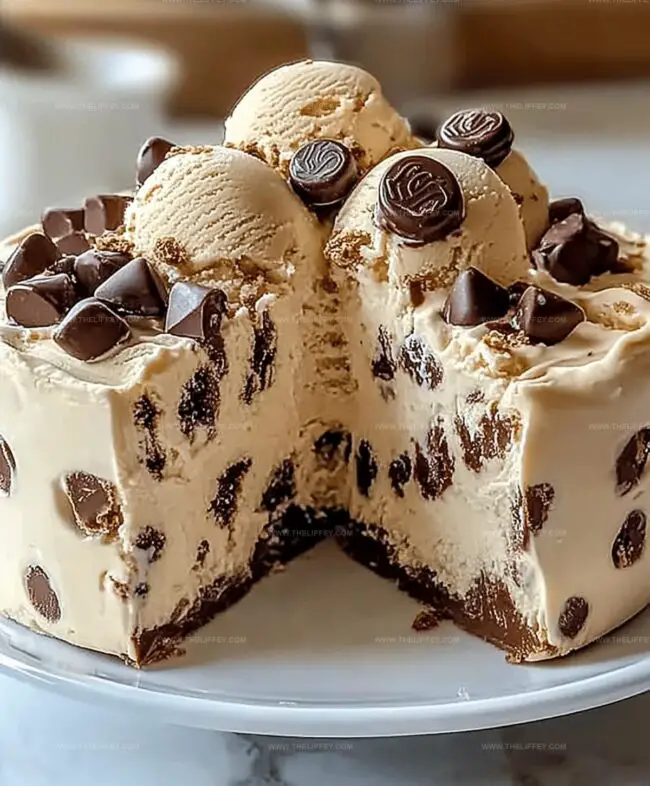
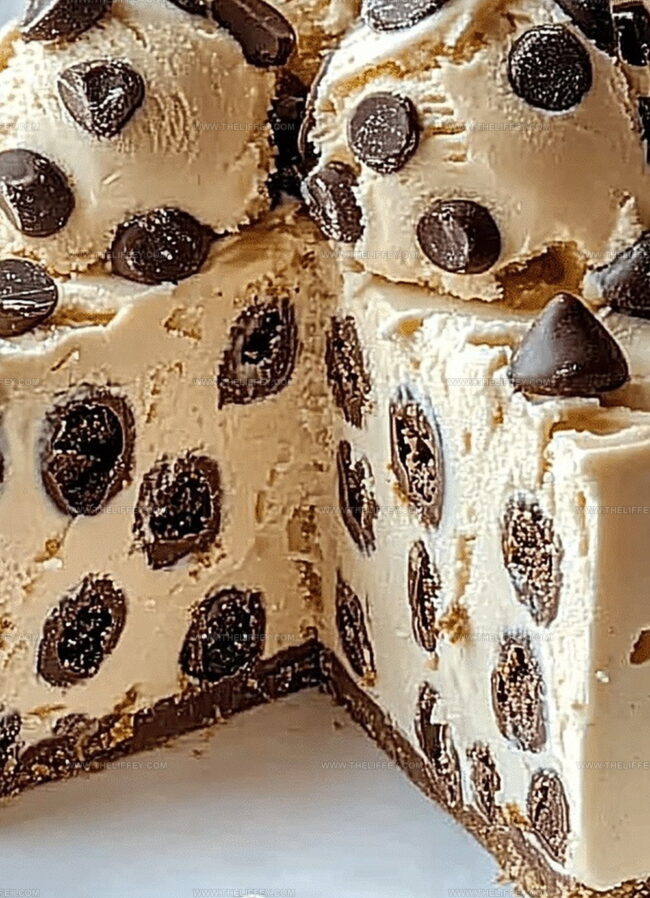
Chunks of candy bars nestled between smooth, rich bases create magical moments of pure bliss.
Peanut butter and chocolate lovers will absolutely swoon over this incredible dessert.
Nothing beats homemade treats that spark genuine excitement and childhood nostalgia.
Each spoonful delivers intense flavor combinations guaranteed to make you weak in the knees.
You deserve this delightful adventure into dessert paradise – so let’s make some magic happen!
What Makes Cookie Dough Snickers & Reese’s Ice Cream Special
What’s in Cookie Dough Snickers & Reese’s Ice Cream
Dairy Base:Flavor Enhancers:Mix-Ins:Steps for Cookie Dough Snickers & Reese’s Ice Cream
Step 1: Whip Up Creamy Base
In a spacious mixing bowl, combine silky heavy cream, whole milk, granulated sugar, rich vanilla extract, and creamy peanut butter.
Whisk these ingredients thoroughly until the mixture becomes completely smooth and well-blended, creating a luscious foundation for your indulgent ice cream.
Step 2: Churn Into Dreamy Texture
Pour the velvety mixture into your ice cream maker.
Follow the manufacturer’s specific churning guidelines, transforming the liquid into a soft and airy frozen delight.
Watch as the machine works its magic, converting the mixture into a light and fluffy consistency.
Step 3: Fold In Decadent Mix-Ins
Once the ice cream reaches a soft-serve texture, gently fold in these delectable ingredients:Ensure each mix-in is evenly distributed throughout the creamy base for a perfect bite every time.
Step 4: Freeze And Set
Transfer the ice cream to a freezer-safe container.
Place in the freezer and allow it to firm up for a minimum of 4 hours.
This resting period helps the flavors meld and creates a perfectly scoopable texture.
Step 5: Scoop And Savor
Remove the container from the freezer.
Using an ice cream scoop, serve generous portions of this decadent treat.
Enjoy the rich, creamy, and chunk-filled dessert that celebrates all your favorite candy and cookie flavors.
Tips to Nail Cookie Dough Snickers & Reese’s Ice Cream
Cookie Dough Snickers & Reese’s Ice Cream Twists to Try
Pairings for Cookie Dough Snickers & Reese’s Ice Cream
How to Store Cookie Dough Snickers & Reese’s Ice Cream
FAQs
Yes, the recipe uses edible cookie dough without raw eggs, making it safe to consume.
An ice cream maker helps create a smooth texture, but you can also use a no-churn method by freezing and stirring the mixture every hour.
You can swap peanut butter with almond butter and use different candy bars like Milky Way or Kit Kat if Snickers and Reese’s are unavailable.
Preparation takes about 20 minutes, churning takes 20-30 minutes, and freezing requires 4 hours, so plan for approximately 5 hours total.
Print
Cookie Dough Snikers & Reese’s Ice Cream Recipe
- Total Time: 10 minutes
- Yield: 4 1x
Description
Indulgent cookie dough Snickers & Reese’s ice cream blends nostalgic childhood treats into a luxurious dessert. Creamy layers of peanut butter, chocolate, and cookie dough create a memorable sweet experience for dessert enthusiasts.
Ingredients
Main Ingredients:
- 2 cups (473 ml) heavy cream
- 1 cup (237 ml) whole milk
- 1/2 cup (120 ml) peanut butter
Sweeteners and Flavoring:
- 3/4 cup (150 g) granulated sugar
- 1 teaspoon vanilla extract
Mix-ins:
- 1 cup edible cookie dough (homemade or store-bought)
- 1/2 cup chopped Snickers bars
- 1/2 cup chopped Reese’s cups
Instructions
- Whisk heavy cream, milk, sugar, vanilla extract, and peanut butter in a large mixing bowl until the mixture becomes silky and uniformly blended.
- Pour the creamy base into an ice cream maker and churn for approximately 20-25 minutes, following the device’s recommended churning time and speed.
- As the mixture transforms into a soft, velvety texture, gently incorporate bite-sized pieces of edible cookie dough, creating a marbled effect throughout the developing ice cream.
- Sprinkle chopped Snickers and Reese’s pieces evenly across the churning mixture, ensuring a balanced distribution of candy chunks in every potential scoop.
- Transfer the partially frozen concoction into an airtight freezer-safe container, using a spatula to smooth the surface and eliminate air pockets.
- Place the container in the freezer for 4-6 hours, allowing the ice cream to solidify and develop a rich, creamy consistency.
- Before serving, let the ice cream rest at room temperature for 2-3 minutes to soften slightly, making scooping easier and enhancing the overall eating experience.
- Serve in chilled bowls or cones, garnishing with additional candy pieces if desired.
Notes
- Choose high-quality peanut butter for richer, more intense flavor that complements the ice cream base.
- Chill all ingredients beforehand to help the ice cream freeze faster and develop a smoother texture.
- For a gluten-free version, use certified gluten-free cookie dough and check candy bar ingredients carefully.
- Allow the ice cream to soften at room temperature for 5-10 minutes before scooping to achieve the perfect creamy consistency.
- Prep Time: 10 minutes
- Cook Time: 0 minutes
- Category: Desserts, Snacks
- Method: Churning
- Cuisine: American
Nutrition
- Serving Size: 4
- Calories: 633
- Sugar: 43 g
- Sodium: 189 mg
- Fat: 44 g
- Saturated Fat: 18 g
- Unsaturated Fat: 24 g
- Trans Fat: 0.5 g
- Carbohydrates: 41 g
- Fiber: 3 g
- Protein: 12 g
- Cholesterol: 104 mg
Amanda Bennett
Recipe Curator & Culinary Educator
Expertise
Baking and Pastry Arts, Recipe Testing and Development, Culinary Instruction, Food Styling and Photography
Education
Asheville-Buncombe Technical Community College, Asheville, NC
Diploma in Culinary Arts
Emphasized practical cooking skills, nutrition, and kitchen management.
Cambridge School of Culinary Arts, Cambridge, MA
Certificate in Professional Pastry Arts
Specialized in baking techniques, dessert presentation, and flavor profiling
Amanda’s roots run deep in the Southern hills, where every meal started fresh from the garden and every dessert came with a story. She trained at Asheville-Buncombe Technical Community College and sharpened her pastry skills at the Cambridge School of Culinary Arts, blending classic technique with everyday charm.
At The Liffey, Amanda’s passion is making baking and home cooking feel natural and joyful. She’s all about single recipes that are simple enough for a busy afternoon, but special enough to make someone’s day a little sweeter.