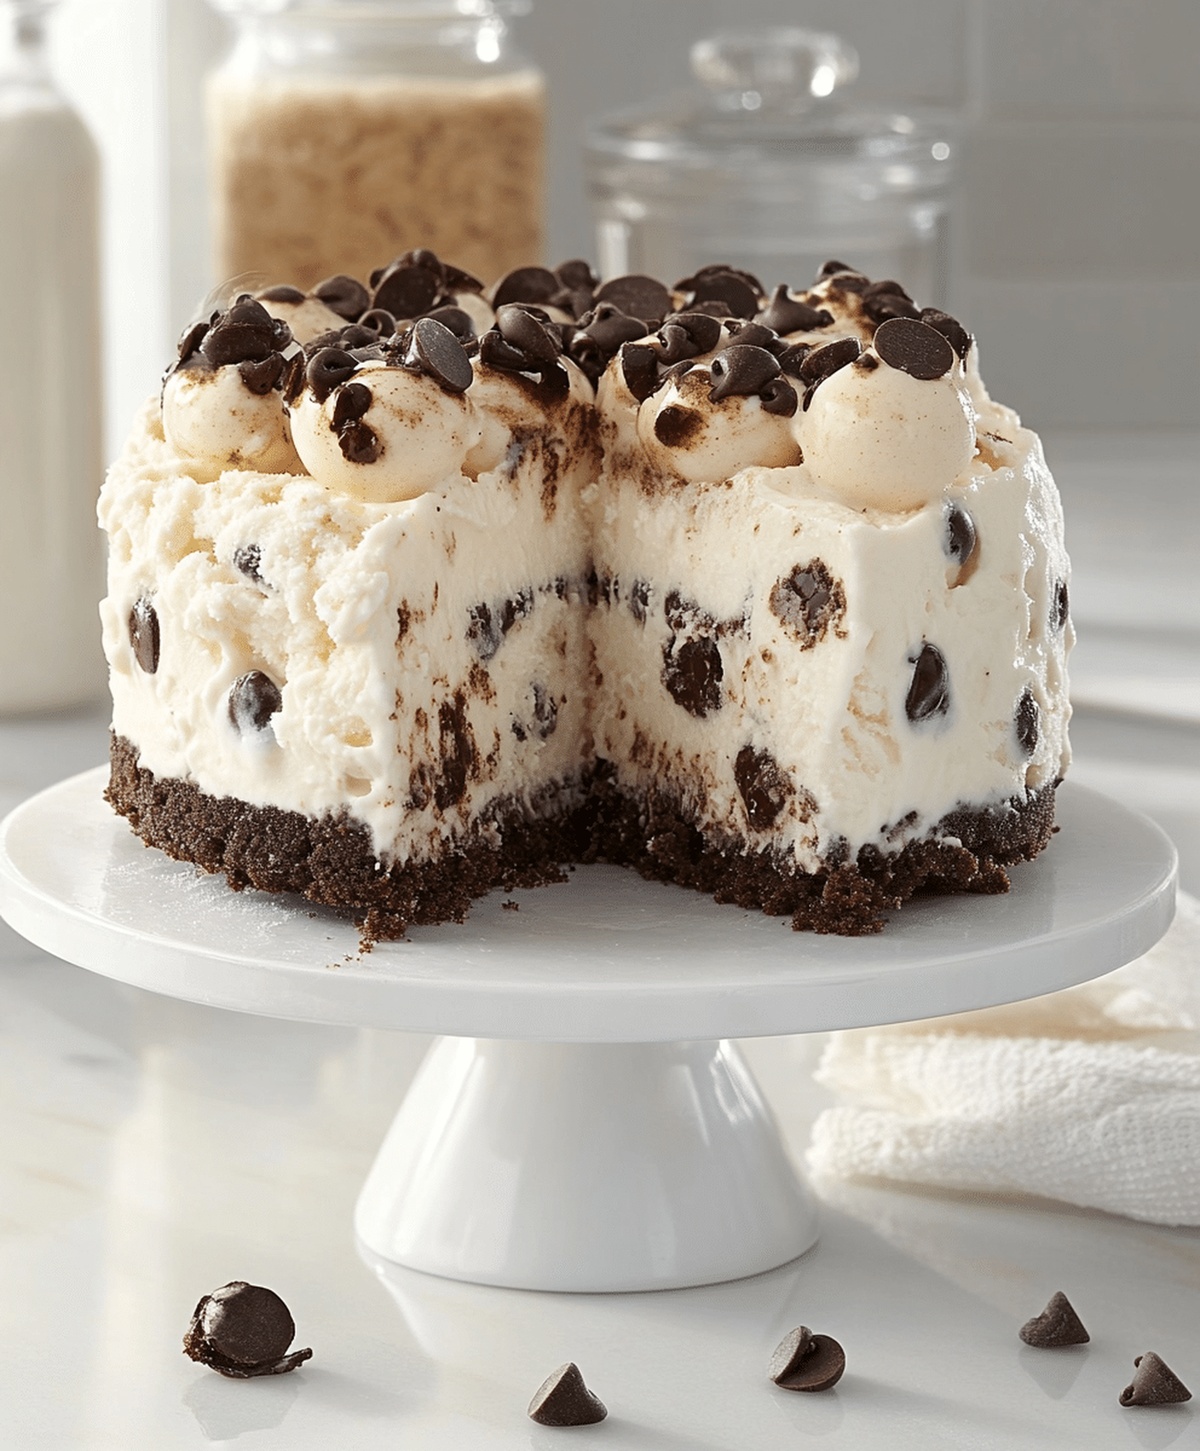
The Ultimate Chocolate Chip Cookie Dough Ice Cream Cake Recipe
Sweet memories dance through my chocolate chip cookie dough ice cream cake memories like delightful childhood whispers.
Layers of creamy goodness promise a delectable adventure waiting to unfold.
Soft chunks of cookie dough nestle between cool, silky ice cream sections.
Decadent textures merge in a symphony of indulgent flavors that surprise and delight.
Homemade magic transforms simple ingredients into an extraordinary dessert experience.
Baker skills matter less than pure passion when crafting this irresistible treat.
One slice promises to melt hearts and create instant smiles across the table.
Dive into this dreamy creation and let pure deliciousness take over.
Chocolate Chip Cookie Dough Ice Cream Cake to Savor
Ingredients for Chocolate Chip Cookie Dough Ice Cream Cake
Base Layer:Cookie Dough Layer:Ice Cream and Topping Layer:How to Assemble Chocolate Chip Cookie Dough Ice Cream Cake
Step 1: Create Crunchy Cookie Foundation
Crush chocolate chip cookies into fine crumbs and blend with melted butter.
Press the mixture firmly into the bottom of a springform pan, creating a solid base.
Place in the freezer for 15 minutes to set and solidify.
Step 2: Whip Up Delectable Cookie Dough
Cream together softened butter with:Mix until light and fluffy.
Stir in vanilla and milk.
Gently fold in heat-treated flour and mini chocolate chips until evenly distributed.
Set cookie dough mixture aside.
Step 3: Build Dreamy Ice Cream Layers
Spread a smooth layer of softened vanilla ice cream over the frozen cookie crust.
Return to freezer for 30 minutes until completely firm.
Carefully spread the prepared cookie dough on top.
Add a generous layer of softened chocolate chip ice cream.
Freeze for minimum 4 hours or preferably overnight for perfect texture.
Step 4: Dress Up Your Masterpiece
Remove cake from springform pan just before serving.
Adorn with:Step 5: Slice and Indulge
Cut into beautiful wedges and savor every delicious bite of this ultimate dessert creation.
Tips for Chocolate Chip Cookie Dough Ice Cream Cake
Flavor Twists for Chocolate Chip Cookie Dough Ice Cream Cake
Serving Ideas for Chocolate Chip Cookie Dough Ice Cream Cake
Storage Advice for Chocolate Chip Cookie Dough Ice Cream Cake
FAQs
Yes, the recipe uses heat-treated flour, which is heated to kill potential bacteria, making it safe for raw consumption in cookie dough.
Absolutely! You can prepare the cake up to 3 days in advance and keep it frozen until ready to serve.
You can use a regular cake pan lined with plastic wrap, which will help you remove the cake more easily.
Spread flour on a baking sheet and bake at 350°F for 5-7 minutes, stirring occasionally, to ensure it reaches a safe temperature.
Print
Chocolate Chip Cookie Dough Ice Cream Cake Recipe
- Total Time: 5 hours 5 minutes
- Yield: 12 1x
Description
Sweet layers of homemade chocolate chip cookie dough ice cream cake delight dessert enthusiasts with rich, creamy textures. Cool summer celebrations welcome this indulgent masterpiece that blends nostalgic cookie flavors with smooth, cold ice cream goodness.
Ingredients
Main Ingredients:
Flour and Sugars:
- 1.25 cups all-purpose flour (heat-treated)
- 0.75 cup brown sugar
- 0.25 cup granulated sugar
Cookie and Ice Cream Base:
- 2 cups crushed chocolate chip cookies
- 1.5 quarts (1.42 liters) vanilla ice cream, softened
- 1.5 quarts (1.42 liters) chocolate chip ice cream, softened
Fats and Liquids:
- 0.5 cup (113 grams) unsalted butter, softened
- 0.25 cup (57 grams) unsalted butter, melted
- 2 tablespoons milk
- 1 teaspoon vanilla extract
Chocolate and Extras:
- 0.5 cup mini chocolate chips
Toppings:
- Whipped cream
- Chocolate sauce
- Extra cookie dough balls (optional)
Instructions
- Craft a robust foundation by pulverizing chocolate chip cookies and blending with melted butter, pressing the crumbly mixture firmly into a springform pan’s base. Chill in the freezer for 15 minutes to solidify the crust.
- Cream butter with brown and granulated sugars until light and airy, incorporating vanilla and milk. Gently fold in heat-treated flour and miniature chocolate chips, creating a smooth cookie dough mixture that will serve as a delectable layer.
- Carefully spread softened vanilla ice cream across the chilled crust, ensuring an even distribution. Return to the freezer for 30 minutes until completely set and firm.
- Delicately arrange the prepared cookie dough as a distinct layer over the vanilla ice cream, followed by an additional layer of softened chocolate chip ice cream. Freeze for a minimum of 4 hours, preferably overnight, to allow complete solidification.
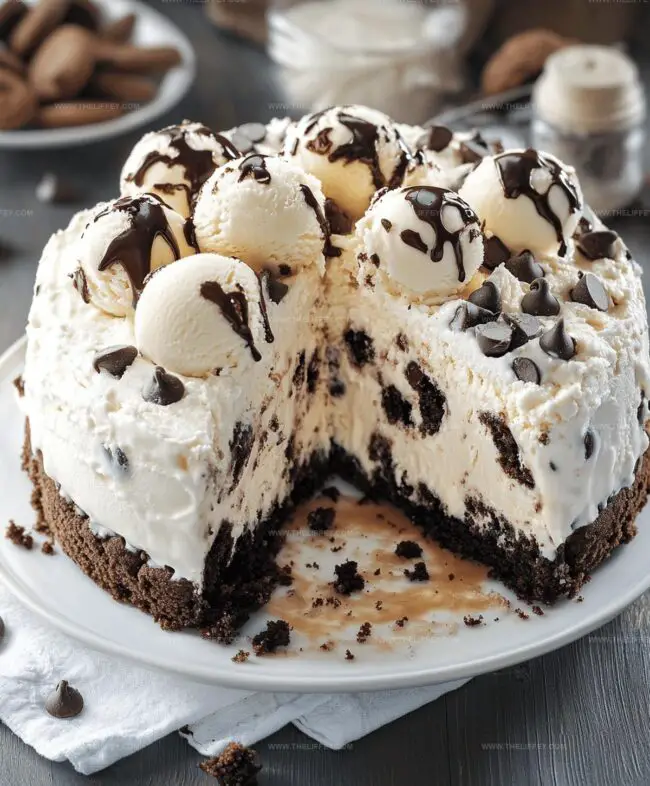
- Prior to serving, carefully release the cake from the springform pan, revealing its stunning layers. Embellish with pillowy whipped cream, drizzle rich chocolate sauce, and garnish with additional cookie dough balls for an indulgent presentation.
- Cut into elegant slices and savor the harmonious blend of textures and flavors.
Notes
- Ensure cookie crumbs are finely crushed for a compact, stable crust that holds together perfectly when sliced.
- Heat-treat flour by microwaving or baking to eliminate potential bacteria, making the raw cookie dough safer to consume.
- Soften ice cream just enough to spread easily without melting completely, maintaining its creamy texture and structure.
- Freeze each layer thoroughly to prevent mixing and create distinct, beautiful layers when cutting the cake.
- Prep Time: 20 minutes
- Cook Time: 4 hours 45 minutes
- Category: Desserts
- Method: Freezing
- Cuisine: American
Nutrition
- Serving Size: 12
- Calories: 330 kcal
- Sugar: 26 g
- Sodium: 95 mg
- Fat: 18 g
- Saturated Fat: 11 g
- Unsaturated Fat: 6 g
- Trans Fat: 0.2 g
- Carbohydrates: 38 g
- Fiber: 1.5 g
- Protein: 4 g
- Cholesterol: 40 mg
Amanda Bennett
Recipe Curator & Culinary Educator
Expertise
Baking and Pastry Arts, Recipe Testing and Development, Culinary Instruction, Food Styling and Photography
Education
Asheville-Buncombe Technical Community College, Asheville, NC
Diploma in Culinary Arts
Emphasized practical cooking skills, nutrition, and kitchen management.
Cambridge School of Culinary Arts, Cambridge, MA
Certificate in Professional Pastry Arts
Specialized in baking techniques, dessert presentation, and flavor profiling
Amanda’s roots run deep in the Southern hills, where every meal started fresh from the garden and every dessert came with a story. She trained at Asheville-Buncombe Technical Community College and sharpened her pastry skills at the Cambridge School of Culinary Arts, blending classic technique with everyday charm.
At The Liffey, Amanda’s passion is making baking and home cooking feel natural and joyful. She’s all about single recipes that are simple enough for a busy afternoon, but special enough to make someone’s day a little sweeter.