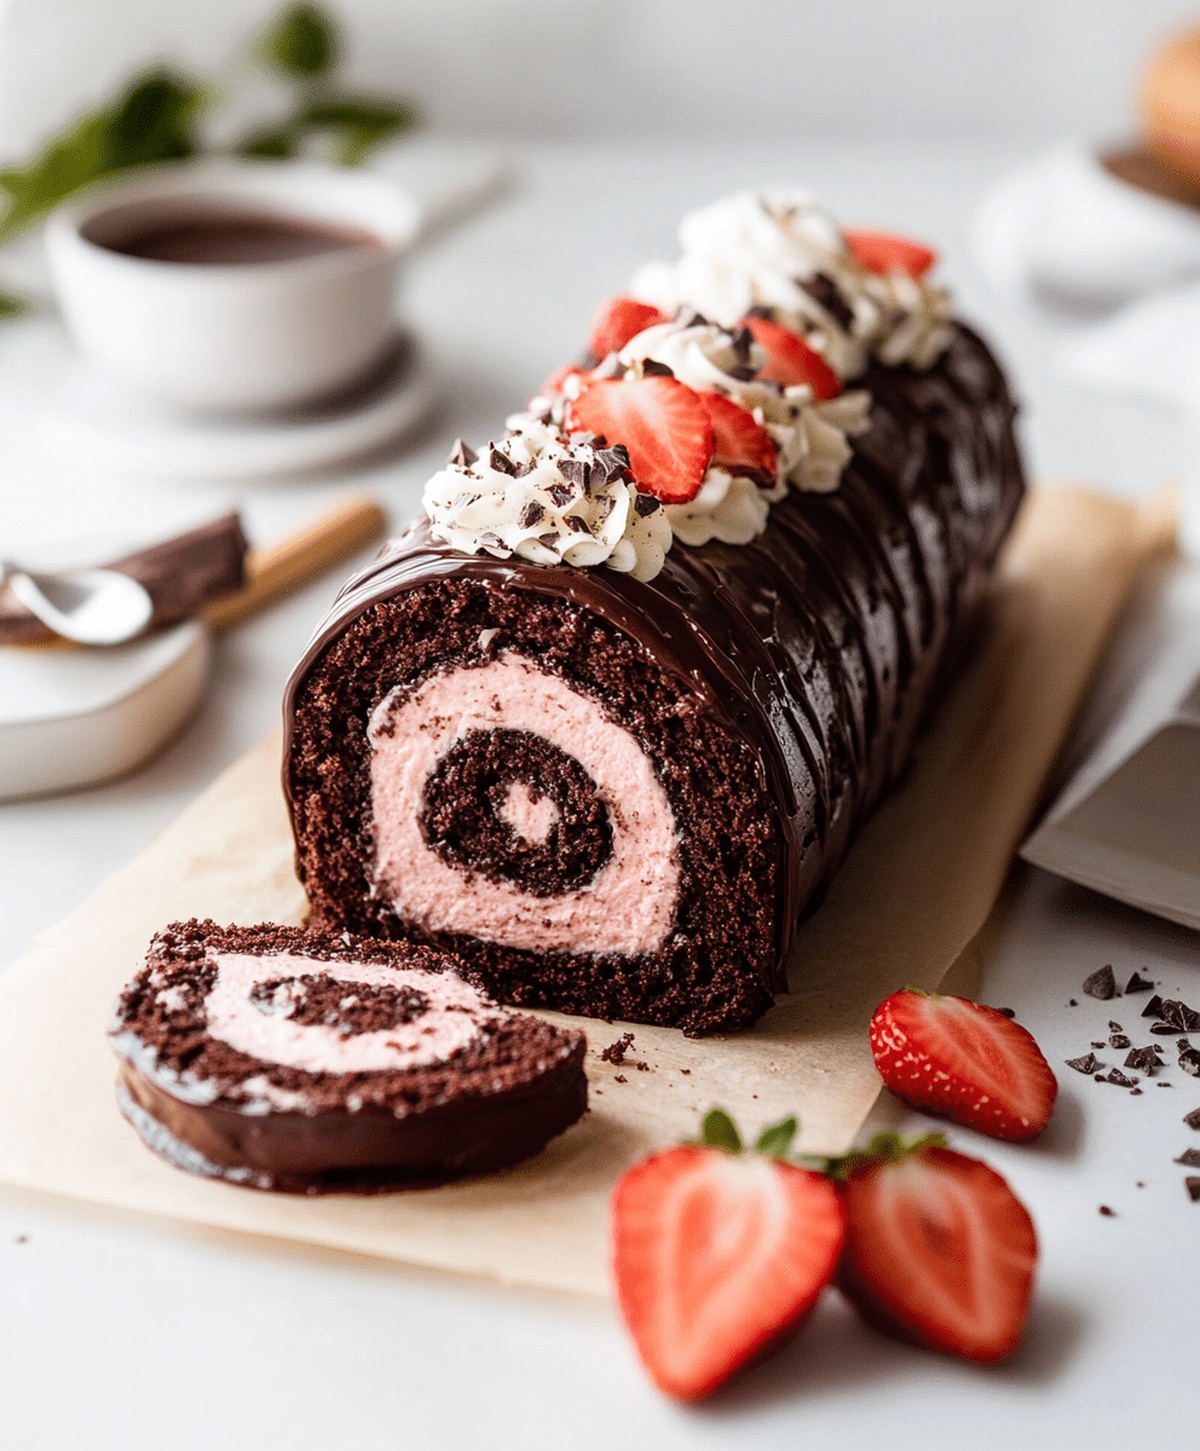
The Fluffiest Chocolate Cake Roll Recipe You’ll Ever Bake
Whipping up a delectable chocolate cake roll brings pure joy to any dessert lover.
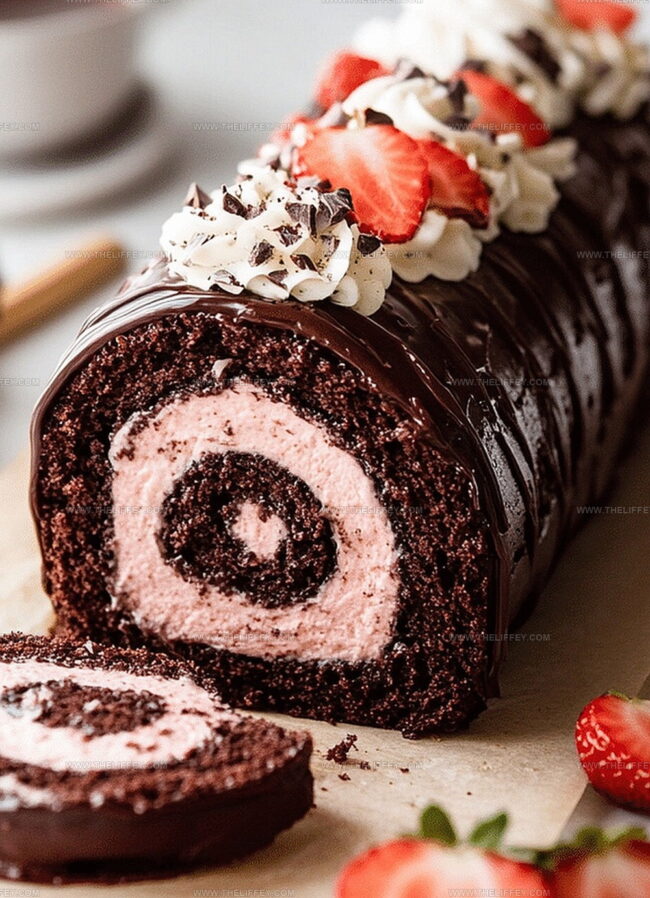
Layers of rich, velvety chocolate meld seamlessly with a creamy filling that dances across your palate.
Soft and delicate, this elegant treat promises to impress even the most discerning sweet tooth.
Skilled bakers and novice kitchen enthusiasts alike will find delight in crafting this stunning dessert.
Rolling techniques might seem tricky at first, but practice makes perfect with this foolproof recipe.
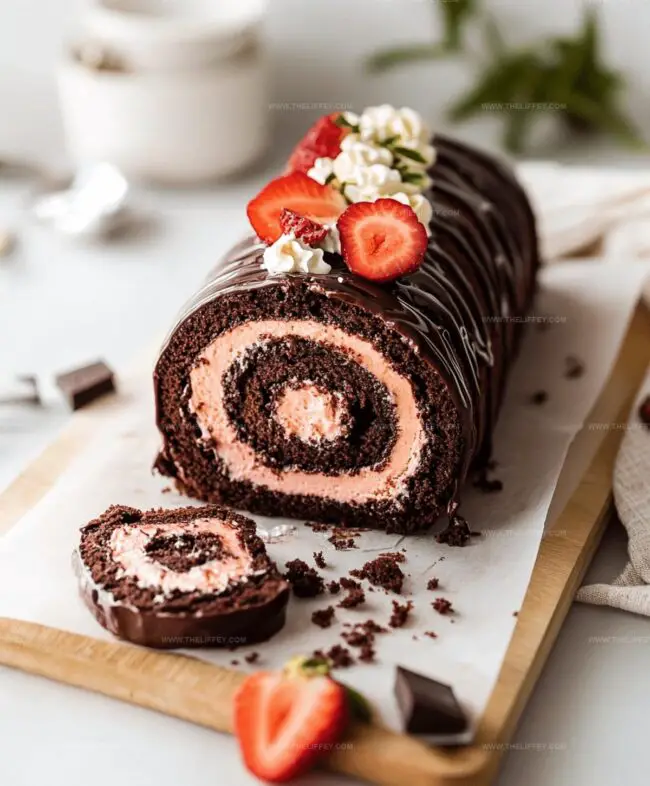
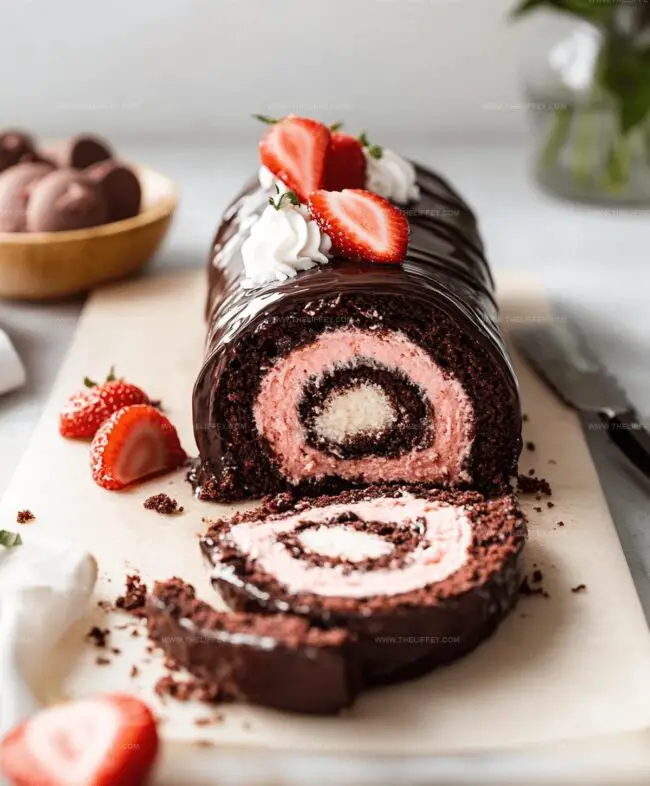
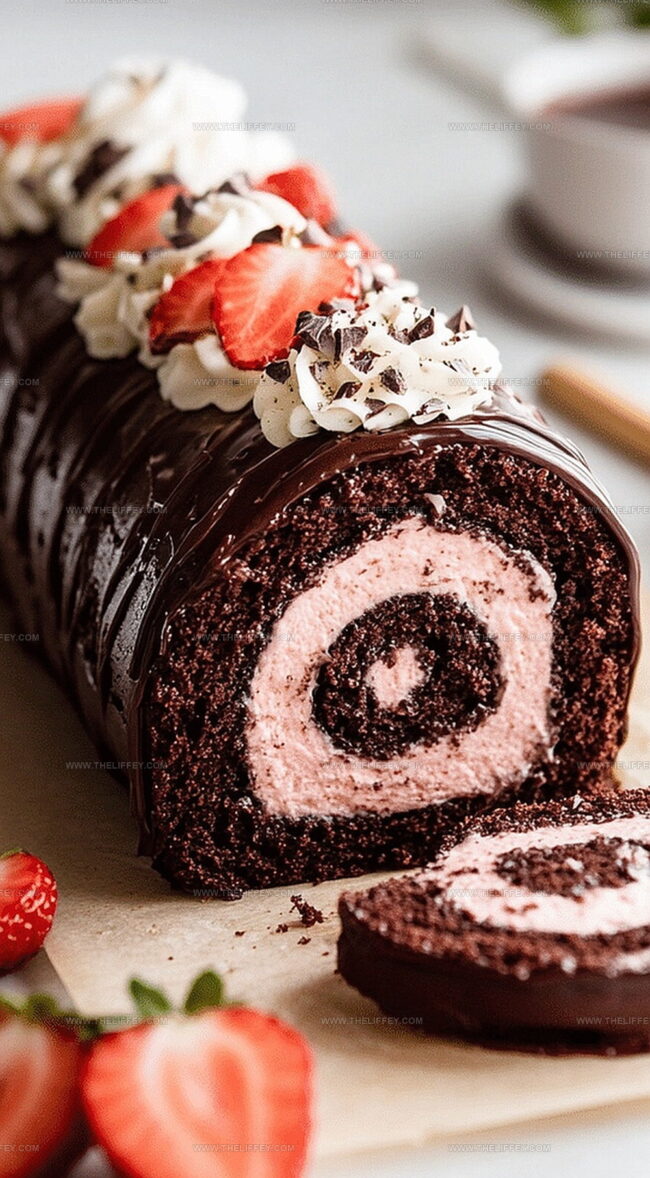
Each slice reveals a mesmerizing spiral of chocolate goodness that beckons you to indulge.
Grab a fork and let the decadent adventure begin – your taste buds will thank you!
What Makes Chocolate Cake Roll Special
Ingredients for a Chocolate Cake Roll
Cake Base Ingredients:Dry Ingredients:Filling and Topping:Rolling a Cake with Precision
Step 1: Warm Up the Oven
Crank the oven to a toasty 350F and grab a jelly roll pan.
Line it with parchment paper, making sure it’s smooth and covers every corner.
Step 2: Whip Up the Base
Grab a mixing bowl and beat eggs and sugar until they transform into a fluffy cloud-like mixture.
Pour in vanilla, oil, and milk, stirring until everything looks perfectly blended.
Step 3: Create the Cake Blend
Sift these dry ingredients into the wet mixture:Fold everything together gently, making sure no dry spots remain.
Step 4: Bake the Cake Layer
Spread the batter evenly across the pan, creating a smooth surface.
Slide into the preheated oven and bake for 10-12 minutes until the cake looks set and springs back when touched.
Step 5: Roll and Cool
Dust a clean kitchen towel with powdered sugar.
Carefully turn the warm cake onto the towel and roll it up, letting it cool completely.
This helps create the perfect roll shape.
Step 6: Prepare the Dreamy Filling
In a clean bowl, whip together:Beat until the mixture forms stiff, gorgeous peaks that hold their shape.
Step 7: Assemble the Cake Roll
Gently unroll the cooled cake.
Spread the whipped cream filling evenly across the surface.
Carefully roll the cake back up, keeping it tight but gentle.
Step 8: Finish and Chill
Dust the outside with a snowy layer of powdered sugar.
Refrigerate for at least an hour to help the roll set and develop maximum flavor.
Slice and serve chilled.
Tips to Perfect the Cake Roll Process
Sweet Twists for Cake Roll Styles
What Matches Chocolate Cake Rolls
Storing Cake Roll the Clean Way
FAQs
No, it’s a straightforward recipe that requires basic baking skills. The key is to handle the cake gently when rolling and unrolling.
Absolutely! You can swap the whipped cream with chocolate ganache, cream cheese frosting, or even a fruit-based filling for variety.
Dutch-processed cocoa powder provides a richer, smoother chocolate flavor compared to natural cocoa powder. Choose a high-quality brand for the best results.
Roll the cake while it’s still warm and use a towel dusted with powdered sugar. This helps prevent cracking and makes the rolling process easier.
Print
Chocolate Cake Roll Recipe
- Total Time: 37 minutes
- Yield: 8 1x
Description
Silky chocolate cake roll from Germany offers a delightful dessert experience with rich cocoa layers and creamy filling. Chocolate lovers can enjoy this elegant treat that combines smooth texture and indulgent flavor in each delectable slice.
Ingredients
Cake Base:
- 4 large eggs
- 3/4 cup (150 grams) granulated sugar
- 1/4 cup (60 milliliters) vegetable oil
- 1/3 cup (80 milliliters) milk
Dry Ingredients:
- 1/2 cup (60 grams) all-purpose flour
- 1/4 cup (25 grams) unsweetened cocoa powder
- 1 teaspoon baking powder
- 1/4 teaspoon salt
Flavor and Finishing:
- 1 teaspoon vanilla extract
- Powdered sugar (for dusting)
Instructions
- Prepare a jelly roll pan by lining it with parchment paper and heating the oven to 350F (175C).
- Whip eggs and sugar until light and airy, creating a smooth, voluminous mixture.
- Incorporate vanilla, oil, and milk into the egg mixture, blending thoroughly to ensure uniform consistency.
- Gently sift dry ingredients – flour, cocoa powder, baking powder, and salt – into the wet mixture, folding carefully to maintain airiness.
- Distribute batter uniformly across the prepared pan, creating an even layer.
- Bake for 10-12 minutes until the cake springs back when lightly touched.
- Immediately after removing from oven, transfer the warm cake onto a towel generously dusted with powdered sugar.
- Carefully roll the cake with the towel, allowing it to cool completely in this cylindrical shape.
- Whip heavy cream with powdered sugar and vanilla until stiff, glossy peaks form.
- Gently unroll the cooled cake and spread the cream filling evenly across the surface.
- Tightly roll the cake back into its original cylindrical shape, encasing the cream filling.
- Dust the exterior with additional powdered sugar for an elegant finish.
- Refrigerate for at least one hour to set before slicing and serving.
Notes
- Ensure eggs are at room temperature for a fluffier texture and better volume when beating.
- Use a thin kitchen towel or parchment paper when rolling to prevent sticking and cracking.
- Whip cream filling just until stiff peaks form to avoid over-beating, which can make it grainy.
- For a gluten-free version, substitute all-purpose flour with almond or gluten-free flour blend.
- Prep Time: 25 minutes
- Cook Time: 12 minutes
- Category: Desserts
- Method: Baking
- Cuisine: American
Nutrition
- Serving Size: 8
- Calories: 197 kcal
- Sugar: 13 g
- Sodium: 105 mg
- Fat: 11 g
- Saturated Fat: 2 g
- Unsaturated Fat: 9 g
- Trans Fat: 0 g
- Carbohydrates: 22 g
- Fiber: 3 g
- Protein: 4 g
- Cholesterol: 63 mg
Amanda Bennett
Recipe Curator & Culinary Educator
Expertise
Baking and Pastry Arts, Recipe Testing and Development, Culinary Instruction, Food Styling and Photography
Education
Asheville-Buncombe Technical Community College, Asheville, NC
Diploma in Culinary Arts
Emphasized practical cooking skills, nutrition, and kitchen management.
Cambridge School of Culinary Arts, Cambridge, MA
Certificate in Professional Pastry Arts
Specialized in baking techniques, dessert presentation, and flavor profiling
Amanda’s roots run deep in the Southern hills, where every meal started fresh from the garden and every dessert came with a story. She trained at Asheville-Buncombe Technical Community College and sharpened her pastry skills at the Cambridge School of Culinary Arts, blending classic technique with everyday charm.
At The Liffey, Amanda’s passion is making baking and home cooking feel natural and joyful. She’s all about single recipes that are simple enough for a busy afternoon, but special enough to make someone’s day a little sweeter.