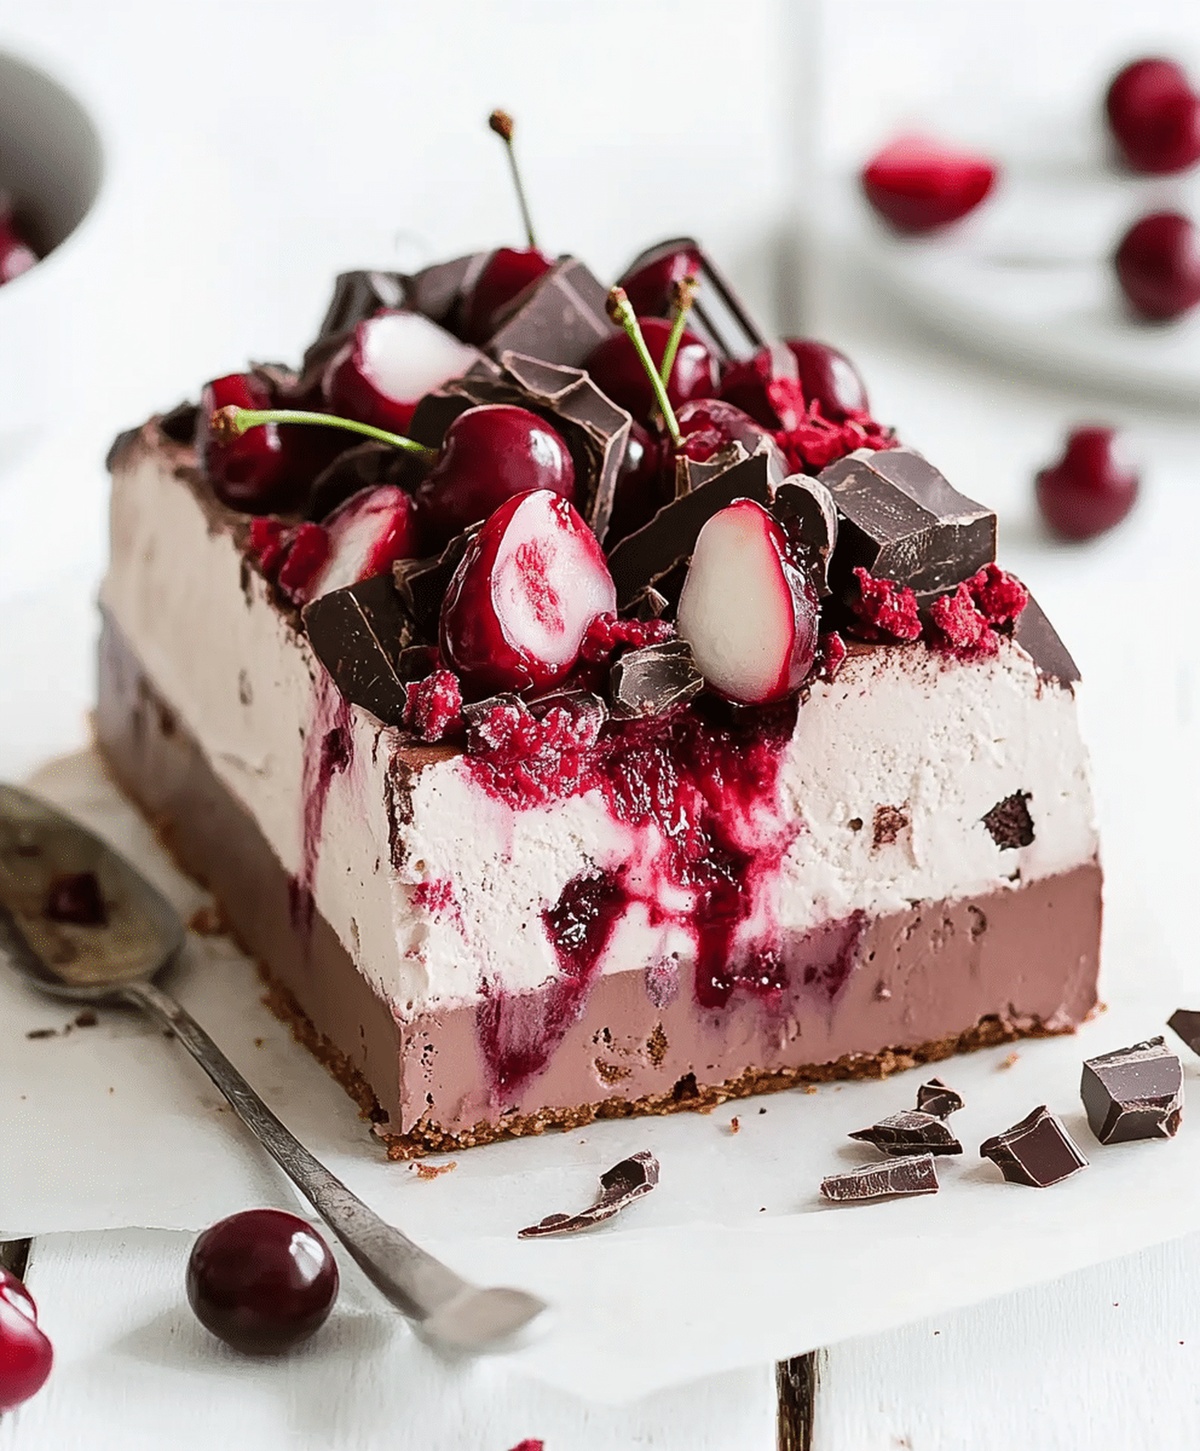
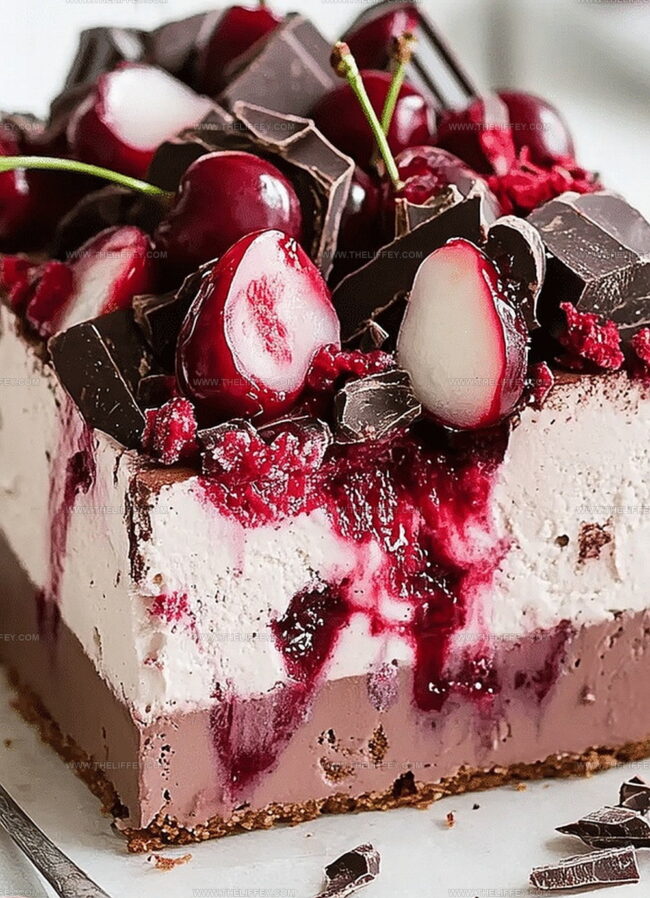
The Dreamy Cherry Chocolate Ice Cream Cake Recipe You Need
Crafting a decadent cherry chocolate ice cream cake brings pure dessert magic right to your kitchen.
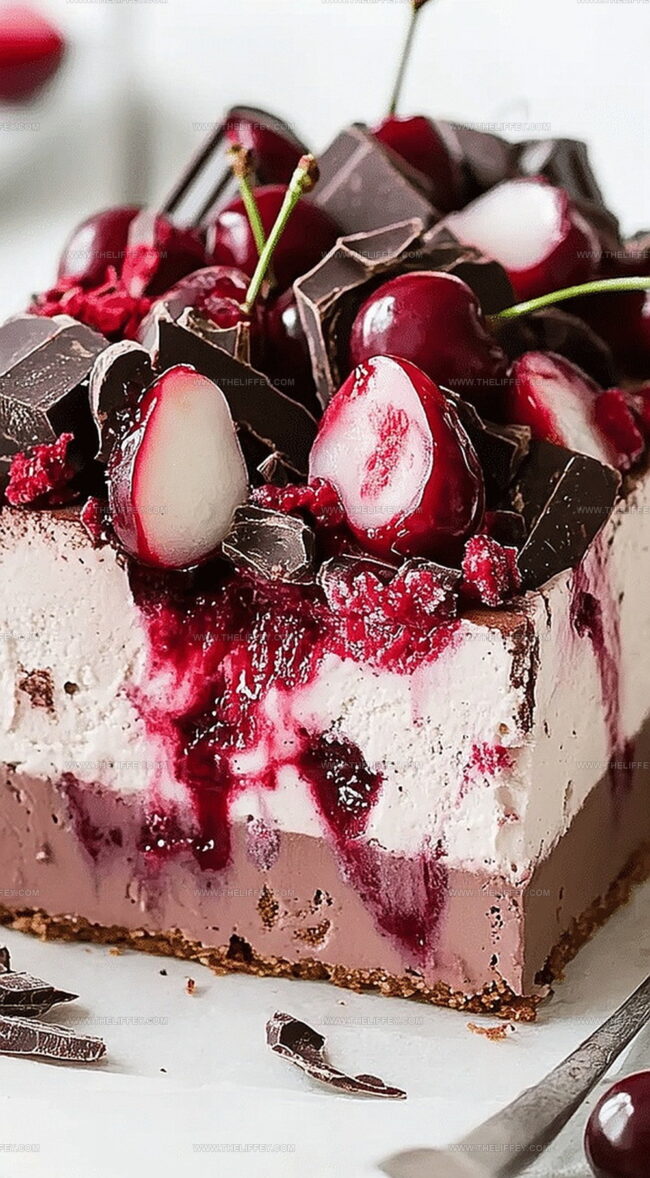
Layers of rich, velvety chocolate blend seamlessly with sweet, tangy cherries.
Cool summer afternoons beg for something spectacular like this frozen delight.
Creamy textures and intense flavor combinations make every slice an adventure.
Seasonal cherries add a burst of natural sweetness that complements deep chocolate notes.
Minimal ingredients and simple techniques mean anyone can create this impressive treat.
Your guests will be amazed by the elegant yet approachable dessert that looks professionally crafted.
Prepare to wow everyone with this irresistible frozen masterpiece.
What Makes Cherry Chocolate Ice Cream Cake Awesome
What’s in Cherry Chocolate Ice Cream Cake
Cake Base:Ice Cream Layer:Fruit Topping:Chocolate Coating:Garnish:How to Prepare Cherry Chocolate Ice Cream Cake
Step 1: Divide Chocolate Cake
Carefully slice the chocolate cake horizontally into two equal layers using a sharp serrated knife.
This creates a perfect base for layering your delicious ice cream cake.
Step 2: Create First Ice Cream Layer
Place the bottom cake layer into a springform pan.
Soften the cherry ice cream slightly and spread it evenly across the cake layer, ensuring complete coverage from edge to edge.
Step 3: Add Cherry Texture
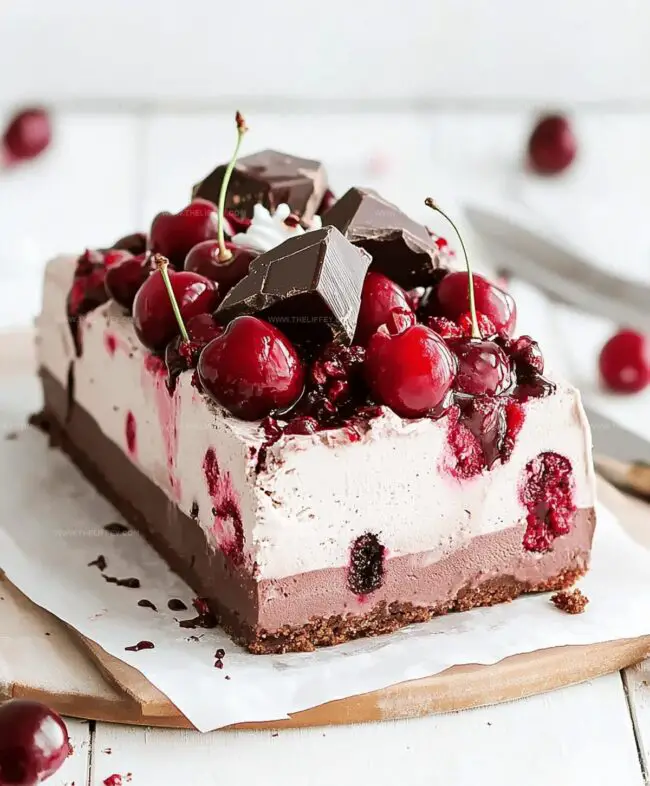
Scatter freshly chopped cherries over the ice cream layer, distributing them uniformly for bursts of fruity flavor throughout the cake.
Step 4: Complete Cake Layering
Gently position the second cake layer on top of the cherry-studded ice cream, pressing down lightly to secure the layers together.
Step 5: Initial Freezing
Transfer the assembled cake to the freezer and allow it to set completely.
This typically takes about 4 hours, ensuring the ice cream becomes firm and stable.
Step 6: Prepare Chocolate Ganache
Warm the chocolate ganache until it reaches a smooth, pourable consistency.
Carefully drizzle the ganache over the frozen cake, using a spatula to spread it evenly across the surface.
Step 7: Final Freezing
Return the cake to the freezer, allowing the ganache to set and create a glossy chocolate shell.
Step 8: Decorate and Serve
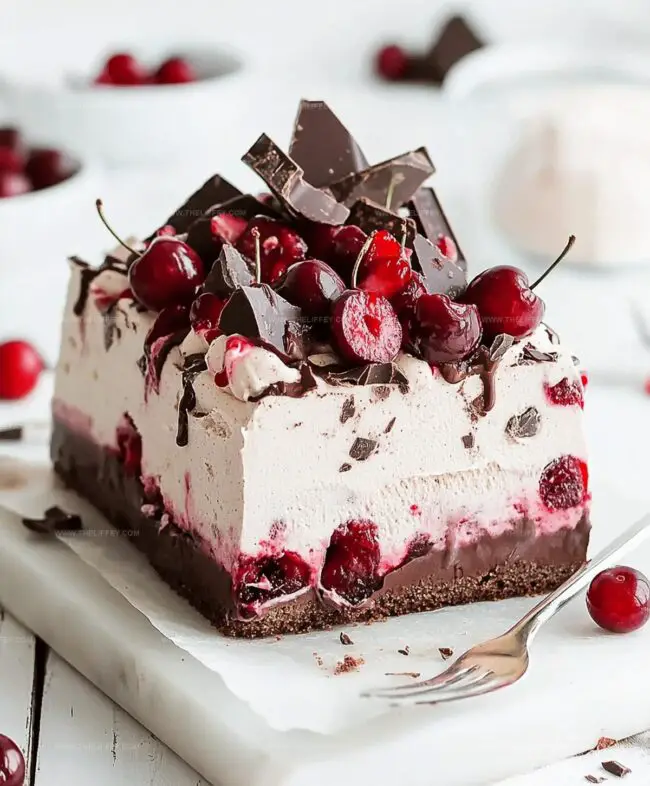
Before serving, pipe delicate whipped cream around the edges and sprinkle with elegant chocolate shavings.
Remove from the springform pan and slice into delectable portions.
Tips to Get Cherry Chocolate Ice Cream Cake Right
Fun Ideas with Cherry Chocolate Ice Cream Cake
What Goes with Cherry Chocolate Ice Cream Cake
Saving Cherry Chocolate Ice Cream Cake Correctly
FAQs
Yes, a pre-made chocolate cake works perfectly and saves time in this recipe.
Choose fresh, deep red cherries that are firm and sweet for the best flavor and texture.
A springform pan helps easily remove the cake without damaging its layers, but a regular cake pan with parchment paper can also work.
Absolutely! You can prepare this cake up to 3 days in advance and keep it well-covered in the freezer until serving.
Print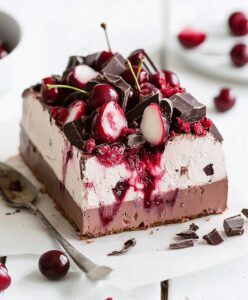
Cherry Chocolate Ice Cream Cake Recipe
- Total Time: 5 hours 30 minutes
- Yield: 8 1x
Description
Creamy cherry chocolate ice cream cake blends Italian dessert traditions with summer indulgence. Rich chocolate layers and sweet cherry compote create a delightful cold treat you’ll savor with each refreshing bite.
Ingredients
Main Ingredients:
- 1 chocolate cake (baked and cooled)
- 1 quart (0.95 liters) cherry ice cream (softened)
- 1 cup (240 milliliters) fresh cherries (pitted and chopped)
Sauce and Topping:
- 1 cup (240 milliliters) chocolate ganache
Garnish:
- Whipped cream
Instructions
- Using a serrated knife, carefully divide the chocolate cake horizontally into two equal layers, ensuring clean and precise cuts.
- Position the first cake layer at the bottom of a springform pan, creating a stable base for the ice cream.
- Allow the cherry ice cream to soften slightly at room temperature, then spread it evenly across the cake layer, creating a smooth and uniform surface.
- Sprinkle a generous amount of freshly chopped cherries over the ice cream layer, distributing them for maximum flavor and texture.
- Gently place the second cake layer on top of the cherries, pressing lightly to secure it in place.
- Transfer the assembled cake to the freezer and allow it to set for 4-5 hours, or until the ice cream is completely firm and stable.
- Prepare warm chocolate ganache and carefully pour it over the frozen cake, using an offset spatula to spread it evenly and create a glossy, smooth finish.
- Return the cake to the freezer for an additional 15-20 minutes to allow the ganache to set and harden.
- Before serving, decorate the cake with delicate swirls of whipped cream and elegant chocolate shavings for a professional and appetizing presentation.
Notes
- Ensure the cake layers are completely cooled before assembling to prevent ice cream from melting too quickly.
- Soften the ice cream at room temperature for 5-10 minutes for easier spreading without creating air pockets.
- Use fresh, pitted cherries for the best flavor and texture, chopping them into small, uniform pieces.
- For a gluten-free version, substitute the chocolate cake with a gluten-free cake or flourless chocolate base.
- Prep Time: 30 minutes
- Cook Time: 5 hours
- Category: Desserts
- Method: Freezing
- Cuisine: American
Nutrition
- Serving Size: 8
- Calories: 410 kcal
- Sugar: 38 g
- Sodium: 210 mg
- Fat: 22 g
- Saturated Fat: 13 g
- Unsaturated Fat: 7 g
- Trans Fat: 0.5 g
- Carbohydrates: 50 g
- Fiber: 3 g
- Protein: 5 g
- Cholesterol: 55 mg
Amanda Bennett
Recipe Curator & Culinary Educator
Expertise
Baking and Pastry Arts, Recipe Testing and Development, Culinary Instruction, Food Styling and Photography
Education
Asheville-Buncombe Technical Community College, Asheville, NC
Diploma in Culinary Arts
Emphasized practical cooking skills, nutrition, and kitchen management.
Cambridge School of Culinary Arts, Cambridge, MA
Certificate in Professional Pastry Arts
Specialized in baking techniques, dessert presentation, and flavor profiling
Amanda’s roots run deep in the Southern hills, where every meal started fresh from the garden and every dessert came with a story. She trained at Asheville-Buncombe Technical Community College and sharpened her pastry skills at the Cambridge School of Culinary Arts, blending classic technique with everyday charm.
At The Liffey, Amanda’s passion is making baking and home cooking feel natural and joyful. She’s all about single recipes that are simple enough for a busy afternoon, but special enough to make someone’s day a little sweeter.