Zesty Cheesecake Tacos Recipe: Sweet Fusion Magic at Home
Crafting delectable cheesecake tacos requires culinary creativity that blends sweet and savory flavors into one irresistible treat.
Unexpected combinations often spark magical moments in kitchens across the world.
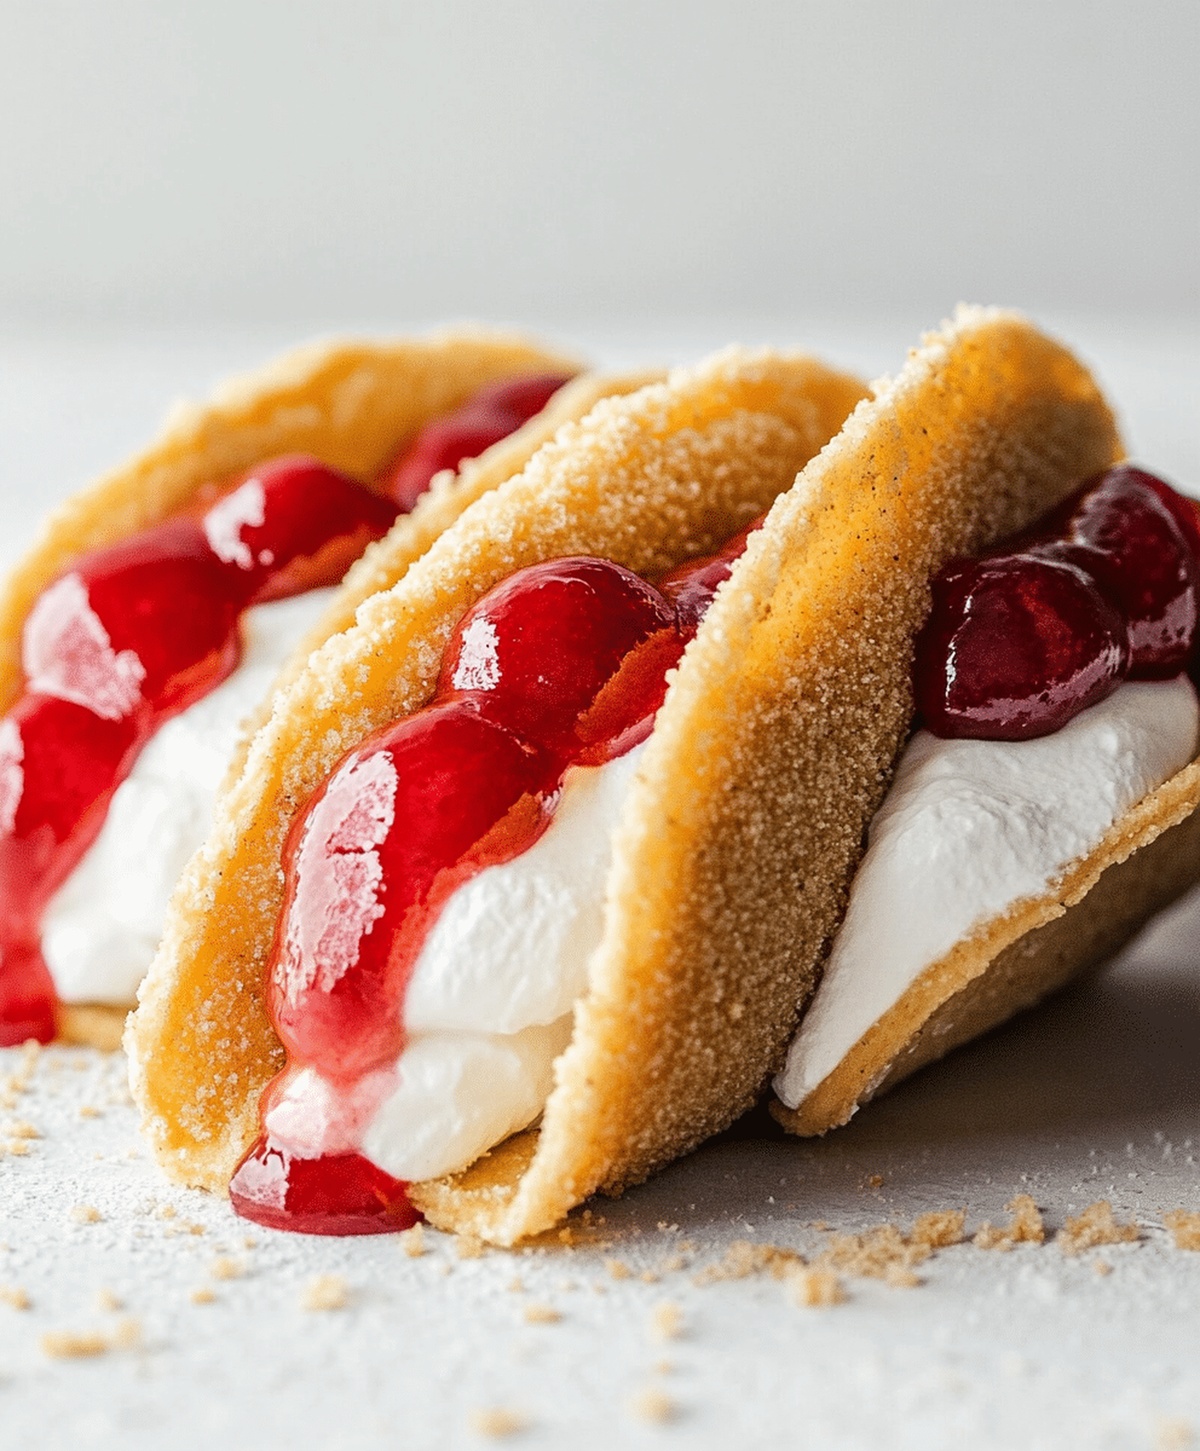
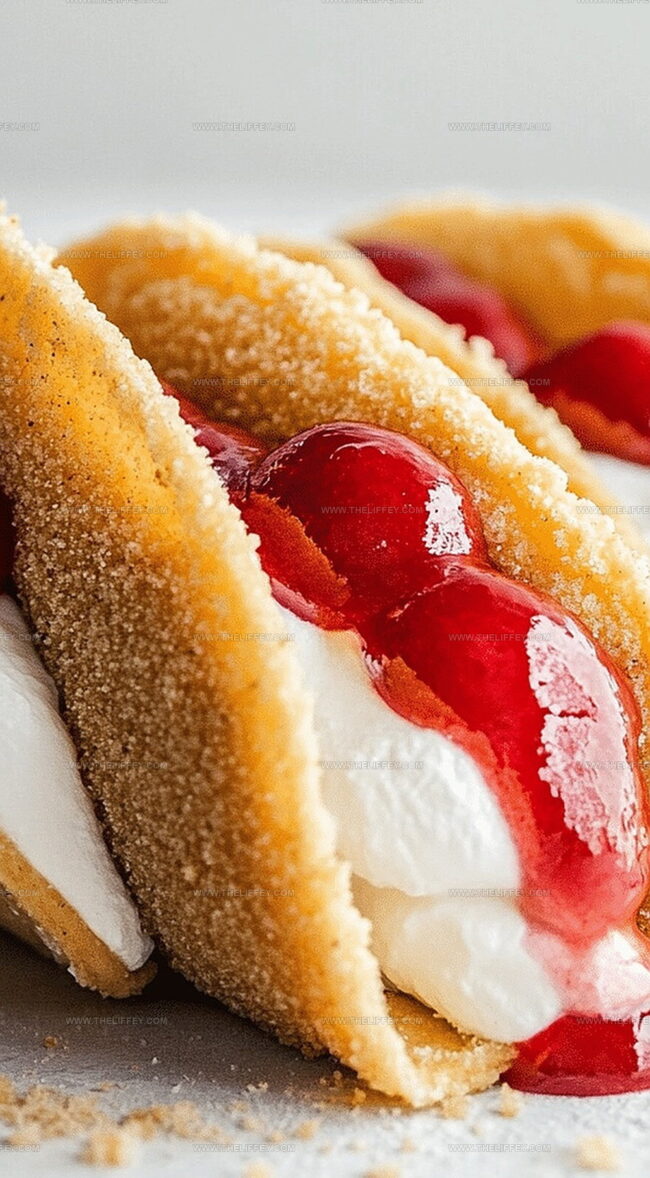
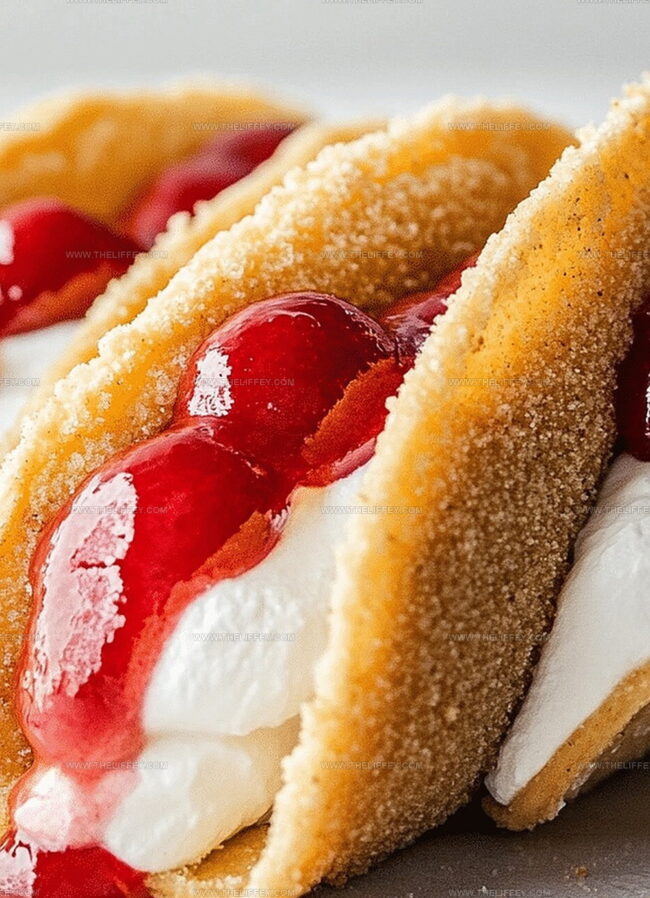
Crispy shells cradle smooth, creamy filling that promises pure delight.
Delicate ingredients dance together, creating a symphony of taste sensations.
Dessert lovers will find themselves enchanted by this playful fusion of classic elements.
Each bite delivers a surprising twist that challenges traditional dessert boundaries.
We invite you to embark on this delightful culinary adventure and transform an ordinary evening into something extraordinary.
Why People Adore Cheesecake Tacos Recipe
What Goes Into Cheesecake Tacos Recipe
Taco Shells:Cheesecake Filling:Toppings:How to Put Together Cheesecake Tacos

Step 1: Craft Crispy Taco Shells
Grab your tortillas and slice them into perfect circles.
Heat oil in a skillet and fry each tortilla round until it transforms into a golden, crunchy shell.
Place the finished shells on a paper towel to drain excess oil, creating a delicate, crisp base for your dessert tacos.
Step 2: Whip Up Dreamy Cheesecake Filling
Gather your ingredients:Start by whipping the heavy cream until it forms beautiful, stiff peaks that stand up proudly.
In a separate bowl, blend cream cheese with powdered sugar and vanilla until silky smooth.
Gently fold the whipped cream into the cream cheese mixture, creating a light and airy filling that will make taste buds dance.
Step 3: Construct Delectable Dessert Tacos
Take your crispy taco shells and fill them generously with the luscious cheesecake mixture.
Use a piping bag for a professional look, or simply spoon the filling into each shell with love and enthusiasm.
Step 4: Decorate with Delightful Toppings
Get creative with your garnishes!
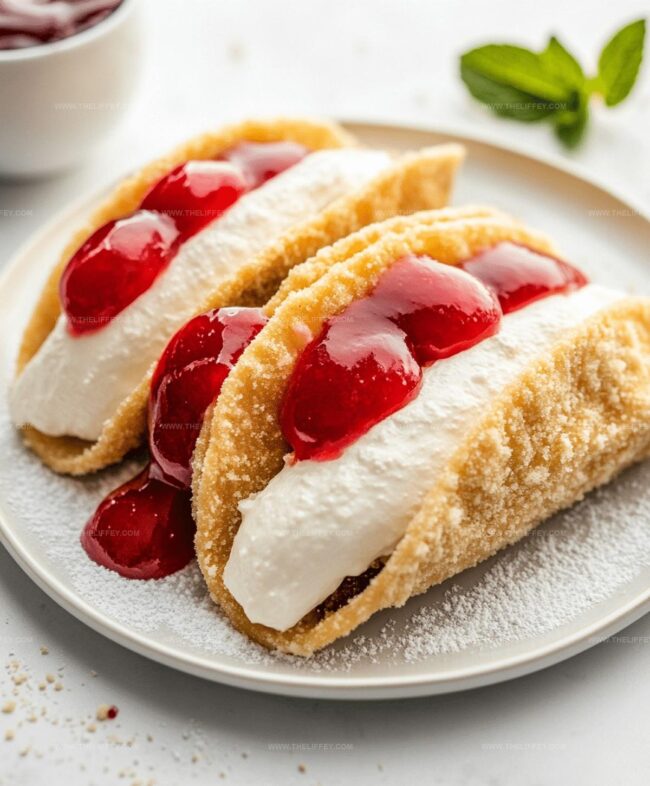
Sprinkle fresh berries over the filled tacos, dust with a cloud of powdered sugar, or drizzle with rich chocolate or caramel sauce.
Each topping adds a burst of flavor and visual appeal.
Step 5: Serve and Savor Immediately
These cheesecake tacos are best enjoyed right away while the shells are crisp and the filling is cool and creamy.
Invite friends, grab a plate, and indulge in this playful dessert that combines the best of tacos and cheesecake.
Easy Techniques for Cheesecake Tacos Recipe
Fun Flavors for Cheesecake Tacos Recipe
Pairings That Match Cheesecake Tacos Recipe
Cheesecake Tacos Storage Guide You Need
FAQs
Yes, you can prepare the taco shells in advance and store them in an airtight container at room temperature for up to 2 days to maintain their crispiness.
Bake the tortilla circles in the oven at 375°F for 10-12 minutes until crisp, which reduces oil usage and provides a lighter option.
Ensure cream cheese is at room temperature and fully whipped, and fold in whipped cream gently to maintain the filling’s structure and prevent separation.
Print
Cheesecake Tacos Recipe
- Total Time: 30 minutes
- Yield: 6 1x
Description
Mexican-inspired cheesecake tacos blend creamy dessert with crispy shell perfection. Sweet treats provide delightful fusion of flavors and textures you’ll savor with each delectable bite.
Ingredients
Main Ingredients:
- 8 ounces (226 grams) cream cheese, softened
- 1 cup (240 milliliters) heavy whipping cream
- 1/2 cup (60 grams) powdered sugar
Shell and Crust:
- Mini taco shells (or flour tortillas, cut and fried)
Toppings and Garnish:
- 1 teaspoon vanilla extract
- Fresh berries (strawberries, blueberries)
- Optional: powdered sugar
- Optional: melted chocolate
- Optional: caramel drizzle
Instructions
- Craft delicate taco shells by cutting tortillas into petite circles, then deep-fry at 350°F until they transform into crisp, golden vessels, allowing them to cool and firm up.
- Whip heavy cream to voluminous, stiff peaks using an electric mixer, creating a light, airy texture.
- In a separate mixing bowl, blend cream cheese with powdered sugar and vanilla extract until achieving a silky, uniform consistency.
- Delicately incorporate the whipped cream into the cream cheese mixture, folding gently to maintain the airy volume and prevent deflation.
- Transfer the luscious cheesecake filling into a piping bag or use a spoon to elegantly fill each crispy taco shell.
- Embellish the filled tacos with a vibrant array of fresh berries, creating a burst of color and natural sweetness.
- Optional: Dust the filled tacos with a light snowfall of powdered sugar or drizzle with rich chocolate or caramel sauce for added decadence.
- Serve immediately to preserve the crisp texture of the shells and the creamy filling’s optimal temperature, ensuring a delightful culinary experience.
Notes
- Craft crispy shells by using small corn tortillas for an authentic taco texture that provides perfect crunch.
- Ensure whipped cream reaches stiff peak stage by chilling mixing bowl and beaters beforehand for maximum volume.
- Prevent soggy shells by filling tacos just before serving to maintain their delightful crispiness and prevent moisture absorption.
- Experiment with alternative fillings like lemon cheesecake, chocolate cheesecake, or no-bake options for dietary preferences and flavor variations.
- Prep Time: 20 minutes
- Cook Time: 10 minutes
- Category: Desserts, Snacks
- Method: Frying
- Cuisine: American
Nutrition
- Serving Size: 6
- Calories: 318 kcal
- Sugar: 20 g
- Sodium: 110 mg
- Fat: 28 g
- Saturated Fat: 17 g
- Unsaturated Fat: 9 g
- Trans Fat: 0.5 g
- Carbohydrates: 12 g
- Fiber: 0.5 g
- Protein: 4 g
- Cholesterol: 90 mg
Amanda Bennett
Recipe Curator & Culinary Educator
Expertise
Baking and Pastry Arts, Recipe Testing and Development, Culinary Instruction, Food Styling and Photography
Education
Asheville-Buncombe Technical Community College, Asheville, NC
Diploma in Culinary Arts
Emphasized practical cooking skills, nutrition, and kitchen management.
Cambridge School of Culinary Arts, Cambridge, MA
Certificate in Professional Pastry Arts
Specialized in baking techniques, dessert presentation, and flavor profiling
Amanda’s roots run deep in the Southern hills, where every meal started fresh from the garden and every dessert came with a story. She trained at Asheville-Buncombe Technical Community College and sharpened her pastry skills at the Cambridge School of Culinary Arts, blending classic technique with everyday charm.
At The Liffey, Amanda’s passion is making baking and home cooking feel natural and joyful. She’s all about single recipes that are simple enough for a busy afternoon, but special enough to make someone’s day a little sweeter.