
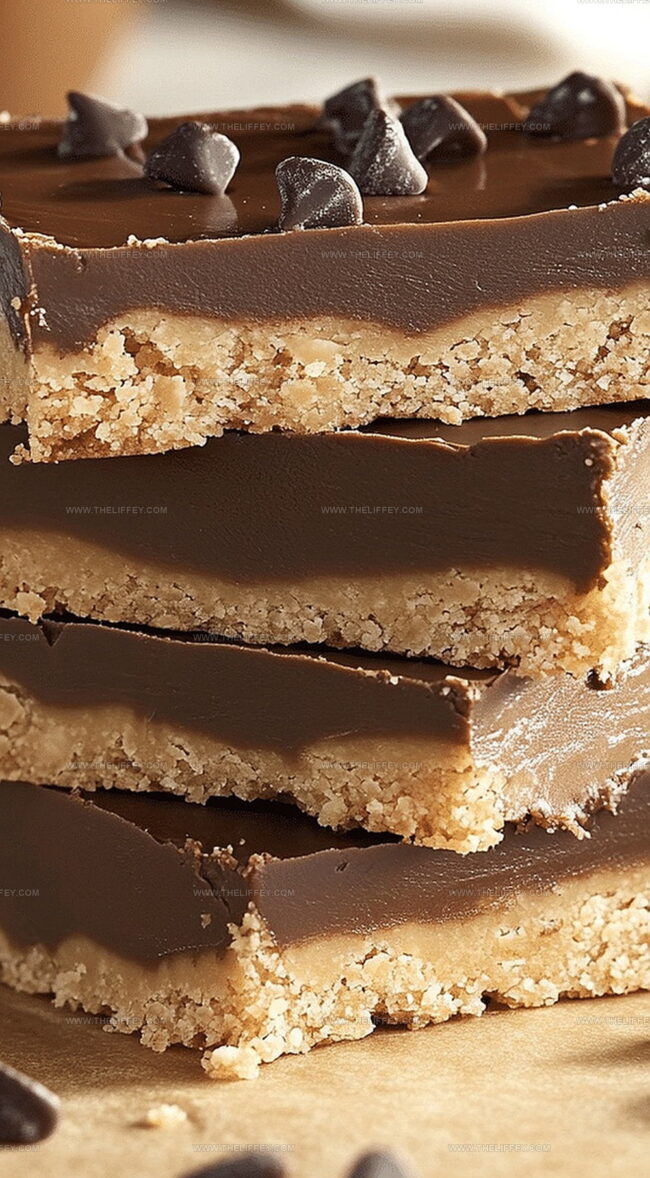
The Ultimate Buckeye Bars Recipe: Creamy Chocolate Peanut Bliss
Indulging in a buckeye bars classic treat brings pure chocolate-peanut butter bliss to your dessert table.
Sweet memories of ohio’s beloved confection dance through every creamy bite.
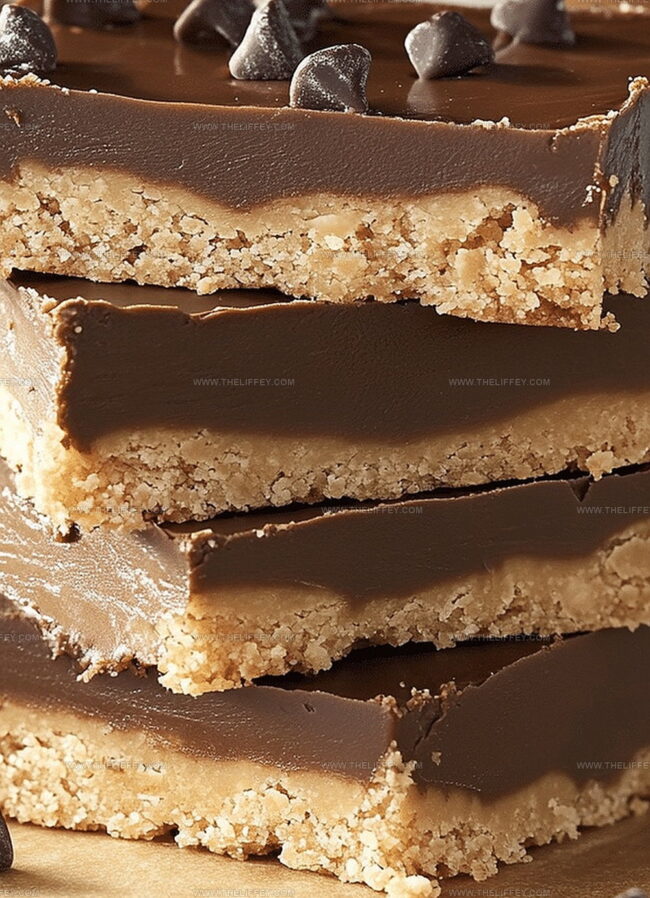
Smooth peanut butter layers meld perfectly with rich chocolate coating.
Rich textures create an irresistible combination that makes everyone smile.
Minimal ingredients and simple preparation mean you can whip up these delectable squares in minutes.
Chocolate and peanut butter lovers will absolutely adore this no-bake delight.
Grab a plate and savor each decadent square – your taste buds will thank you.
What Makes Buckeye Bars a Classic

All You Need for Buckeye Bars Recipe
Base Ingredients:Chocolate Layer:Optional Garnish:How to Put Together Buckeye Bars

Step 1: Prepare Peanut Butter Base
In a large mixing bowl, combine creamy peanut butter with softened butter and powdered sugar.
Stir the ingredients thoroughly until the mixture becomes completely smooth and well-blended.
The consistency should be thick and easy to spread.
Step 2: Create Peanut Butter Layer
Line a rectangular baking dish with parchment paper, allowing some overhang for easy removal.
Carefully transfer the peanut butter mixture into the prepared dish.
Use a spatula or the back of a spoon to spread the mixture evenly across the entire surface, creating a uniform layer.
Step 3: Craft Chocolate Topping
Set up a double boiler or use a microwave-safe bowl to melt chocolate chips.
If using the microwave, heat in short 15-second intervals, stirring between each interval to prevent burning.
Once the chocolate is fully melted and smooth, add a small amount of butter to create an extra glossy finish.
Step 4: Pour and Chill Chocolate Layer
Gently pour the melted chocolate over the peanut butter layer, ensuring complete and even coverage.
Use a spatula to spread the chocolate if needed, creating a smooth top.
Place the entire dish in the refrigerator to set completely.
Step 5: Slice and Serve
After the bars have firmed up (approximately 2 hours), lift the dessert out of the dish using the parchment paper edges.
Place on a cutting board and slice into squares or rectangles.
Serve chilled and enjoy the rich, creamy treat.
Tips That Help With Buckeye Bars
Tasty Spins on Classic Buckeye Bars
Buckeye Bars Pair Well With These
Best Way to Keep Buckeye Bars Fresh
FAQs
Yes, they’re a simplified bar version of the classic Buckeye balls, with the same delicious peanut butter and chocolate combination from Ohio.
Milk, dark, or semi-sweet chocolate chips all work well. Choose your favorite chocolate for the topping.
Just a mixing bowl, baking dish, parchment paper, and basic kitchen tools like a spatula and measuring cups.
They’ll keep well in the refrigerator for up to a week when stored in an airtight container.
Print
Buckeye Bars Recipe
- Total Time: 2 hours 15 minutes
- Yield: 12 1x
Description
Irresistible buckeye bars merge classic peanut butter and chocolate in a simple no-bake dessert. Midwestern charm meets sweet indulgence that beckons hungry friends to gather and savor each delectable square.
Ingredients
Chocolate Layer:
- 2 cups chocolate chips
- 1/4 cup unsalted butter (113 grams / 4 ounces)
Peanut Butter Layer:
- 1 cup peanut butter
- 1/2 cup unsalted butter, melted (113 grams / 4 ounces)
- 2 cups powdered sugar
Optional Garnish:
(No additional ingredients listed)
Instructions
- Thoroughly combine creamy peanut butter with melted butter and powdered sugar until achieving a uniform, silky consistency.
- Transfer the blended mixture into a parchment-lined baking dish, carefully spreading it into an even, smooth layer using a spatula.
- Create a glossy chocolate topping by gently melting chocolate chips with additional butter in a double boiler or microwave, stirring until completely smooth and lustrous.
- Cascade the molten chocolate evenly over the peanut butter foundation, ensuring complete coverage with a gentle tilting motion.
- Place the prepared dessert in the refrigerator, allowing it to chill and solidify for approximately 120 minutes or until the chocolate sets completely.
- Remove from refrigerator and slice into uniform rectangular bars using a sharp knife, wiping the blade clean between cuts for precise edges.
- Serve chilled and store any remaining bars in an airtight container within the refrigerator to maintain optimal texture and flavor.
Notes
- Choose creamy, room-temperature peanut butter for smoother mixing and easier blending with other ingredients.
- Line the baking dish with parchment paper for effortless removal and clean cutting of bars.
- Melt chocolate slowly using a double boiler or microwave in short bursts to prevent burning and achieve silky texture.
- Store bars in an airtight container in the refrigerator for up to a week, ensuring maximum freshness and maintaining their firm consistency.
- Prep Time: 15 minutes
- Cook Time: 2 hours
- Category: Desserts, Snacks
- Method: Refrigerating
- Cuisine: American
Nutrition
- Serving Size: 12
- Calories: 275
- Sugar: 19 g
- Sodium: 55 mg
- Fat: 21 g
- Saturated Fat: 7 g
- Unsaturated Fat: 12 g
- Trans Fat: 0.2 g
- Carbohydrates: 22 g
- Fiber: 2 g
- Protein: 6 g
- Cholesterol: 15 mg
Amanda Bennett
Recipe Curator & Culinary Educator
Expertise
Baking and Pastry Arts, Recipe Testing and Development, Culinary Instruction, Food Styling and Photography
Education
Asheville-Buncombe Technical Community College, Asheville, NC
Diploma in Culinary Arts
Emphasized practical cooking skills, nutrition, and kitchen management.
Cambridge School of Culinary Arts, Cambridge, MA
Certificate in Professional Pastry Arts
Specialized in baking techniques, dessert presentation, and flavor profiling
Amanda’s roots run deep in the Southern hills, where every meal started fresh from the garden and every dessert came with a story. She trained at Asheville-Buncombe Technical Community College and sharpened her pastry skills at the Cambridge School of Culinary Arts, blending classic technique with everyday charm.
At The Liffey, Amanda’s passion is making baking and home cooking feel natural and joyful. She’s all about single recipes that are simple enough for a busy afternoon, but special enough to make someone’s day a little sweeter.