The Perfect Classic Peanut Butter Blossoms Recipe for Every Home Baker
Baking classic peanut butter blossoms brings back waves of childhood nostalgia for me.
Sweet memories dance through my kitchen whenever these iconic cookies emerge from the oven.
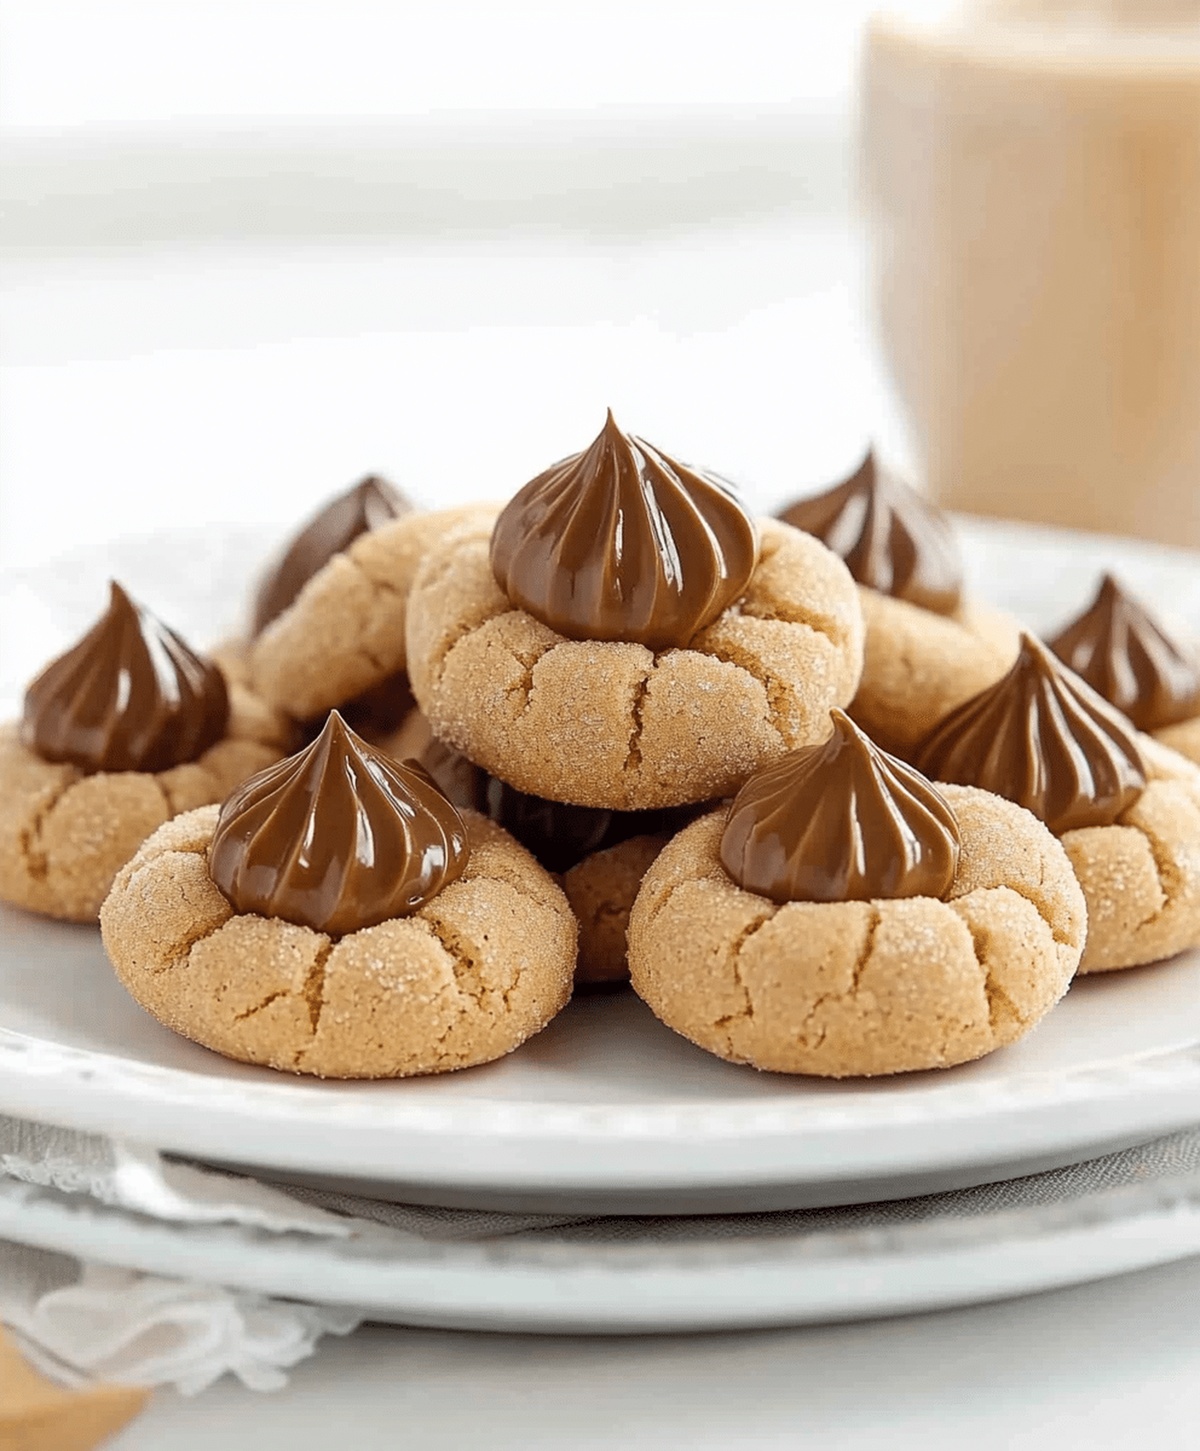
Soft, pillowy peanut butter dough creates the perfect canvas for those signature chocolate kiss centers.
Delicate crackles spread across the surface, promising a melt-in-your-mouth experience that never disappoints.
Each bite connects generations through a simple, beloved treat that sparks immediate smiles.
Chocolate and peanut butter make an unbeatable combination that transforms an ordinary afternoon into something magical.
You cannot resist the charm of these timeless cookies that speak directly to your inner child.
Classic Peanut Butter Blossoms Everyone Loves
Ingredients for Classic Peanut Butter Blossoms
Cookie Base Ingredients:Flavor Enhancers:Topping and Garnish:How to Bake Classic Peanut Butter Blossoms
Step 1: Warm Up the Oven
Crank the oven to a toasty 375F (190C), getting it ready for some cookie magic.
Step 2: Whip Up the Creamy Base
In a spacious mixing bowl, blend together:Whip these ingredients until they become light, fluffy, and dreamy.
Step 3: Add Moisture and Flavor
Crack in the egg and splash of vanilla extract. Mix thoroughly until everything is perfectly combined.
Step 4: Create the Dry Mixture
In a separate bowl, gently whisk together:Slowly incorporate this dry blend into the wet ingredients, stirring until a smooth dough forms.
Step 5: Shape the Cookies
Roll the dough into adorable bite-sized balls.
Give each ball a quick roll in granulated sugar for a sparkling exterior.
Step 6: Bake to Golden Perfection
Place cookie balls on baking sheets.
Slide into the preheated oven and bake for 8-10 minutes until they turn a gorgeous golden brown.
Step 7: Add the Chocolate Kiss
Right after removing from the oven, while cookies are still warm, gently press a chocolate kiss into the center of each cookie.
Step 8: Cool and Enjoy
Let cookies rest on the baking sheet for 5 minutes. Transfer to a wire rack and allow them to cool completely.
Get ready to indulge in these irresistible treats!
Tips for Perfect Peanut Butter Blossoms
Variations on Classic Peanut Butter Blossoms
Serving Suggestions for Peanut Butter Blossoms
How to Store Peanut Butter Blossoms
FAQs
The warmth of the freshly baked cookie helps the chocolate kiss melt slightly, creating a perfect adhesion to the soft peanut butter cookie surface.
Yes, you can experiment with milk chocolate, dark chocolate, or even caramel-filled kisses to create unique flavor variations of the classic cookie.
Chill the dough for about 30 minutes before rolling and baking, which helps control spreading and maintains the cookie’s shape during baking.
Rolling the dough in sugar creates a slightly crisp exterior and adds a sweet, sparkling finish to the cookie, enhancing both its appearance and texture.
Print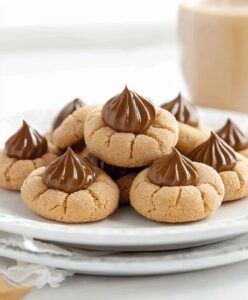
Best Peanut Butter Blossoms Recipe
- Total Time: 30 minutes
- Yield: 24 1x
Description
Peanut butter blossoms deliver sweet comfort through classic cookie perfection. Chocolate Hershey’s kisses crown these nutty treats, promising delightful moments when shared with family and friends.
Ingredients
Main Ingredients:
- 1/2 cup peanut butter
- 1/2 cup unsalted butter, softened
- 1/2 cup granulated sugar
- 1/2 cup brown sugar
- 1 large egg
Dry Ingredients:
- 1 1/2 cups all-purpose flour
- 1 teaspoon baking soda
- 1/2 teaspoon salt
Finishing Ingredients:
- 1 teaspoon vanilla extract
- Additional granulated sugar for rolling
- 24–28 Hershey’s Kisses (unwrapped)
Instructions
- Preheat the oven to 375°F (190°C) and prepare baking sheets with parchment paper.
- Combine softened butter, peanut butter, granulated sugar, and brown sugar in a mixing bowl, blending until the mixture becomes smooth and airy.
- Incorporate egg and vanilla extract, mixing thoroughly until fully integrated.
- Sift flour, baking soda, and salt in a separate bowl, then gradually fold into the wet mixture until a uniform dough forms.
- Shape the dough into small spheres approximately 1-inch in diameter, rolling each ball in additional granulated sugar for a sparkling exterior.
- Arrange cookie balls on prepared baking sheets, spacing them evenly to allow room for spreading during baking.
- Bake for 8-10 minutes, watching for a light golden hue and slightly cracked surface.
- Remove cookies from the oven and immediately press a chocolate kiss into the center of each warm cookie, creating a signature indentation.
- Allow cookies to rest on the baking sheet for 5 minutes to stabilize their structure.
- Transfer cookies to a wire cooling rack, permitting them to cool completely and allowing the chocolate kiss to set.
Notes
- Soften butter and peanut butter at room temperature for easier mixing and smoother dough texture.
- Use creamy peanut butter for consistent cookie structure and avoid separation during baking.
- Choose high-quality chocolate kisses for better flavor and melting performance on warm cookies.
- For gluten-free version, substitute all-purpose flour with a 1:1 gluten-free baking blend to maintain cookie’s original texture.
- Prep Time: 20 minutes
- Cook Time: 10 minutes
- Category: Desserts, Snacks
- Method: Baking
- Cuisine: American
Nutrition
- Serving Size: 24
- Calories: 141
- Sugar: 10 g
- Sodium: 81 mg
- Fat: 7 g
- Saturated Fat: 2 g
- Unsaturated Fat: 5 g
- Trans Fat: 0 g
- Carbohydrates: 17 g
- Fiber: 1 g
- Protein: 4 g
- Cholesterol: 15 mg
John Conley
Founder & Culinary Storyteller
Expertise
Recipe Development, Culinary Writing, Home Cooking Techniques, Seasonal Ingredient Utilization
Education
Lane Community College, Eugene, OR
Certificate in Culinary Arts
Focused on foundational cooking techniques, kitchen safety, and menu planning.
Gotham Writers Workshop, New York, NY
Course in Food Writing
Explored the art of crafting engaging culinary narratives and recipe development.
John grew up where food meant connection: big bowls, warm kitchens, and meals that told a story. After earning his Certificate in Culinary Arts from Lane Community College and diving deep into food writing at Gotham Writers Workshop, he found his calling: turning everyday recipes into something worth savoring.
At The Liffey, John’s focus is all about crafting dishes that feel easy, honest, and full of heart.