Creamy No Bake Nutella Cheesecake Bars Recipe: Heavenly Treat
Crafting a decadent no bake Nutella cheesecake bars becomes an irresistible adventure for sweet enthusiasts.
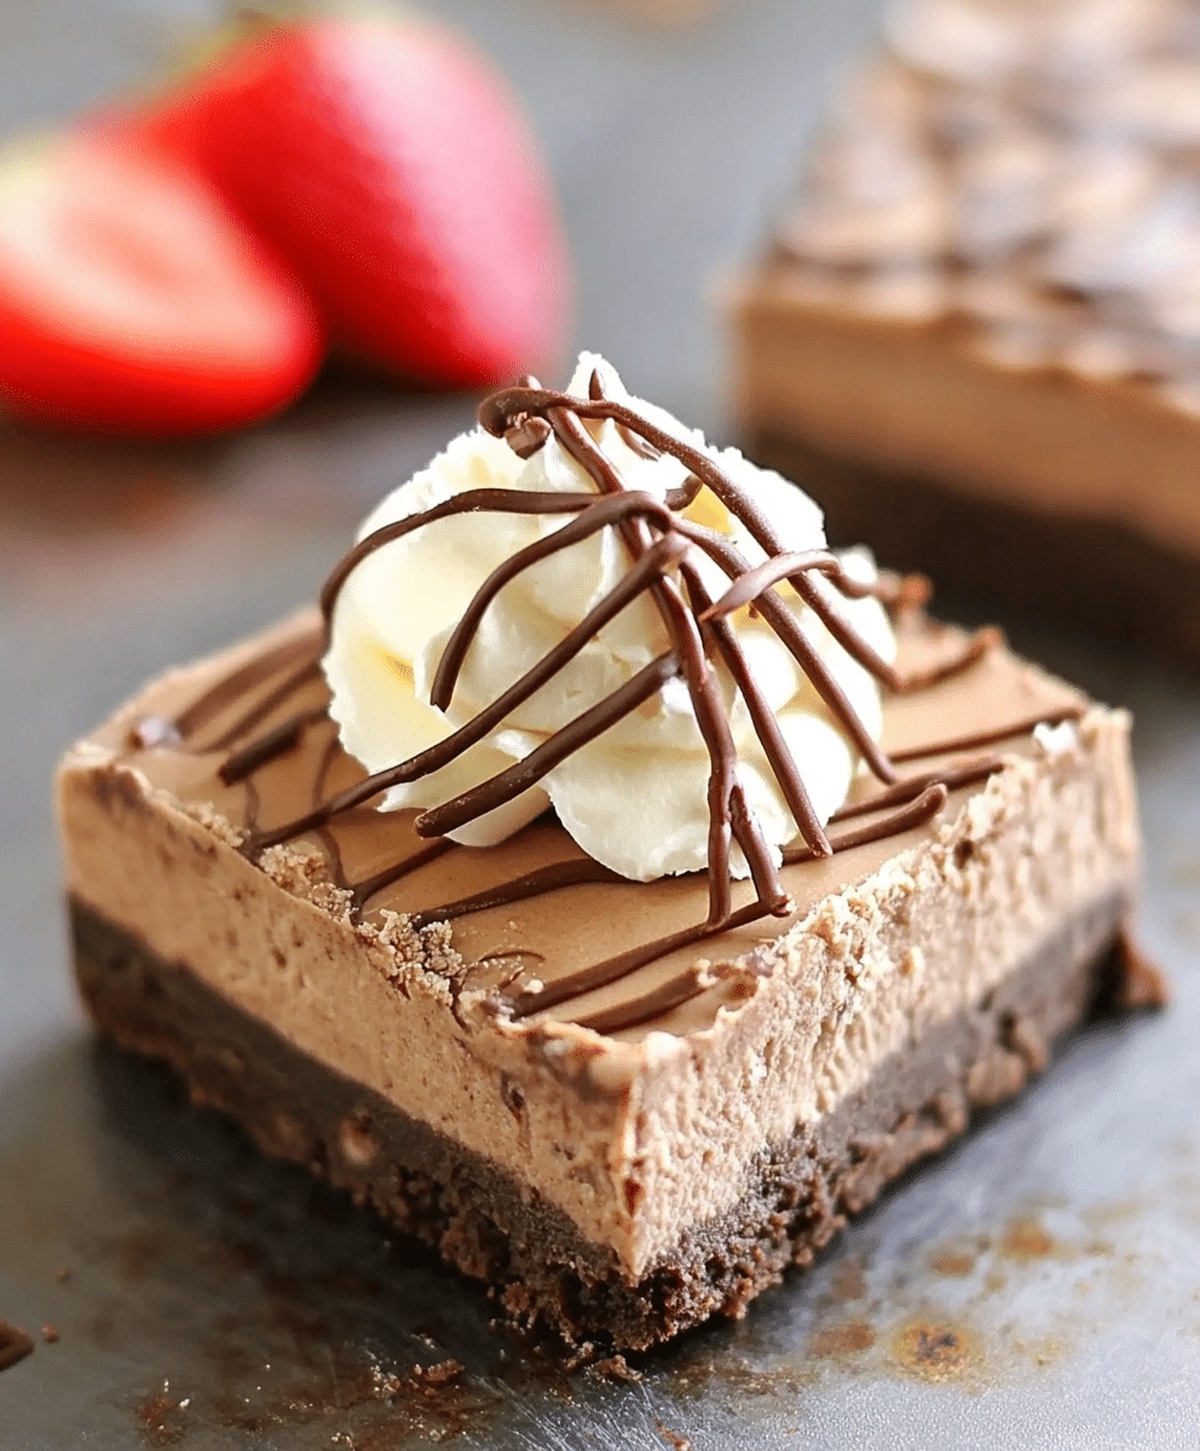
Creamy layers of chocolate and cream cheese promise pure indulgence without turning on the oven.
Minimal ingredients blend into a luxurious dessert that looks complicated but requires surprisingly little effort.
Rich Nutella swirls through silky filling, creating visual and flavor magic in every bite.
Chocolate graham cracker crusts add delightful crunch to this dreamy treat.
Chilling transforms simple ingredients into an elegant dessert perfect for special moments.
You’ll want to grab a fork and savor each incredible slice of chocolatey bliss.
No Bake Nutella Cheesecake Bars To Savor

Ingredients For Nutella Cheesecake Bars
Crust Base:Cheesecake Filling:Topping (Optional):How To Assemble Nutella Cheesecake Bars

Step 1: Craft The Chocolatey Crust
Grab graham cracker crumbs and melted butter. Blend these ingredients thoroughly until they create a consistent texture.
Press the mixture firmly into a parchment-lined 9×9-inch baking pan, ensuring an even, compact base. Slide the pan into the refrigerator and allow it to chill and set for about 10 minutes.
Step 2: Whip Up The Creamy Nutella Filling
Using an electric mixer, combine the following ingredients until silky smooth:Beat the mixture until it becomes completely uniform and free of any lumps.
Step 3: Layer The Dreamy Filling
Gently spread the Nutella-infused cream cheese mixture over the chilled crust.
Use a spatula to create an even, beautiful layer across the entire surface.
Step 4: Chill And Solidify
Transfer the pan to the refrigerator.
Allow the cheesecake bars to set completely by chilling for a minimum of 4 hours, though overnight is ideal for the best texture and flavor development.
Step 5: Decorate And Serve
Optional garnishing can include:Slice into rectangular bars and serve chilled for a decadent dessert experience.
Tips For No Bake Nutella Cheesecake Bars
Alternative Versions Of Nutella Cheesecake Bars
What To Serve With Nutella Cheesecake Bars
Best Way To Store Nutella Cheesecake Bars
FAQs
You’ll need a 9×9-inch baking pan, parchment paper, electric mixer, mixing bowls, and a refrigerator to set the cheesecake bars.
Yes, you can substitute Nutella with other chocolate hazelnut spreads or similar chocolate spreads like Hershey’s or homemade chocolate spread.
These bars can be stored in the refrigerator for up to 5 days in an airtight container, maintaining their creamy texture and delicious flavor.
Print
Best No Bake Nutella Cheesecake Bars Recipe
- Total Time: 4 hours 20 minutes
- Yield: 9 1x
Description
Creamy no bake nutella cheesecake bars blend rich chocolate hazelnut spread with smooth cream cheese for an irresistible dessert. Cool ingredients and simple preparation make these bars a perfect treat you’ll want to savor slowly.
Ingredients
Primary Ingredients:
- 16 ounces (454 grams) cream cheese, softened
- 1 cup (240 grams) Nutella
- 1 cup (120 grams) powdered sugar
Crust Ingredients:
- 2 cups (240 grams) graham cracker crumbs
- 1/2 cup (113 grams) unsalted butter, melted
Garnish Ingredients:
- 1 teaspoon vanilla extract
- Whipped cream (optional)
- Chocolate shavings (optional)
Instructions
- Crush graham crackers into fine crumbs and blend thoroughly with melted butter, creating a cohesive base mixture.
- Press the cracker mixture firmly into a parchment-lined 9×9-inch pan, ensuring an even, compact layer that will serve as the foundation for the cheesecake bars.
- Refrigerate the crust for approximately 10 minutes to allow it to firm up and stabilize.
- Using an electric mixer, whip cream cheese until smooth and creamy, then incorporate Nutella, powdered sugar, and vanilla extract, blending until the mixture achieves a uniform, silky consistency.
- Carefully spread the Nutella-cream cheese filling across the chilled crust, using a spatula to create an even, glossy surface.
- Transfer the pan to the refrigerator and allow the bars to set completely, ideally for 4-6 hours or overnight, which will help develop a firm, sliceable texture.
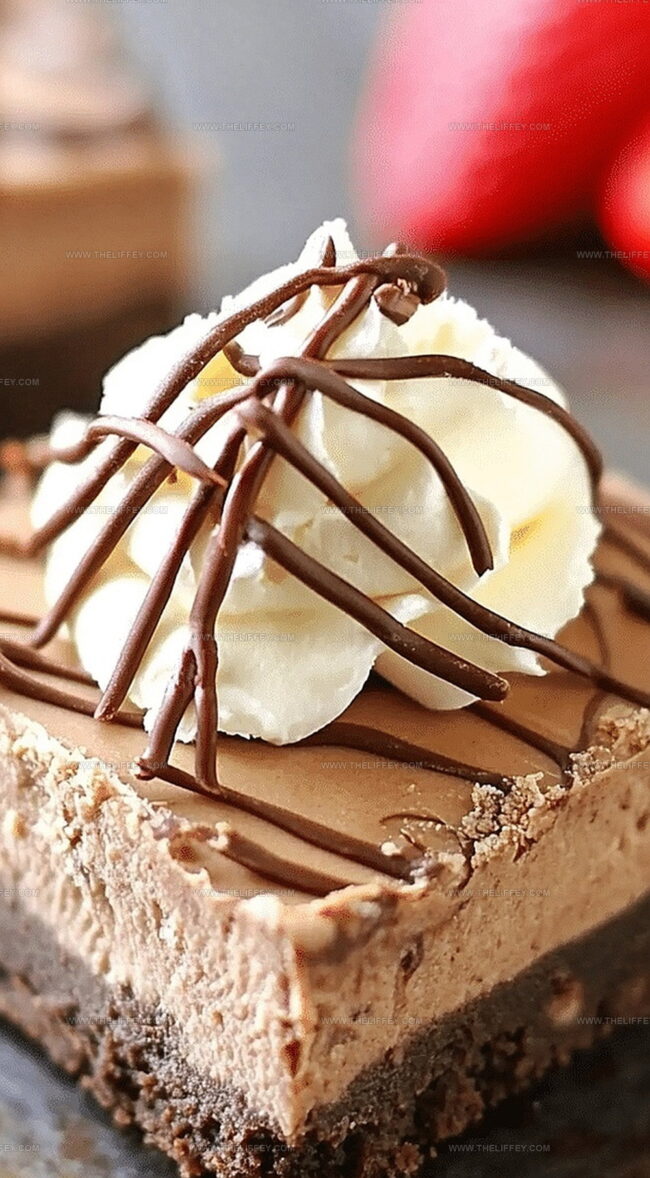
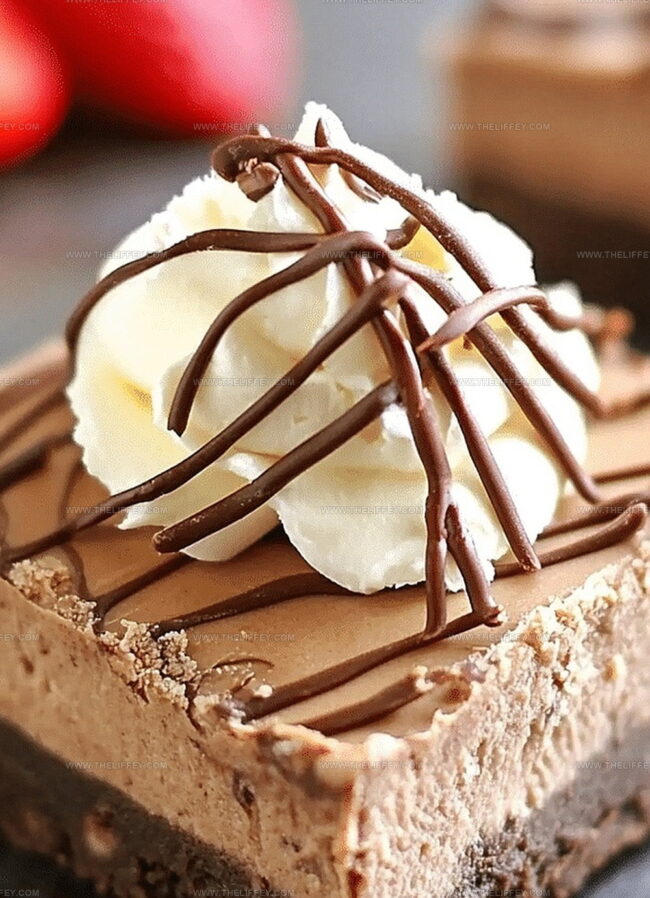
- Once fully chilled and set, garnish with optional whipped cream and delicate chocolate shavings for an elegant finishing touch.
- Slice into precise rectangular bars using a sharp knife, cleaning the blade between cuts for clean edges.
- Serve chilled and savor the rich, decadent dessert.
Notes
- Chill the pan before adding the crust to help it set quickly and maintain a crisp texture.
- Use room temperature cream cheese for a smoother, lump-free filling that blends effortlessly.
- Experiment with alternative crusts like crushed chocolate cookies or gluten-free graham crackers to accommodate different dietary needs.
- Freeze the bars for a firmer, ice cream-like consistency that intensifies the rich Nutella flavor.
- Prep Time: 20 minutes
- Cook Time: 4 hours
- Category: Desserts, Snacks
- Method: Chilling
- Cuisine: American
Nutrition
- Serving Size: 9
- Calories: 370 kcal
- Sugar: 25 g
- Sodium: 150 mg
- Fat: 27 g
- Saturated Fat: 12 g
- Unsaturated Fat: 13 g
- Trans Fat: 0.5 g
- Carbohydrates: 28 g
- Fiber: 1 g
- Protein: 5 g
- Cholesterol: 50 mg
John Conley
Founder & Culinary Storyteller
Expertise
Recipe Development, Culinary Writing, Home Cooking Techniques, Seasonal Ingredient Utilization
Education
Lane Community College, Eugene, OR
Certificate in Culinary Arts
Focused on foundational cooking techniques, kitchen safety, and menu planning.
Gotham Writers Workshop, New York, NY
Course in Food Writing
Explored the art of crafting engaging culinary narratives and recipe development.
John grew up where food meant connection: big bowls, warm kitchens, and meals that told a story. After earning his Certificate in Culinary Arts from Lane Community College and diving deep into food writing at Gotham Writers Workshop, he found his calling: turning everyday recipes into something worth savoring.
At The Liffey, John’s focus is all about crafting dishes that feel easy, honest, and full of heart.