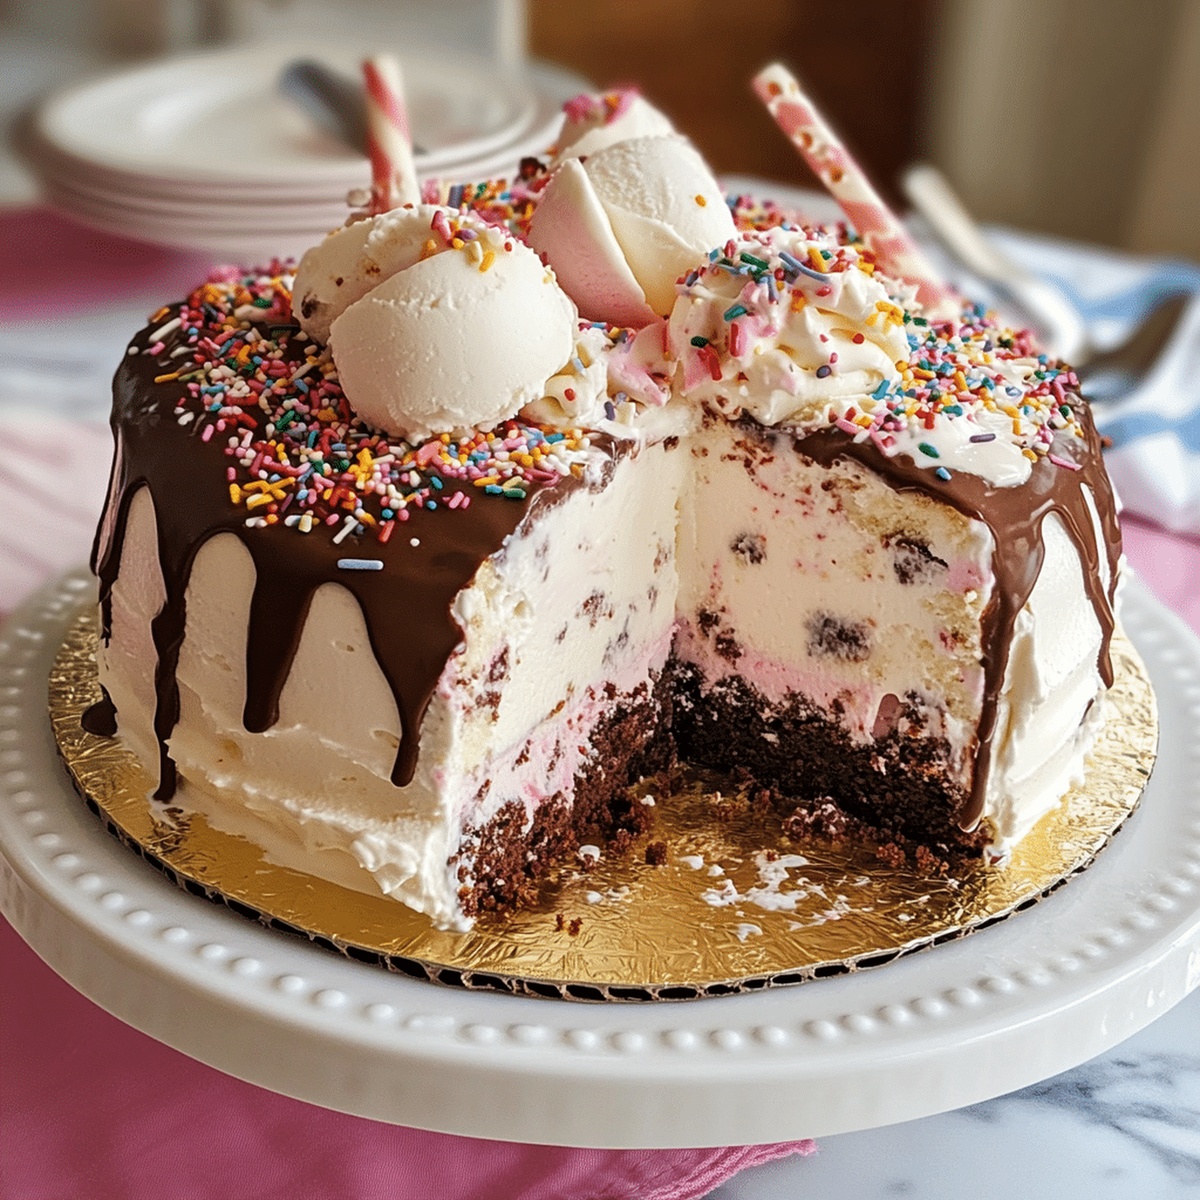
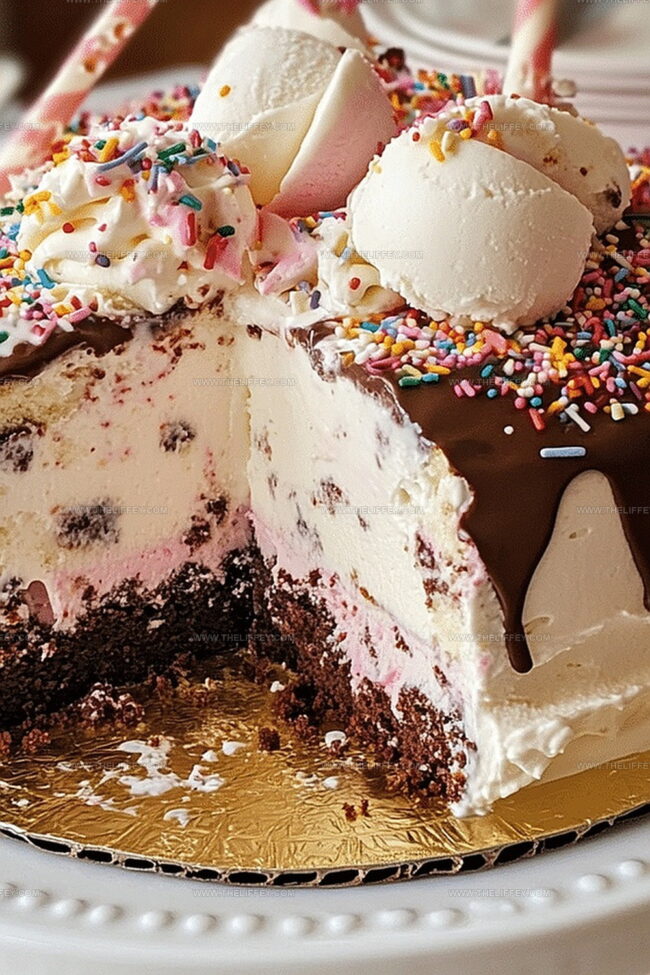
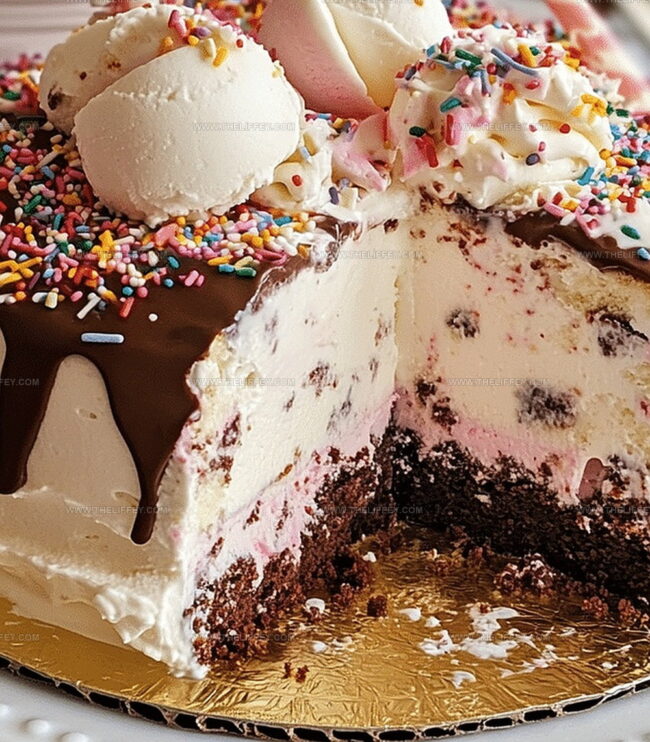
The Perfect Ice Cream Cake Recipe: Dreamy Frozen Delight
Whipping up a decadent ice cream cake brings pure joy to any celebration.
Layers of creamy goodness promise a dessert that’ll make everyone smile.
Cool and sweet sensations dance through each delightful slice.
Mixing store-bought and homemade elements creates a memorable treat anyone can master.
Summer parties or winter gatherings become extra special with this crowd-pleasing dessert.
Chocolate lovers and vanilla fans will both find something to adore.
Surprising guests with this spectacular confection guarantees delighted faces and happy memories.
Ice Cream Cake That Steals the Show
Ingredients for Ice Cream Cake
Cake Base:Ice Cream Layer:Topping and Decoration:Pantry Staples:How to Make Ice Cream Cake
Step 1: Bake The Cake Base
Whip up your favorite cake flavor following the original recipe. Choose a moist and delicious cake that will complement the ice cream perfectly.
Make sure to let the cake completely cool down to room temperature before moving forward.
Step 2: Position Cake In Springform Pan
Carefully transfer the cooled cake layer into a springform pan.
Press the cake gently to ensure it sits flat and covers the entire bottom of the pan. This creates a solid foundation for your delightful ice cream cake.
Step 3: Spread Creamy Ice Cream Layer
Take your selected ice cream flavor and let it soften slightly at room temperature. Use a spatula to spread the ice cream evenly over the cake base.
Work quickly to prevent the ice cream from melting too much. Create a smooth, uniform layer that covers the entire cake surface.
Step 4: Initial Freezing Process
Place the cake and ice cream combination into the freezer. Allow it to set and become firm for at least 4 hours.
This freezing time helps create a solid structure for your cake and ensures the layers blend perfectly.
Step 5: Add Decorative Frosting
Remove the partially frozen cake from the freezer.
Apply a generous layer of whipped cream or your preferred frosting. Use smooth, sweeping motions to create an even and beautiful exterior.
Step 6: Add Playful Toppings
Sprinkle fun decorations across the cake surface. Consider using:Step 7: Final Chill And Serve
Return the fully decorated cake to the freezer until you’re ready to serve.
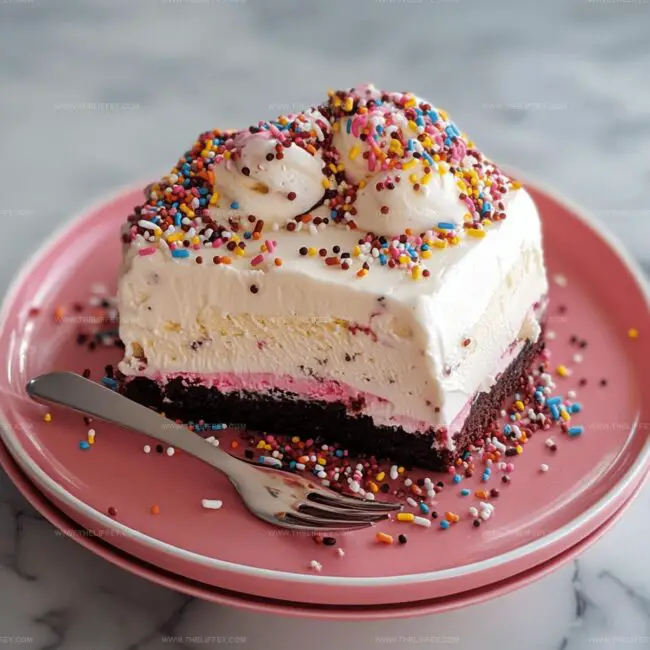
When it’s time to enjoy, remove the cake about 5-10 minutes before serving to allow slight softening. Slice and delight in your homemade ice cream cake!
Tips for a Perfect Ice Cream Cake
Creative Twists for Ice Cream Cake
Serving Suggestions for Ice Cream Cake
How to Store Ice Cream Cake Properly
FAQs
Yes, absolutely! A pre-made cake layer works perfectly fine and saves time in preparing your ice cream cake.
You can store the cake in the freezer for up to one week without losing quality, just make sure to cover it tightly with plastic wrap or in an airtight container.
Firmer ice cream flavors like vanilla, chocolate, or strawberry work best because they spread more evenly and freeze well without becoming too soft or melty.
A springform pan is ideal, but you can also use a regular cake pan lined with plastic wrap for easy removal. An electric mixer helps with whipped cream, but it’s optional.
Print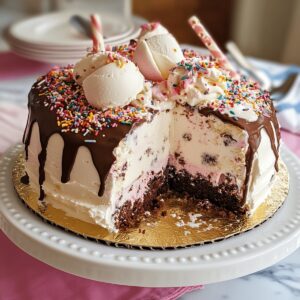
Best Homemade Ice Cream Cake Recipe
- Total Time: 50 minutes
- Yield: 8 1x
Description
Mexican chocolate ice cream cake brings together rich cocoa and cinnamon in a luxurious dessert. Cool layers of spiced chocolate and creamy frosting create a sensational treat you’ll savor to the last delightful bite.
Ingredients
Cake Base:
- 1 cake layer (your choice of flavor)
Ice Cream:
- 2 pints (946 milliliters) ice cream (any flavor)
Decorations and Toppings:
- 1 cup (240 milliliters) whipped cream or frosting
- 1/4 cup (60 milliliters) sprinkles
- 1/4 cup (60 milliliters) chocolate syrup
- 1/2 cup (120 milliliters) crushed cookies
Instructions
- Prepare the cake layer following the specific recipe or package instructions, ensuring it’s fully baked and cooled to room temperature.
- Carefully transfer the cake layer into a springform pan, pressing it gently to create an even base.
- Allow ice cream to soften at room temperature for 5-10 minutes, creating a spreadable consistency.
- Smoothly distribute the softened ice cream across the cake layer, creating an even and thick coating.
- Place the cake in the freezer for 4-6 hours, or until the ice cream is completely set and firm.
- Remove the cake from the freezer and generously apply a layer of whipped cream or frosting, covering the entire surface.
- Embellish the cake with decorative toppings like colorful sprinkles, crushed cookies, or chocolate shavings.
- Slice and serve immediately, or return to the freezer until ready to enjoy, keeping it covered to prevent freezer burn.
Notes
- Ensure cake layer is completely cooled before adding ice cream to prevent melting and maintain structural integrity.
- Soften ice cream just enough to spread smoothly without becoming too liquid, typically 5-10 minutes at room temperature.
- Use a springform pan for easy removal and clean slicing of the ice cream cake.
- Experiment with different cake flavors and ice cream combinations to create unique dessert experiences.
- Prep Time: 20 minutes
- Cook Time: 30 minutes
- Category: Desserts
- Method: Baking
- Cuisine: American
Nutrition
- Serving Size: 8
- Calories: 350
- Sugar: 28 g
- Sodium: 150 mg
- Fat: 18 g
- Saturated Fat: 10 g
- Unsaturated Fat: 6 g
- Trans Fat: 0.5 g
- Carbohydrates: 40 g
- Fiber: 1 g
- Protein: 5 g
- Cholesterol: 55 mg
John Conley
Founder & Culinary Storyteller
Expertise
Recipe Development, Culinary Writing, Home Cooking Techniques, Seasonal Ingredient Utilization
Education
Lane Community College, Eugene, OR
Certificate in Culinary Arts
Focused on foundational cooking techniques, kitchen safety, and menu planning.
Gotham Writers Workshop, New York, NY
Course in Food Writing
Explored the art of crafting engaging culinary narratives and recipe development.
John grew up where food meant connection: big bowls, warm kitchens, and meals that told a story. After earning his Certificate in Culinary Arts from Lane Community College and diving deep into food writing at Gotham Writers Workshop, he found his calling: turning everyday recipes into something worth savoring.
At The Liffey, John’s focus is all about crafting dishes that feel easy, honest, and full of heart.