Sweet Heart-Shaped Chocolate Chip Cookies Recipe for Bakers
Sweet surprises always brighten our heart-shaped chocolate chip cookies with love and joy!
Baking becomes magical when you craft treats that sparkle with affection.
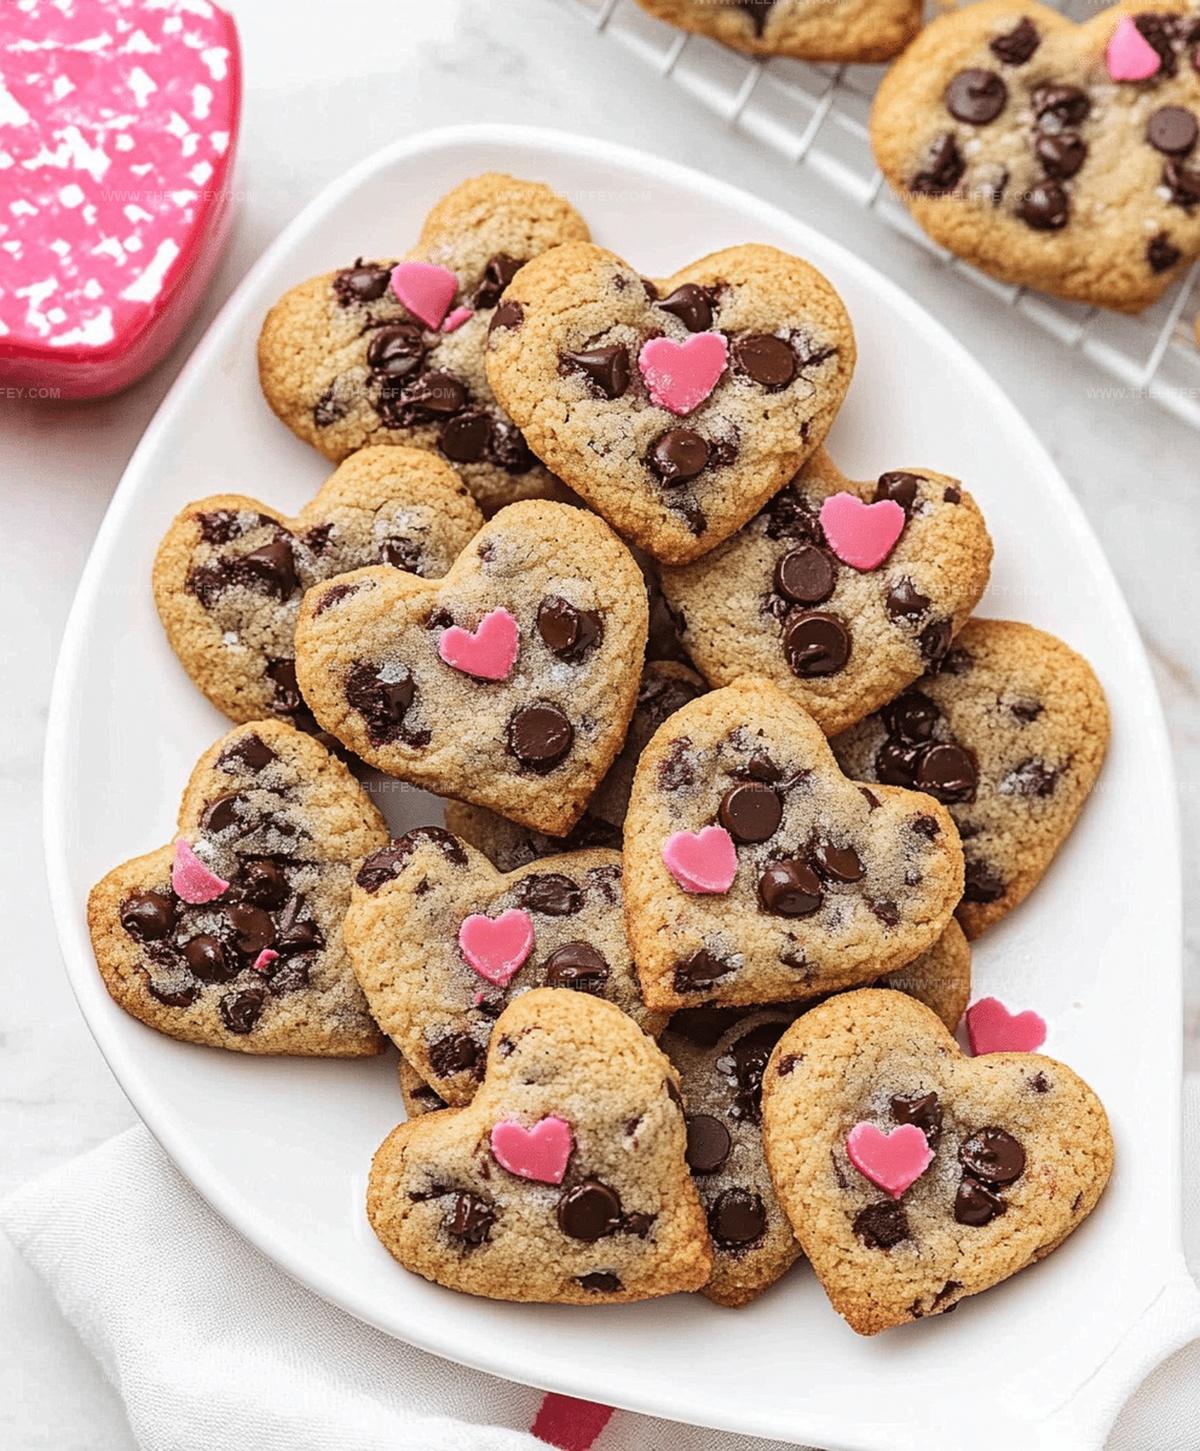
cookies shaped like little hearts carry warmth beyond their delicious flavor.
chocolate chips nestled inside these delicate rounds create moments of pure happiness.
Unexpected ingredients and simple techniques help you craft something truly special.
Crisp edges and soft centers promise delightful bites that melt hearts instantly.
You’ll adore sharing these charming treats with someone you cherish.
Heart-Shaped Chocolate Chip Cookies to Enjoy

Ingredients Needed for Heart-Shaped Chocolate Chip Cookies
Dry Ingredients:Wet Ingredients:Mix-In Ingredients:Baking Steps for Heart-Shaped Chocolate Chip Cookies

Step 1: Warm Up the Oven
Crank your oven to a toasty 350F (175C). Grab a baking sheet and dress it up with parchment paper for a smooth cookie adventure.
Step 2: Mix Dry Ingredients
Grab a mixing bowl and whisk together these dry buddies:Set this magical powder mix aside for later.
Step 3: Cream Butter and Sugars
In a large bowl, beat the butter and sugars until they become a creamy dream.
Use an electric mixer to get that perfect fluffy texture.
Step 4: Add Egg Magic
Crack eggs one by one into the butter mixture.
Beat each egg thoroughly before adding the next. Pour in vanilla extract and mix until everything looks smooth and happy.
Step 5: Combine Ingredients
Slowly add the dry ingredient mix to the wet ingredients. Stir gently until just combined.
Sprinkle in chocolate chips and fold them in with love.
Step 6: Roll Out the Dough
Dust your work surface with flour.
Roll out the cookie dough until it’s about 1/4-inch thick. Make sure it’s even and smooth.
Step 7: Create Heart-Shaped Cookies
Take your heart-shaped cookie cutter and press it into the dough. Carefully lift each heart and place them on the prepared baking sheet.
Leave a little space between each cookie.
Step 8: Bake to Perfection
Slide the baking sheet into the preheated oven.
Bake for 10-12 minutes until the edges turn a beautiful golden brown.
Step 9: Cool Down
Let the cookies rest on the baking sheet for 5 minutes.
Then transfer them to a wire rack to cool completely.
Step 10: Enjoy Your Sweet Treat
Munch on these delightful heart-shaped cookies right away or store them in an airtight container for up to a week.
Helpful Notes on Heart-Shaped Chocolate Chip Cookies

Creative Variations for Heart-Shaped Chocolate Chip Cookies

Serving Complements for Heart-Shaped Chocolate Chip Cookies
Storing Heart-Shaped Chocolate Chip Cookies Properly
FAQs
Chill the dough for 30 minutes before cutting and baking. This prevents spreading and helps maintain the heart shape during baking.
Yes, you can prepare the cookie dough and refrigerate it for up to 3 days before baking. Alternatively, you can freeze the dough for up to 2 months.
Semi-sweet chocolate chips are ideal, but you can also use milk or dark chocolate chips based on your preference. Ensure they are good quality for the best flavor.
Don’t overbake the cookies. Remove them from the oven when the edges are just lightly golden, and they’ll remain soft and chewy after cooling.
Print
Best Heart-shaped Chocolate Chip Cookies Recipe
- Total Time: 37 minutes
- Yield: 24 1x
Description
Romantic heart-shaped chocolate chip cookies blend sweet memories with culinary passion from France. Delicate cookie edges and rich chocolate chips create perfect dessert magic for special moments together.
Ingredients
Main Ingredients:
- 2 1/2 cups (300 grams) all-purpose flour
- 2 cups (340 grams) chocolate chips
- 2 large eggs
- 1 cup (227 grams) unsalted butter, softened
Sweeteners:
- 3/4 cup (150 grams) brown sugar
- 3/4 cup (150 grams) granulated sugar
Leavening and Seasoning:
- 1 teaspoon baking soda
- 1/2 teaspoon salt
- 2 teaspoons vanilla extract
Instructions
- Prepare the oven by heating to 350F (175C) and lining a baking sheet with parchment paper for optimal cookie baking.
- Combine flour, baking soda, and salt in a mixing bowl, creating a uniform dry ingredient mixture.
- Cream butter with brown and granulated sugars until the mixture becomes smooth and fluffy.
- Incorporate eggs individually, ensuring thorough blending after each addition, then mix in vanilla extract for enhanced flavor.
- Gently fold dry ingredients into the wet mixture, stirring until just combined to maintain cookie tenderness.
- Sprinkle chocolate chips throughout the dough, distributing them evenly for consistent sweetness.
- Dust a clean surface with flour and roll out the dough to approximately 14-inch thickness, creating an even base.
- Press heart-shaped cookie cutter into the rolled dough, carefully transferring each shaped cookie onto the prepared baking sheet.
- Place cookies in the preheated oven and bake for 10-12 minutes, watching for lightly golden edges as an indication of doneness.
- Allow cookies to rest on the baking sheet for 5 minutes to stabilize, then transfer to a wire cooling rack.
- Store completely cooled cookies in an airtight container, which will preserve their freshness for up to one week.
Notes
- Chill the dough for 30 minutes before rolling to prevent spreading and maintain heart shape.
- Use room temperature butter and eggs for smoother, more consistent cookie texture.
- Customize by swapping chocolate chips with white chocolate, dark chocolate, or adding nuts for extra crunch.
- For gluten-free option, replace all-purpose flour with a 1:1 gluten-free baking blend to keep the same delightful texture.
- Prep Time: 25 minutes
- Cook Time: 12 minutes
- Category: Snacks, Desserts
- Method: Baking
- Cuisine: American
Nutrition
- Serving Size: 24
- Calories: 152 kcal
- Sugar: 11 g
- Sodium: 74 mg
- Fat: 8 g
- Saturated Fat: 5 g
- Unsaturated Fat: 2.5 g
- Trans Fat: 0.1 g
- Carbohydrates: 20 g
- Fiber: 1 g
- Protein: 2 g
- Cholesterol: 17 mg
John Conley
Founder & Culinary Storyteller
Expertise
Recipe Development, Culinary Writing, Home Cooking Techniques, Seasonal Ingredient Utilization
Education
Lane Community College, Eugene, OR
Certificate in Culinary Arts
Focused on foundational cooking techniques, kitchen safety, and menu planning.
Gotham Writers Workshop, New York, NY
Course in Food Writing
Explored the art of crafting engaging culinary narratives and recipe development.
John grew up where food meant connection: big bowls, warm kitchens, and meals that told a story. After earning his Certificate in Culinary Arts from Lane Community College and diving deep into food writing at Gotham Writers Workshop, he found his calling: turning everyday recipes into something worth savoring.
At The Liffey, John’s focus is all about crafting dishes that feel easy, honest, and full of heart.