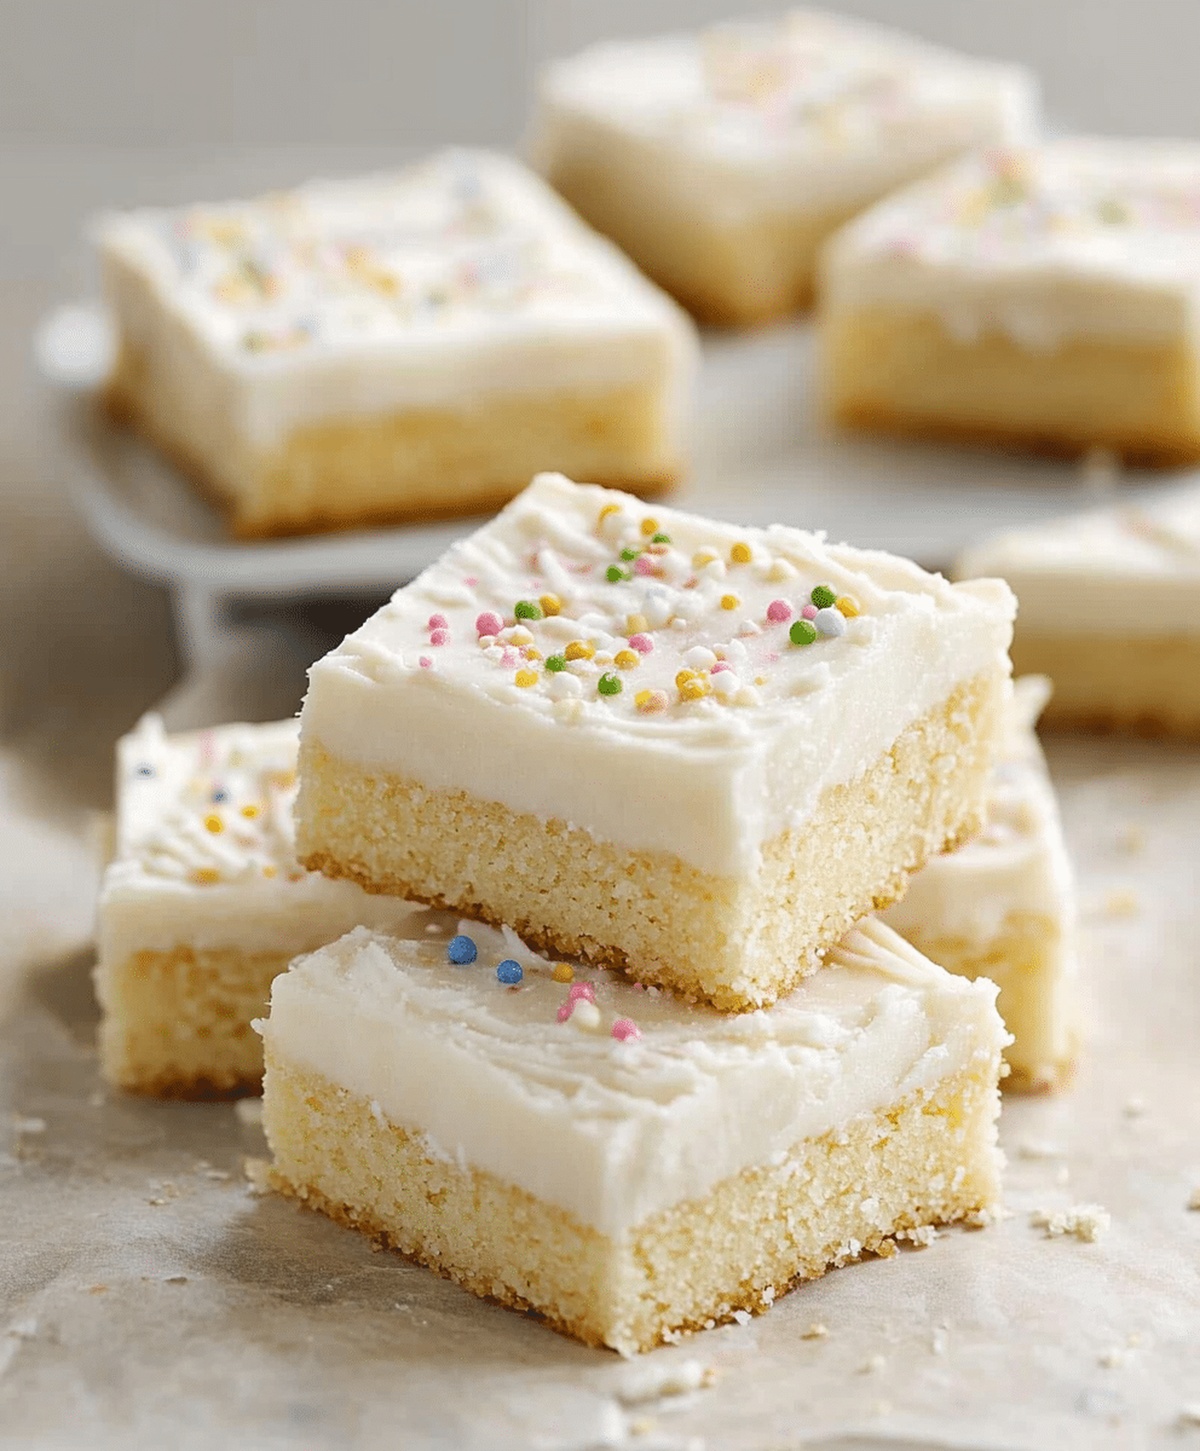
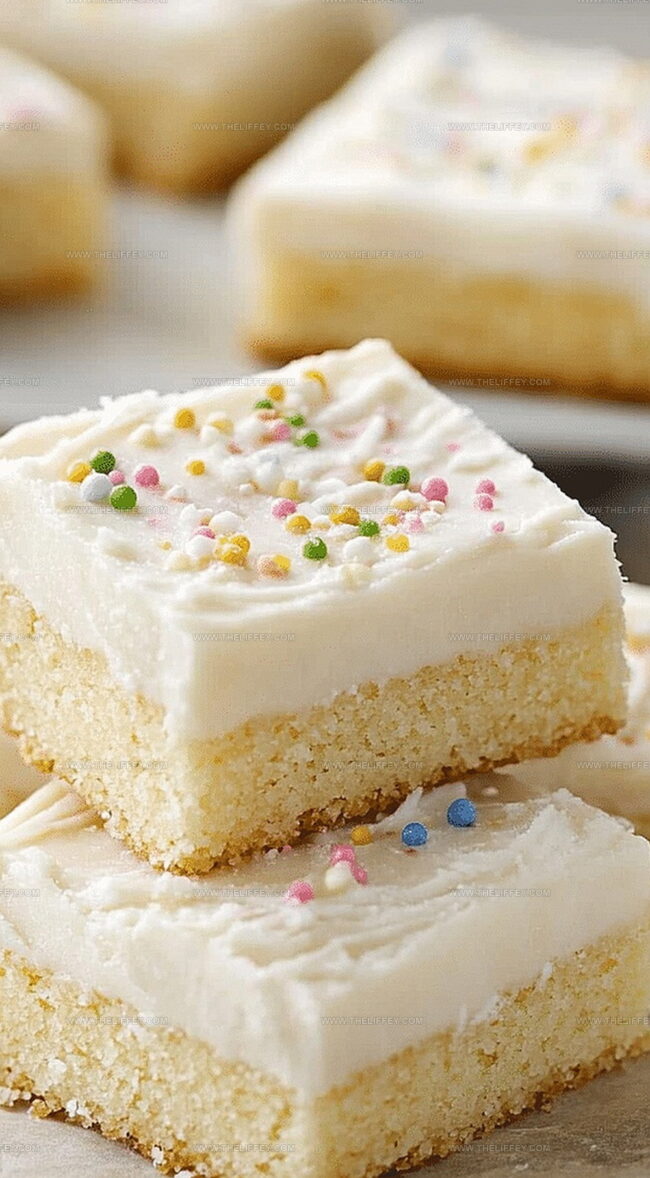
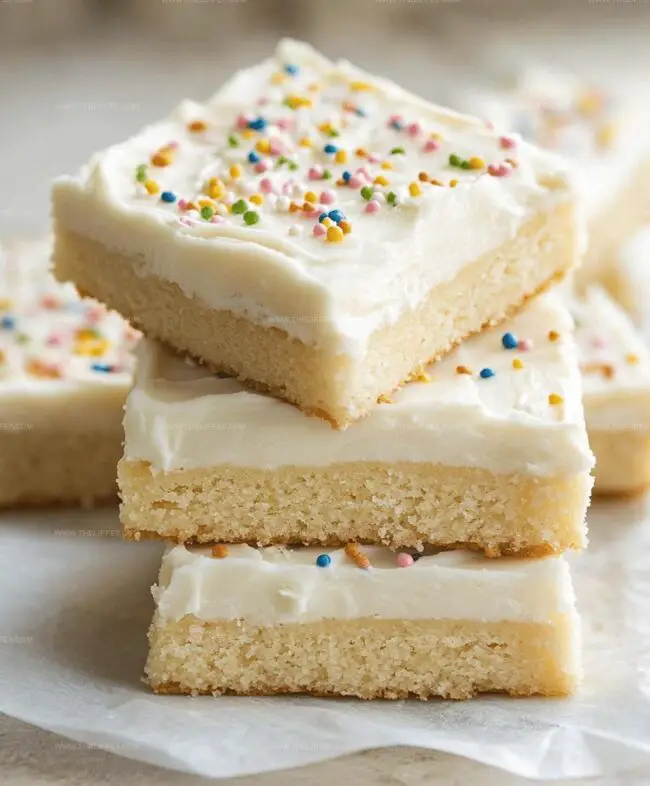
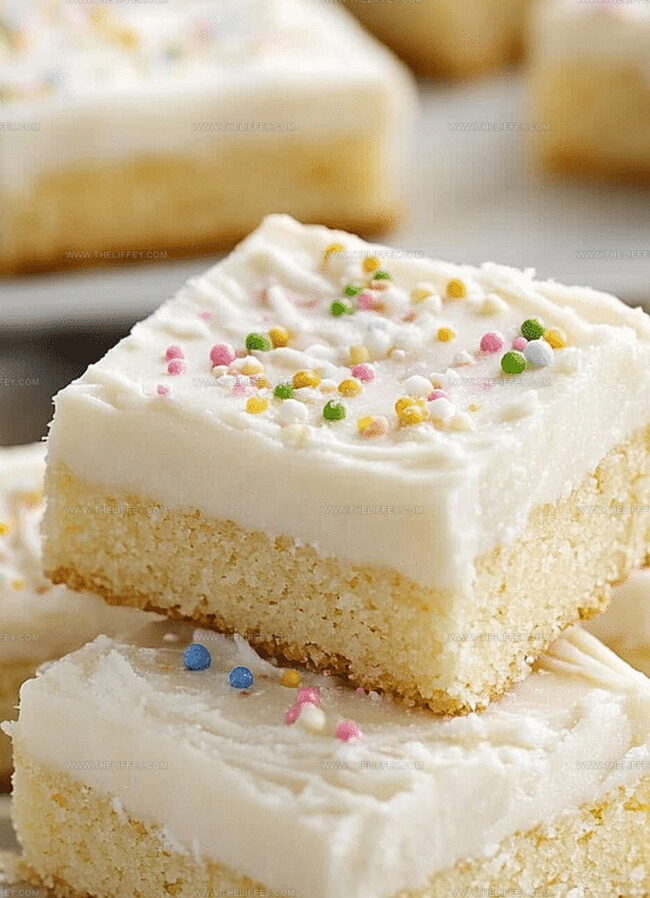
Dreamy Frosted Sugar Cookie Bars Recipe: A Sweet Family Treat
Sweet memories flood back when I whip up these delectable frosted sugar cookie bars that practically melt in your mouth.
Childhood comfort wraps around each soft, buttery bite.
Memories of grandma’s kitchen dance through my mind while mixing these simple ingredients.
Layers of creamy frosting add a dreamy touch to the classic cookie texture.
Soft, pillowy squares promise pure delight with every single crumb.
Each batch brings pure joy and a sprinkle of nostalgia.
You’ll want to savor every single morsel of these irresistible treats.
Why Frosted Sugar Cookie Bars Are Crowd Favorites
Ingredients to Bake Frosted Sugar Cookie Bars
Base Ingredients:Wet Ingredients:Flavor Enhancers:Frosting Ingredients:Optional Decorative Ingredients:How to Make Frosted Sugar Cookie Bars
Step 1: Prepare Baking Setup
Crank the oven to 350F. Grab a 9×13-inch baking dish and line it completely with parchment paper, ensuring full coverage on all sides.
Step 2: Create Dry Ingredient Blend
Grab a medium mixing bowl and whisk together:Blend these ingredients until perfectly combined and no lumps remain.
Step 3: Mix Wet Ingredients
In a spacious mixing bowl, cream together softened butter and sugar until the mixture looks light, airy, and fluffy.
Incorporate:Blend until smooth and well integrated.
Step 4: Combine Ingredients
Slowly fold dry ingredients into wet mixture.
Mix gently until everything comes together into a cohesive dough. Do not overmix.
Step 5: Bake Cookie Base
Spread dough evenly across prepared baking dish. Smooth the top with a spatula.
Slide into preheated oven and bake for 15-18 minutes. Look for slightly golden edges and set center.
Step 6: Craft Creamy Frosting
Using an electric mixer, whip butter and powdered sugar until super smooth. Add milk and vanilla.
Beat until frosting reaches perfect spreadable consistency.
Step 7: Decorate and Serve
Once cookie base completely cools, slather frosting across the top.
Optional: Add food coloring or sprinkles for extra fun. Slice into bars and enjoy!
Pro Tips for Frosted Sugar Cookie Bars Success
Creative Spins on Frosted Sugar Cookie Bars
Serving Suggestions for Frosted Sugar Cookie Bars
Keeping Frosted Sugar Cookie Bars Fresh
FAQs
Yes, they’re super simple! With basic ingredients and straightforward mixing steps, even beginner bakers can successfully create these delicious bars.
You can, but reduce or eliminate the added salt in the recipe to prevent the bars from becoming too salty. Unsalted butter gives better control over the overall flavor.
Almond extract enhances the vanilla flavor, giving the cookie bars a more complex and rich taste. It’s optional but recommended for a more gourmet flavor profile.
Look for lightly golden edges and a set center. They should look slightly underbaked in the middle, as they’ll continue cooking while cooling and prevent dry, tough bars.
Print
Best Frosted Sugar Cookie Bars Recipe
- Total Time: 40 minutes
- Yield: 12 1x
Description
Irresistible frosted sugar cookie bars combine classic bakery sweetness with homemade comfort. Creamy frosting and tender cookie base create a delightful dessert you will crave again and again.
Ingredients
Main Ingredients:
- 2 1/2 cups (300 grams) all-purpose flour
- 1 cup (227 grams) unsalted butter, softened
- 1 cup (200 grams) granulated sugar
- 1 egg
Leavening Agents:
- 1/2 teaspoon baking powder
- 1/4 teaspoon baking soda
- 1/2 teaspoon salt
Flavor Enhancers:
- 1 teaspoon vanilla extract
- 1/4 teaspoon almond extract (optional)
Frosting Ingredients:
- 1/2 cup (114 grams) unsalted butter, softened
- 2 cups (240 grams) powdered sugar
- 1–2 tablespoons milk
- 1 teaspoon vanilla extract
- Food coloring (optional)
- Sprinkles (optional)
Instructions
- Prepare the baking vessel by lining a 9×13-inch dish with parchment paper, ensuring complete coverage for easy removal.
- Combine dry ingredients in a medium mixing bowl, whisking flour, baking powder, baking soda, and salt until uniformly blended.
- In a separate large bowl, cream butter and sugar until the mixture becomes airy and pale, creating a light texture.
- Introduce egg, vanilla, and almond extract to the butter mixture, blending thoroughly to create a smooth, fragrant base.
- Gradually fold dry ingredients into the wet mixture, stirring until a cohesive dough forms without overmixing.
- Transfer the dough to the prepared pan, using a spatula to distribute evenly and create a level surface.
- Bake in a preheated 350°F (175°C) oven for 15-18 minutes, watching for a set center and light golden edges.
- Remove from oven and allow to cool completely, which helps achieve the perfect bar texture.
- Prepare frosting by whipping butter and powdered sugar until achieving a creamy, smooth consistency.
- Incorporate milk and vanilla into the frosting, mixing until light and spreadable.
- Once the cookie base has cooled, generously spread the frosting across the entire surface.
- Enhance the presentation by adding food coloring to the frosting and sprinkling decorative toppings.
- Slice into uniform bars and serve at room temperature for the ultimate sweet treat.
Notes
- Soften butter at room temperature to ensure smooth, even mixing without lumps.
- Avoid overmixing the dough to prevent tough, dense cookie bars that lose their tender texture.
- Experiment with extract variations like lemon or coconut to create unique flavor profiles matching different occasions or personal preferences.
- Use gel food coloring for vibrant frosting colors without changing the consistency of the frosting.
- Prep Time: 20 minutes
- Cook Time: 20 minutes
- Category: Desserts, Snacks
- Method: Baking
- Cuisine: American
Nutrition
- Serving Size: 12
- Calories: 271
- Sugar: 19 g
- Sodium: 121 mg
- Fat: 14 g
- Saturated Fat: 8 g
- Unsaturated Fat: 6 g
- Trans Fat: 0.2 g
- Carbohydrates: 33 g
- Fiber: 1 g
- Protein: 2 g
- Cholesterol: 32 mg
John Conley
Founder & Culinary Storyteller
Expertise
Recipe Development, Culinary Writing, Home Cooking Techniques, Seasonal Ingredient Utilization
Education
Lane Community College, Eugene, OR
Certificate in Culinary Arts
Focused on foundational cooking techniques, kitchen safety, and menu planning.
Gotham Writers Workshop, New York, NY
Course in Food Writing
Explored the art of crafting engaging culinary narratives and recipe development.
John grew up where food meant connection: big bowls, warm kitchens, and meals that told a story. After earning his Certificate in Culinary Arts from Lane Community College and diving deep into food writing at Gotham Writers Workshop, he found his calling: turning everyday recipes into something worth savoring.
At The Liffey, John’s focus is all about crafting dishes that feel easy, honest, and full of heart.