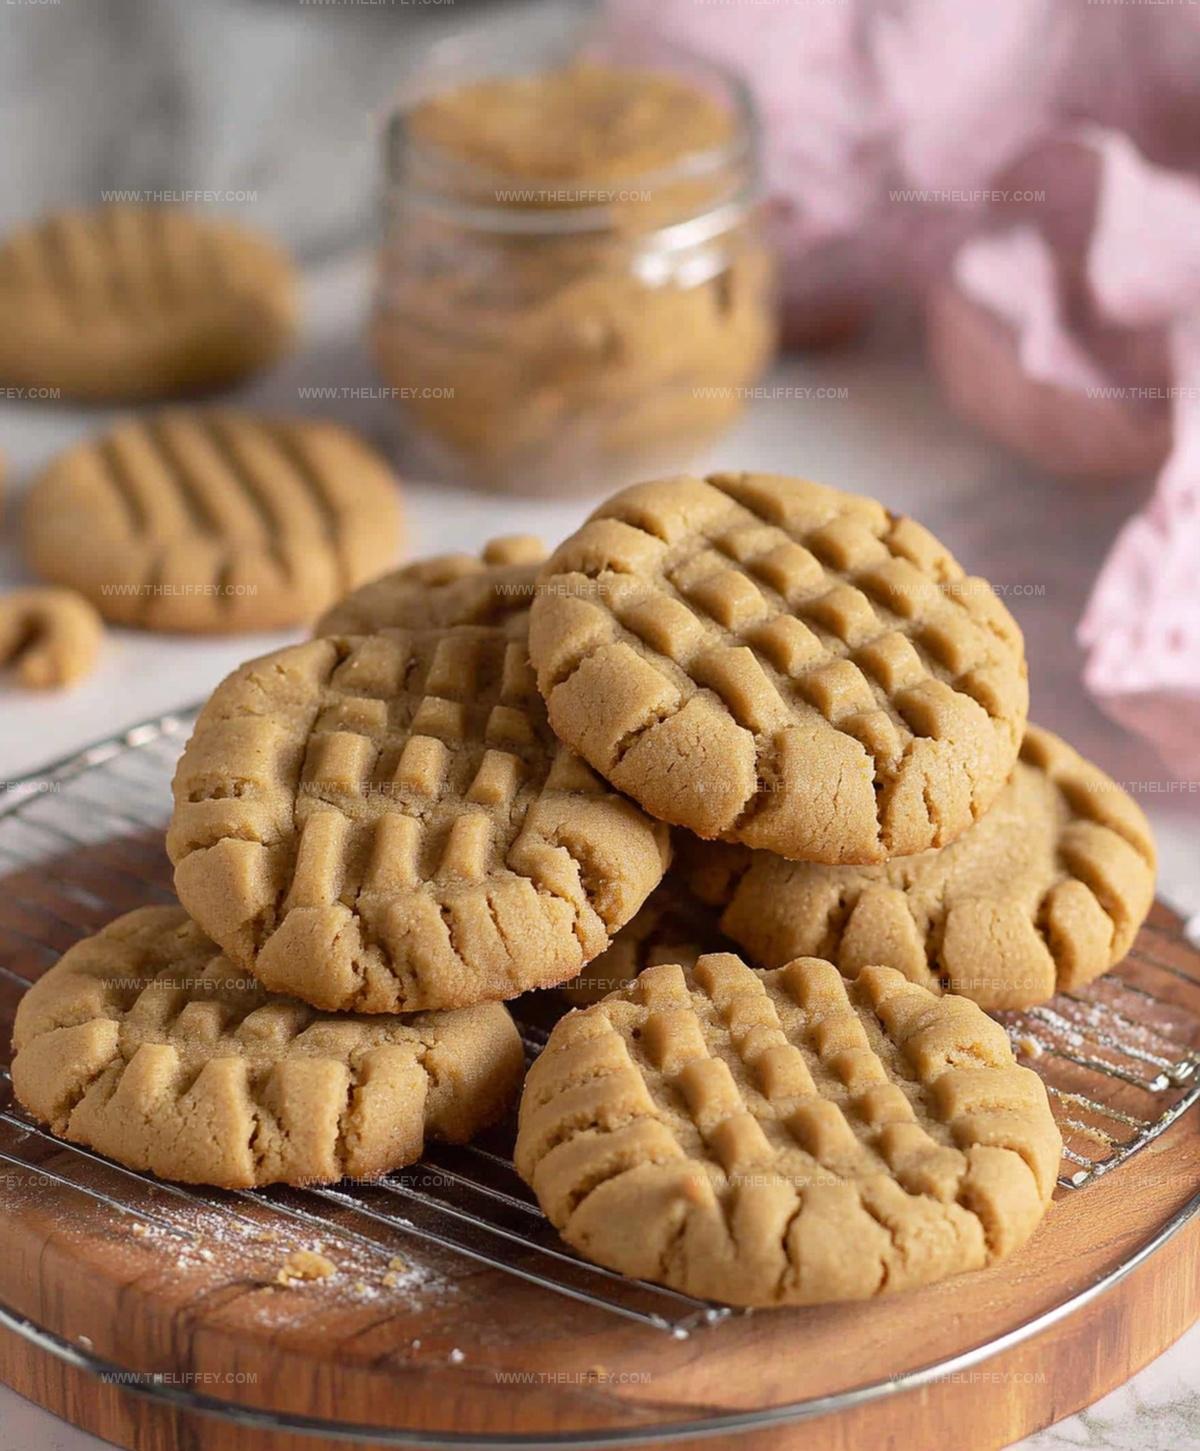
Grandma Carter’s Heartwarming Peanut Butter Cookies Recipe
Baking these Jimmy Carter's grandmothers peanut butter cookies brings back memories of Southern comfort and sweet simplicity.
Crisp afternoons in Georgia inspired this classic treat that connects generations.
Soft, crumbly textures melt on your tongue with each buttery bite.
Crafted with love and traditional techniques, these cookies whisper stories of rural kitchens and cherished family moments.
You won't be able to resist breaking off another piece of this delectable Southern treasure.
Why Jimmy Carter’s Grandmother’s Peanut Butter Cookies Are So Good
Ingredients for Jimmy Carter’s Grandmother’s Peanut Butter Cookies
Base Ingredients:Flavor Enhancers:Optional Ingredients:Baking Essentials:Step-by-Step Jimmy Carter’s Grandmother’s Peanut Butter Cookies
Warm Up The Oven
Turn your oven to 350 degrees Fahrenheit and get ready.
Mix Cookie Ingredients
Grab a large mixing bowl and combine your creamy ingredients:
Create Smooth Cookie Dough
Stir all ingredients together until they become a perfectly blended, soft mixture.
Use a wooden spoon or electric mixer to ensure everything is well combined.
Shape Adorable Cookie Balls
Roll the dough into small, charming one-inch round balls with your hands.
Place each ball gently on an ungreased baking sheet, leaving some space between them.
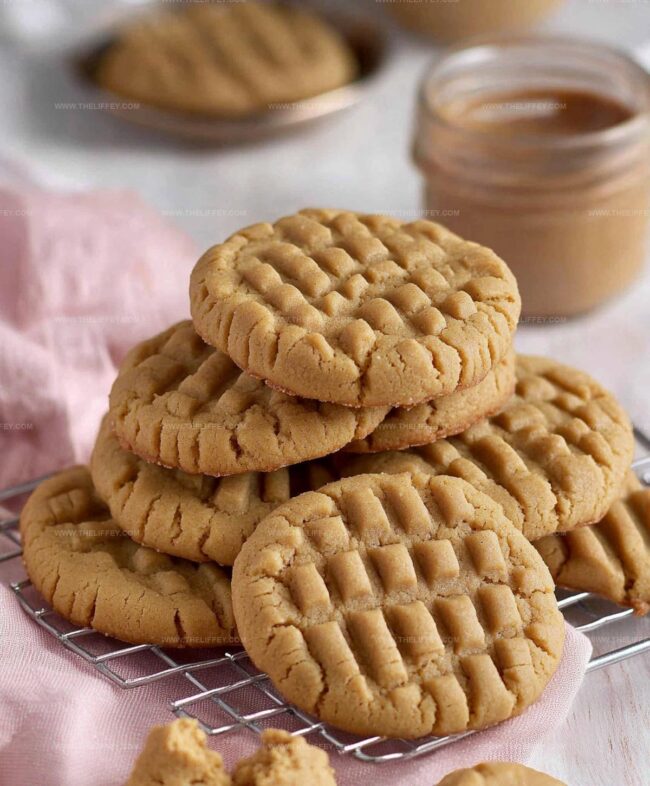
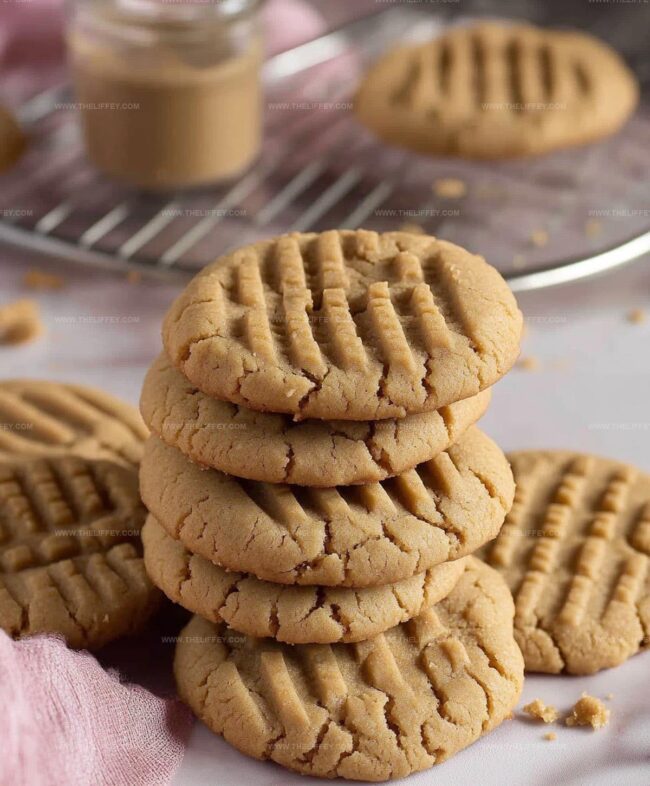
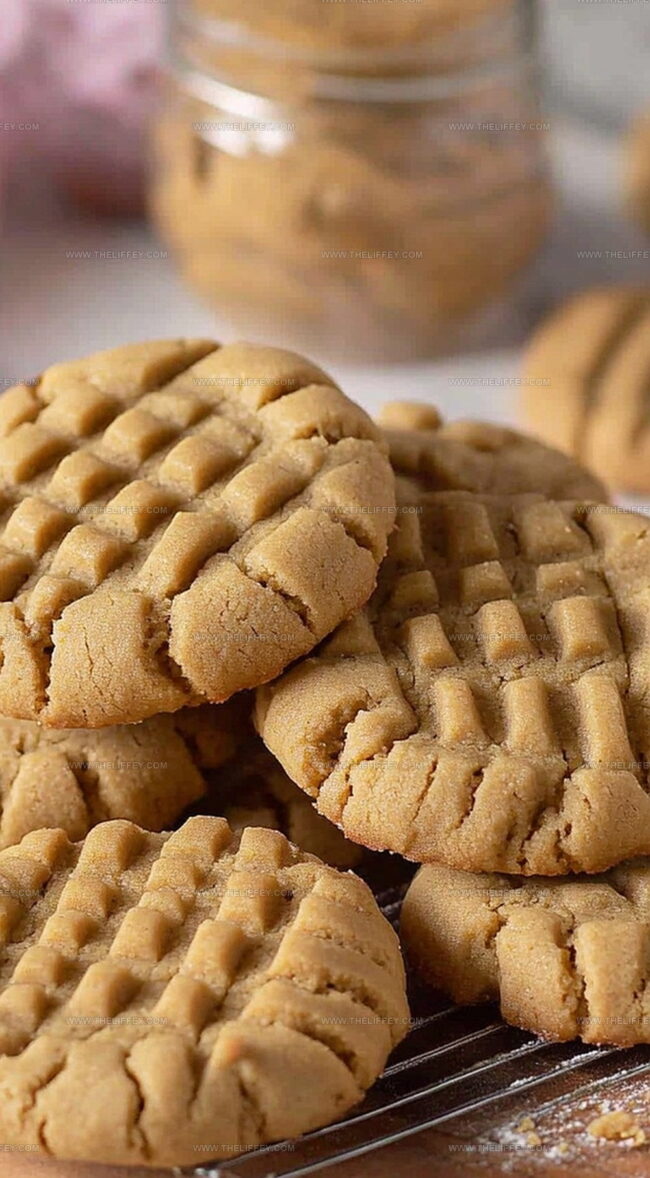
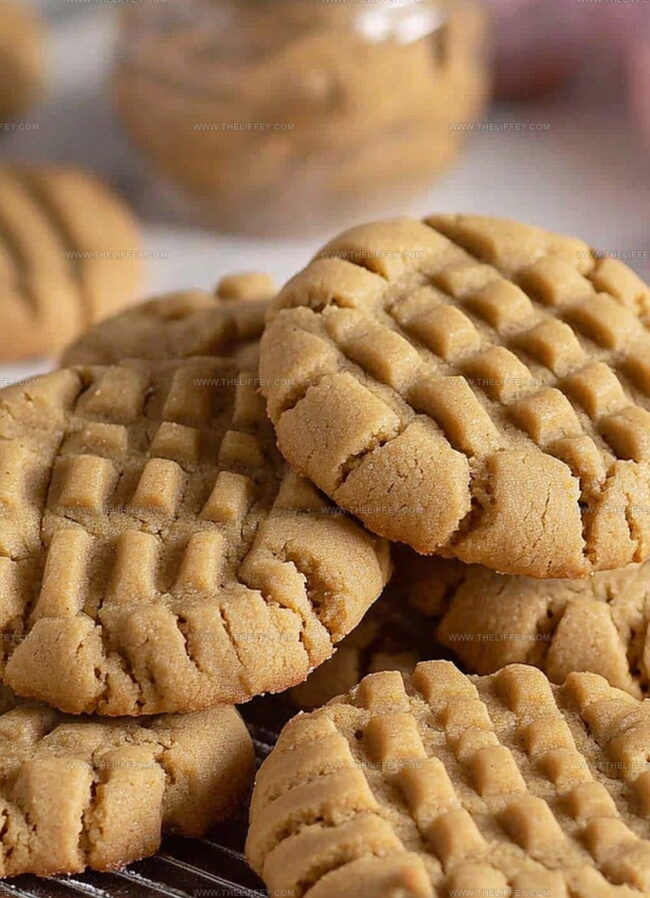
Create Classic Crisscross Design
Use a fork to press down on each cookie ball, creating a beautiful traditional crisscross pattern.
This not only looks amazing but helps the cookies bake evenly.
Bake To Golden Perfection
Slide the baking sheet into the preheated oven and bake for 10-12 minutes.
Watch for light golden brown edges that signal your cookies are done.
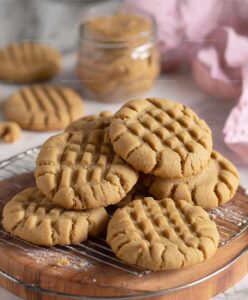
Cool And Enjoy
Let the cookies rest on the baking sheet for 5 minutes to set.
Then transfer them to a wire cooling rack to cool completely.
Enjoy these melt-in-your-mouth treats with a cold glass of milk!
Insider Tips for Jimmy Carter’s Grandmother’s Peanut Butter Cookies
Variations on Jimmy Carter’s Grandmother’s Peanut Butter Cookies
Serving Ideas for Jimmy Carter’s Grandmother’s Peanut Butter Cookies
Storage Tips for Jimmy Carter’s Grandmother’s Peanut Butter Cookies
FAQs
Are these cookies difficult to make?
No, these cookies are incredibly simple! With just four basic ingredients and minimal steps, even beginner bakers can successfully create these delicious peanut butter cookies.
Can I use natural peanut butter for this recipe?
Yes, you can use natural peanut butter, but you might need to stir it well and potentially adjust the sugar since natural peanut butter can be less sweet.
Why do I need to make a crisscross pattern with a fork?
The fork pattern helps the cookies bake evenly and creates the classic peanut butter cookie look. It also helps flatten the cookies for consistent baking.
How many cookies does this recipe typically yield?
This recipe usually makes about 18-24 cookies, depending on the size of the balls you roll.
Jimmy Carter’s Grandmother’s Peanut Butter Cookies Recipe
- Total Time: 27 minutes
- Yield: 12 1x
Description
Grandma Carter’s peanut butter cookies bring classic home-baked charm. Crisp edges and soft centers carry the warmth of family traditions in every bite.
Ingredients
Main Ingredients:
- 1 cup peanut butter
- 1 cup granulated sugar
- 1 egg
Flavor Enhancers:
- 1 teaspoon vanilla extract (optional)
Instructions
- Prepare the oven by heating to 350F (175C), ensuring an even temperature for optimal baking.
- In a spacious mixing bowl, thoroughly amalgamate peanut butter, granulated sugar, a single egg, and a splash of vanilla extract, creating a smooth, uniform mixture.
- Gently knead the dough until all ingredients are perfectly integrated, avoiding overworking the mixture.
- Craft small, uniform spheres approximately 1 inch in diameter, positioning them strategically on an untreated baking sheet with ample spacing.
- Employ a fork to delicately press each dough ball, generating a distinctive crisscross texture that enhances visual appeal and promotes even cooking.
- Slide the baking sheet into the preheated oven, allowing cookies to transform for 10-12 minutes until edges acquire a gentle golden-brown hue.
- Let the cookies rest on the baking sheet for 5 minutes to set.
- Move them to a wire rack to cool completely for the best crisp-yet-tender texture.
Notes
- Opt for natural, unsweetened peanut butter to control sweetness and reduce added sugars.
- Experiment with alternative sweeteners like coconut sugar or monk fruit for low-glycemic options.
- Use gluten-free flour or almond flour to make these cookies suitable for those with wheat sensitivities.
- Chill the dough for 30 minutes before rolling to prevent sticky hands and achieve more uniform cookies.
- Prep Time: 15 minutes
- Cook Time: 12 minutes
- Category: Desserts
- Method: Baking
- Cuisine: American
Nutrition
- Serving Size: 12
- Calories: 170 kcal
- Sugar: 12 g
- Sodium: 150 mg
- Fat: 11 g
- Saturated Fat: 2 g
- Unsaturated Fat: 8 g
- Trans Fat: 0 g
- Carbohydrates: 13 g
- Fiber: 2 g
- Protein: 6 g
- Cholesterol: 20 mg
John Conley
Founder & Culinary Storyteller
Expertise
Recipe Development, Culinary Writing, Home Cooking Techniques, Seasonal Ingredient Utilization
Education
Lane Community College, Eugene, OR
Certificate in Culinary Arts
Focused on foundational cooking techniques, kitchen safety, and menu planning.
Gotham Writers Workshop, New York, NY
Course in Food Writing
Explored the art of crafting engaging culinary narratives and recipe development.
John grew up where food meant connection: big bowls, warm kitchens, and meals that told a story. After earning his Certificate in Culinary Arts from Lane Community College and diving deep into food writing at Gotham Writers Workshop, he found his calling: turning everyday recipes into something worth savoring.
At The Liffey, John’s focus is all about crafting dishes that feel easy, honest, and full of heart.